Smoked Burgers
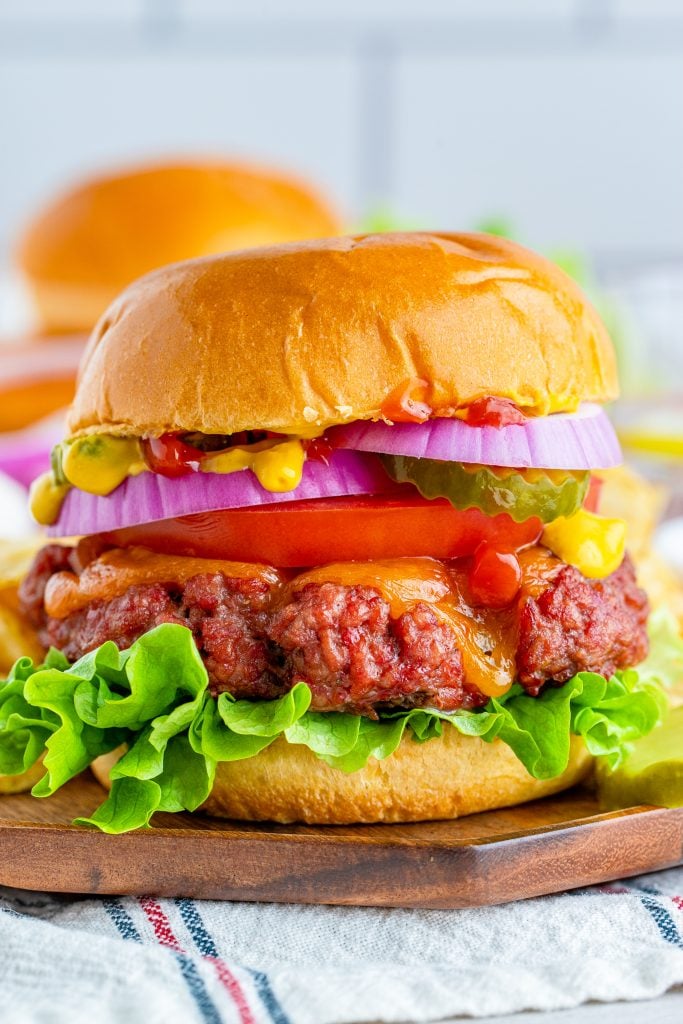
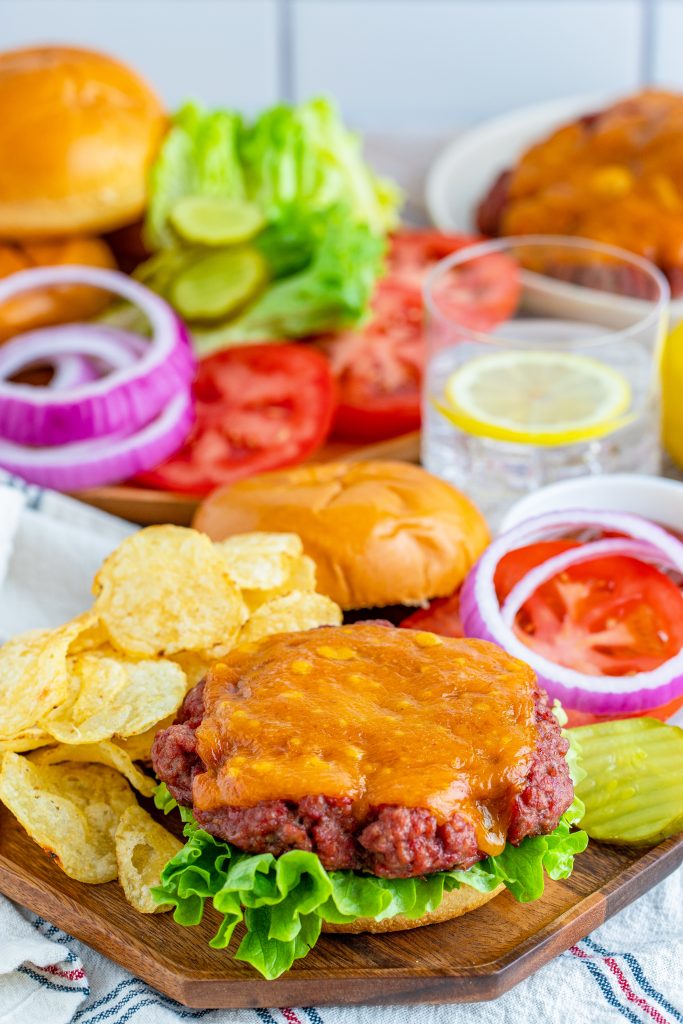
Smoked burgers will be your new favorite this grilling season! The classic sandwich gets kicked up with a smoky flavor that’s complimented by the carefully chosen blend of barbecue spices for a juicy delight everyone will love.
This post may contain affiliate links. As an amazon associate, I earn from qualifying purchases. See my full Disclosure Policy for details.
I am a firm believer in the power of my smoker.
It makes everything a million times better.
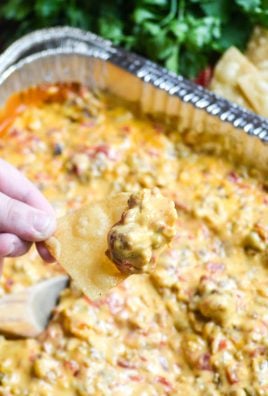
Case in point? Queso. Delicious on it’s own, but holy smokes, when it’s smoked!
UNBELIEVABLE.
The same is true about these burgers.
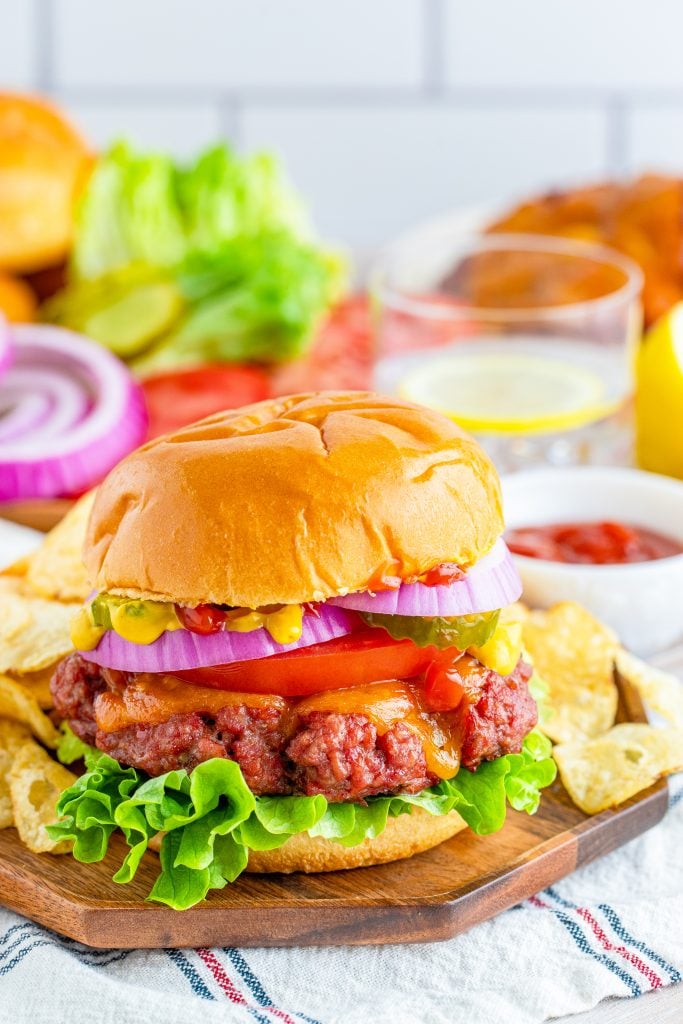
It’s no secret that burgers in and of themselves are one of the most perfect foods ever.
Juicy, full of flavor and just so satisfying.
But when you smoke your burgers?
All I can say is mind- blowing.
Brace yourself for the absolutely mouthwatering burger experience coming your way!
Ingredients
To make these you’ll need:
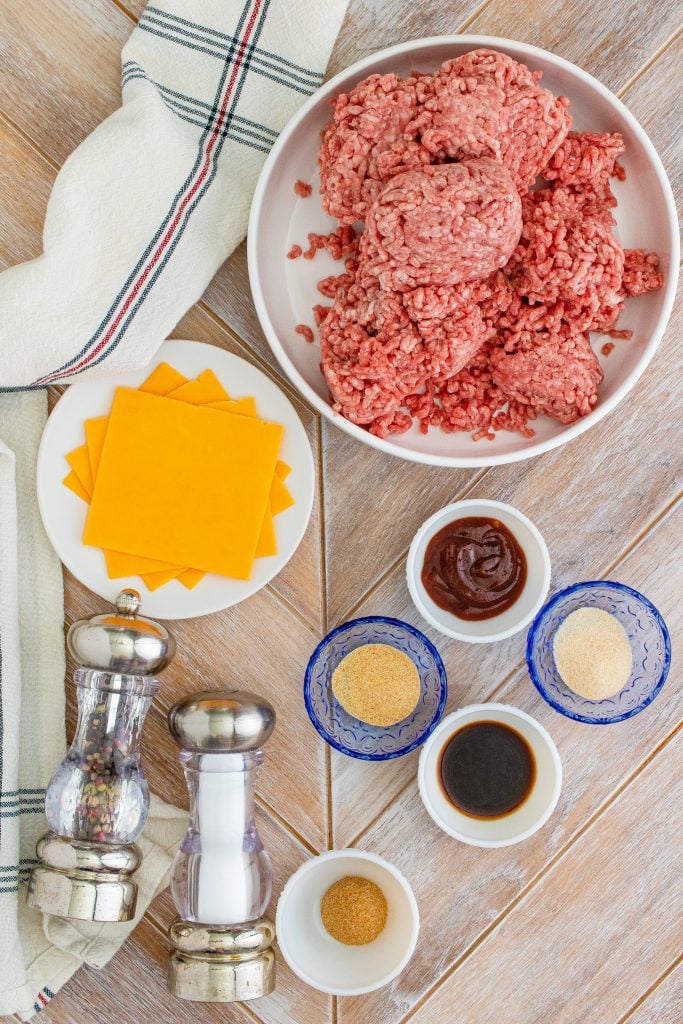
- Ground beef – Go for 80/20 here. This gives you enough fat for a juicy, flavorful burger without being too greasy.
- BBQ Sauce – Your favorite kind either store bought or homemade.
- Seasonings – Worcestershire sauce, light brown sugar, garlic powder, onion powder, salt and black pepper all create that sweet savory flavor blend.
- Cheese – I prefer sliced cheddar, but use your favorite. Pepper jack would work particularly well especially if you like a little heat.
- Burger fixings – The works. Go for your favorite buns (I like these homemade buns), lettuce, tomato, onion, pickles. Whatever you like!
How to Make
Making these yummy cheeseburgers is really not much different than making a burger on the grill.
The difference is just using the smoker.
To do it, set your smoker to smoke. Once it’s smoking, set it to 225°F and let it come to temperature.
While your smoker is heating, prepare the burgers by putting the ground beef, bbq sauce, Worcestershire, brown sugar, garlic powder, onion powder, salt, and pepper in a large bowl.
Mix everything until combined but try not to overmix.
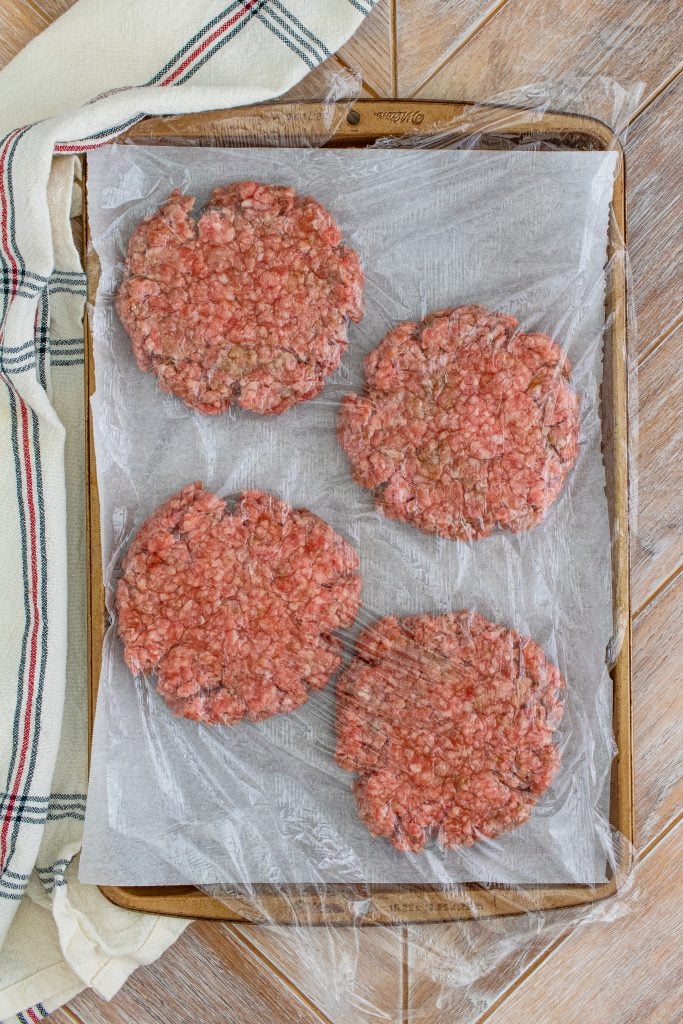
Then, cover a sheet pan with parchment paper or foil.
Divide the meat mixture in four, and form each portion into balls.
Set the meatballs onto the prepared tray, leaving plenty of space in between each one.
Now, cover the balls with plastic wrap and use a heavy object with a flat bottom to gently press down on the burgers until they are about ½ inch thick.
Once they are at the proper thickness, use your thumb or a tablespoon to make a small indention in the center of each burger.
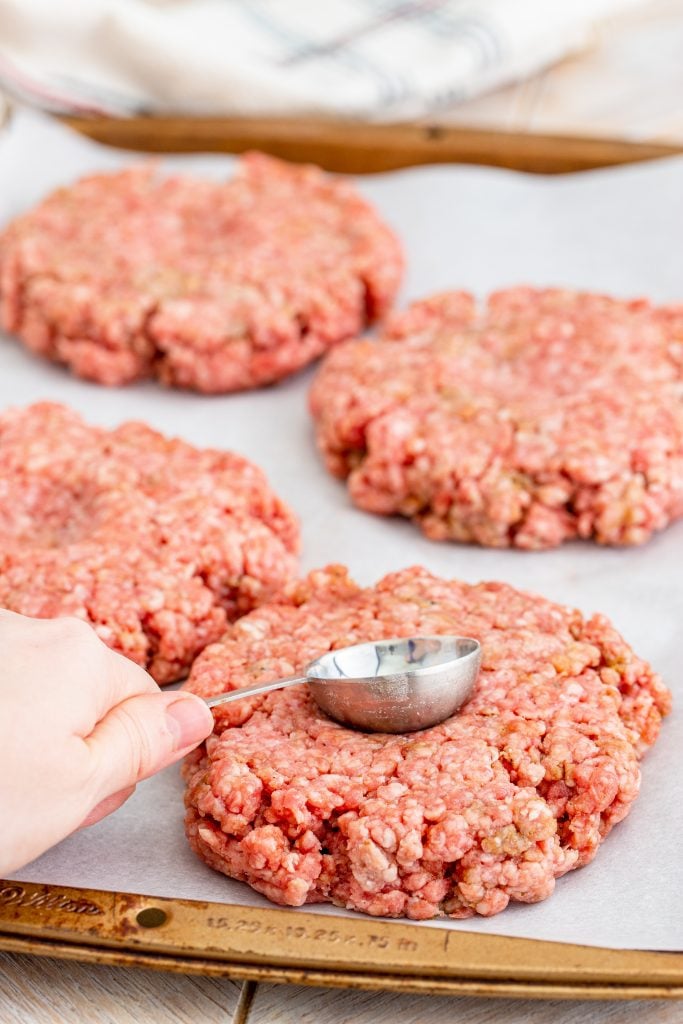
Once the smoker is up to temperature, place the burgers directly on the grates.
Smoke for about 1 hour or until the internal temperature reaches your desired temperature.
Fifteen minutes before they are done, add the cheese to melt on top.
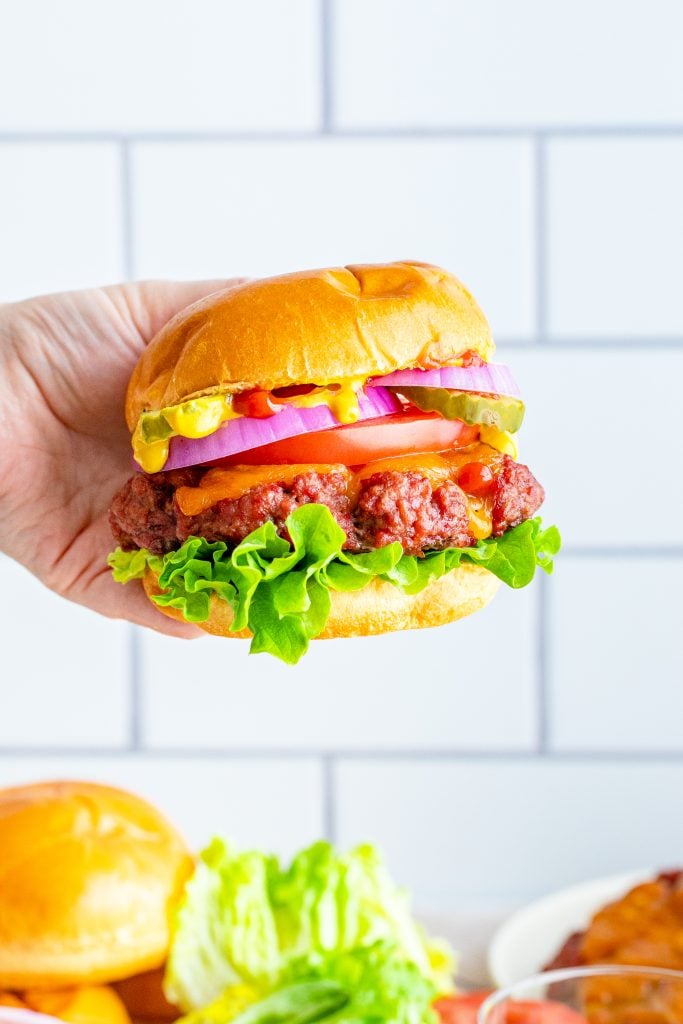
Serve with your favorite burger fixings and enjoy!
Hamburger Temperature and Doneness
Your cook time may vary based on how well done you prefer your burgers.
I recommend using a meat thermometer to make sure your burger is cooked to your liking.
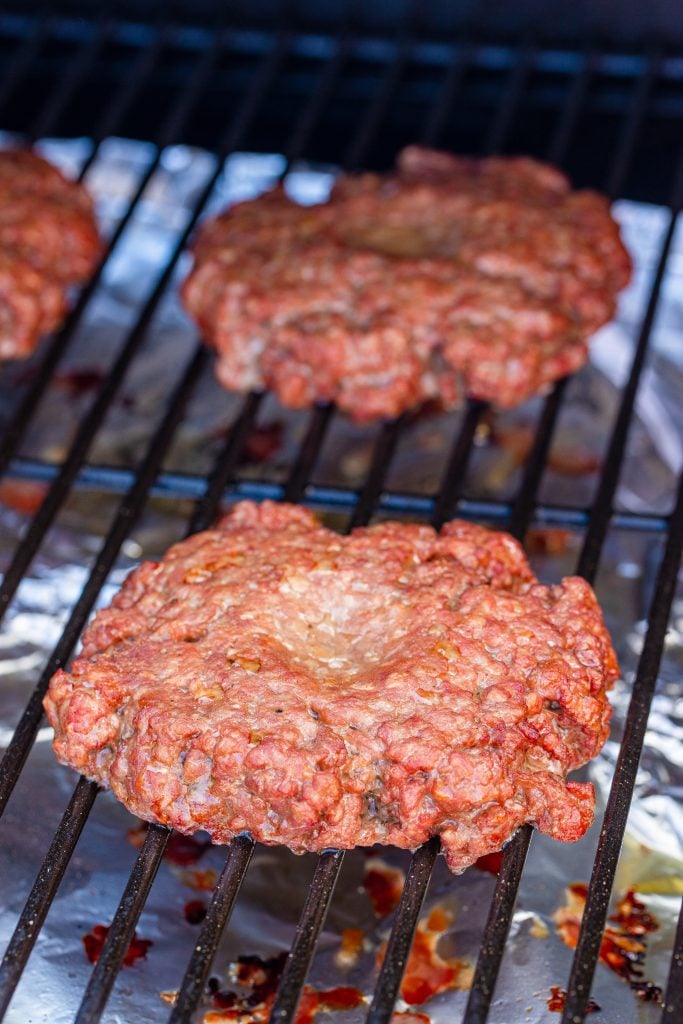
Here’s a breakdown of doneness by internal temperatures:
- Well Done: 160°F to 165°F – This burger will have no pink on the inside.
- Medium Well: 150°F to 155°F – Tiny bit of pink in the very center of the burger, but the outsides will be brown.
- Medium: 140°F to 145°F – A bit pink throughout the inside of the burger but the center will be warm. This is my preferred way to eat a burger and it takes about an hour on the smoker to get to medium doneness.
- Medium Rare: 130°F to 135°F – A lot of pink in the center of the burger and it may not be warm all the way through. I don’t recommend this for safety reasons.
- Rare: 120°F to 125°F – Lots of pink in the center and it may be cool. You should never eat a burger at this temperature for safety reasons.
Just a reminder, smoked meat may very well stay pink in color despite being fully cooked- this is why using a meat thermometer is so important to determine actual doneness.
Why Make An Indention In The Center Of The Hamburger Patties?
I’ve already had several people question this step, wondering if I left something out or if they missed something.
The answer is no!
The indention is intentional, and although not an absolute necessity- I highly recommend it.
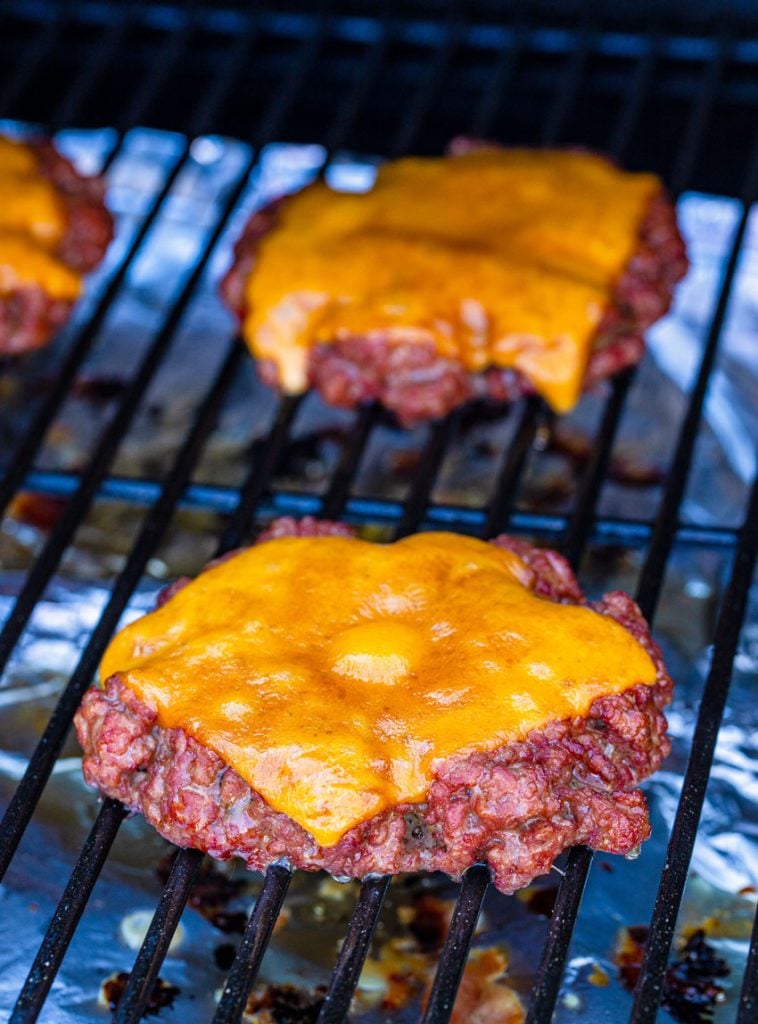
Creating an indention in the center of a raw hamburger patty is actual now a new trick, and one many grill masters are familiar with.
Hamburger patties have an annoying tendency to shrink and swell in the center while cooking.
Not only does it leave them with an awkward appearance, they don’t fit nearly as well on a bun or hold toppings as you’d like.
It can also prevent them from cooking through evenly.
To avoid this, and get those picture perfect thick, flat burgers you want- the solution is simple, a small indention, or ‘dimple’ in the center of the patty before cooking.
The dimple allows the patty to hold it’s shape, preventing swelling, even while it shrinks overall during the cooking process.
You can use your finger, the back of a spoon, or a tablespoon- whatever is handiest. Just don’t forget the dimple!
Serving and storing
Like any burgers, these are delicious right away.
I like serving them up with all the burger fixins and pairing them with fries or classic barbecue side dishes like baked beans and potato salad.
If you have any leftovers, you can let them cool and then store them wrapped in foil or in an airtight container in the fridge for up to 3 days.
Reheat on the stovetop until warmed through.
Tips and tricks
- Don’t overmix the meat. Overmixing can result in a tough burger.
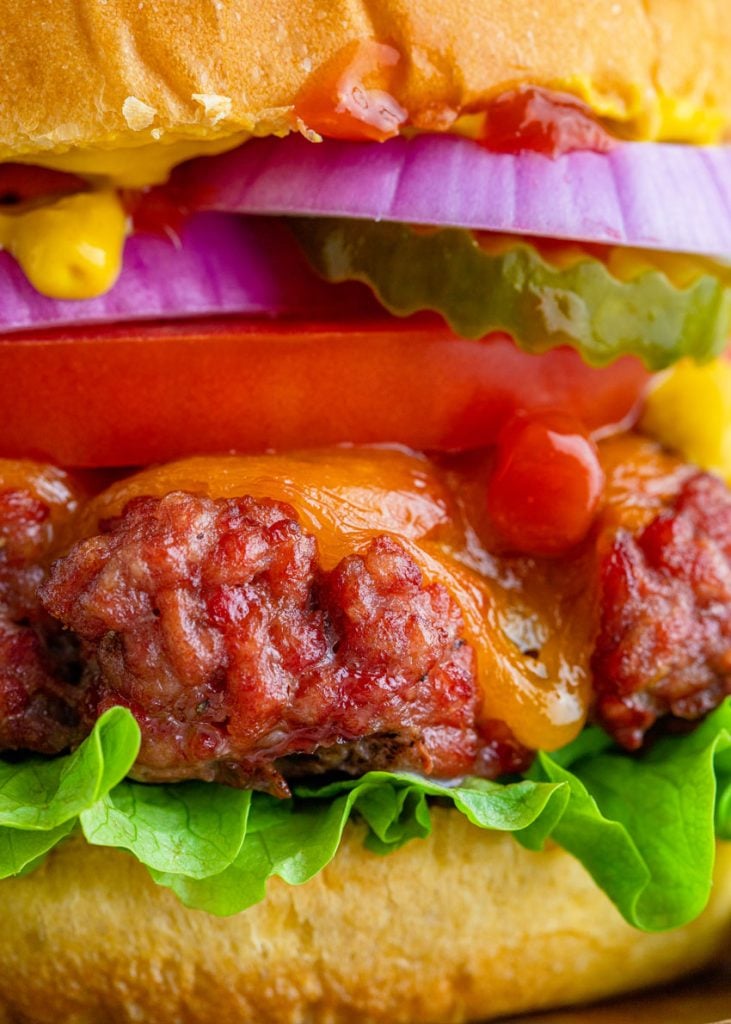
- These burgers may have a reddish color from the smoke, and that’s ok! They will still be cooked through.
- Don’t skip making the indentation in the center of the burger. The little indent keeps the burger in the proper shape.
- These burgers are pretty large. For a smaller burger, divide the meat into 6 or 8 equal sized portions.
Other Smoker Recipes You’ll Love
These smoked burgers are a favorite at any barbecue.
Make them the next time you have a cookout and enjoy!
Looking for other smoker recipes?
Try these:
- Smoked Brisket
- Smoked Salsa
- Smoked Cheddar Creamed Corn with Jalapeno
- Smoked Queso Dip
- Smoked Meatloaf
- Smoked Loaded Twice Baked Potatoes
If you’ve tried these SMOKED BURGERS, or any other recipe on the site, let me know in the comment section how it turned out, we love hearing from our readers! You can also follow along with me on PINTEREST, FACEBOOK, and INSTAGRAM to see more amazing recipes and whatever else we’ve got going on!
Smoked Burgers
Ingredients
- 2 pounds 80/20 ground beef
- 2 tablespoons bbq sauce
- 1 tablespoon Worcestershire sauce
- 1 tablespoon light brown sugar packed
- 1 teaspoon garlic powder
- 1 teaspoon onion powder
- 1 teaspoon kosher salt
- ½ teaspoon black pepper
- 4 slices cheddar cheese
- Burger fixings
Instructions
- Set your smoker to smoke, once smoking set it to 225°F and let it come to temperature.
- While your smoker is heating, prepare the burgers by placing the ground beef, bbq sauce, Worcestershire, brown sugar, garlic powder, onion powder, salt, and pepper in a large bowl. Mix until combined but try not to overmix.
- Cover a sheet tray with parchment paper or foil. Divide the meat mixture into 4ths. Form into balls and place the meatballs onto the sheet tray giving plenty of space in-between.
- Cover with plastic wrap. Using a heavy object with a flat bottom, gently press down on the burgers until they are about ½ inch thick. I used the bottom of a glass bowl.
- Using your thumb or a small circular object like a tablespoon, make a small indention in the center of each burger.
- Once the smoker is up to temperature, place the burgers directly on the grates. Smoke for about 1 hour or until the internal temperature reaches your desired temp. 1 hour on the smoker resulted in a medium temped burger. Fifteen minutes before they are done, add the cheese to melt on top. Serve with your favorite burger fixings.
Notes
Nutrition
This post may contain affiliate links. As an amazon associate, I earn from qualifying purchases. See my full Disclosure Policy for details. As always, all opinions are my own.

