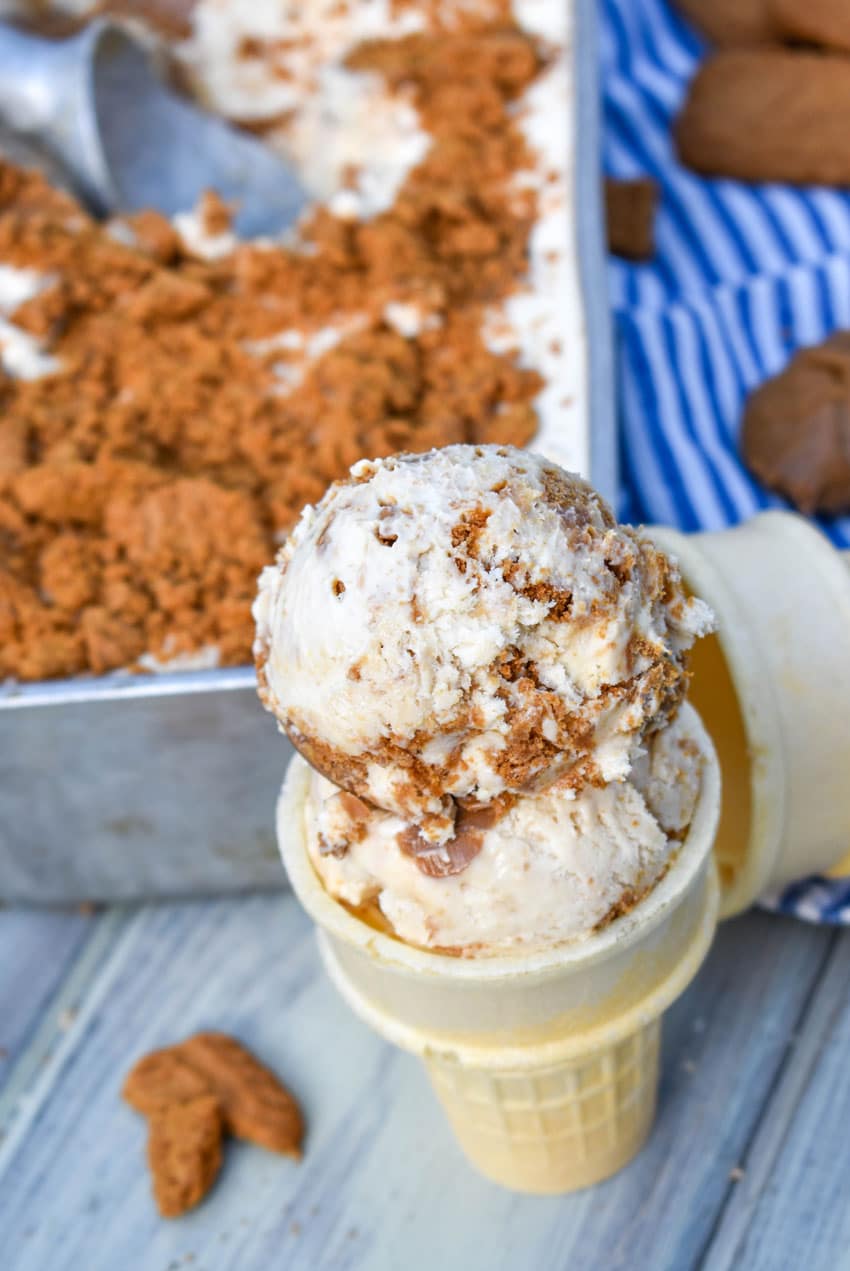
Cookie Butter Ice Cream (No Churn Recipe)
Combine the flavor of your favorite biscoff cookies with creamy ribbons of cookie butter in this creamy no churn ice cream recipe. This cookie butter ice cream is a quick and easy recipe that tastes like it came from an expensive gourmet ice cream shop, instead of whipped up in the comfort of your own kitchen.
Finding new ways to keep the kids happy and cool in the Summer can be a challenge.
One thing that never gets old though?
A bowl of cold, creamy ice cream.
It’s the most delicious way to beat the heat.
There’s so many different flavor options, that it’s impossible to get burned out on.
I decided to use one of my kids favorite cookies, and give it the ice cream treatment.
This no churn cookie butter ice cream is an easy treat, that doubles as a fun family activity.
Whip it up when the heat sets in, and you need an extra yummy cool treat for the family
Ingredients Needed
Like all the best no churn recipes, this cookie butter ice cream has a pretty short ingredient list.
To make it, you’ll need:
- Cream – Heavy whipping cream only, anything lighter won’t whip up to form a base that will freeze properly.
- Condensed Milk – You’ll need one 14 ounce can of sweetened condensed milk.
- Cookie Butter – Cookie butter’s a spread that is made from biscoff cookies. It can be found in most grocery stores near other sandwich spreads like peanut butter and nutella. Prefer things that’s homemade? Use our easy cookie butter recipe!
- Salt – This is an optional addition, but one I highly recommend. You only need a pinch, and it really enhances the sweetness of the ice cream.
- Cookies – You’ll need Biscoff cookies for this. They’re a unique cookie with a hint of Winter spice- think nutmeg.
Gather your ingredients, and you’re ready to whip up some easy no churn ice cream!
How To Make
Making this homemade cookie butter ice cream is surprisingly simple.
Start by adding the whipping cream to a large mixing bowl, then whip it on high until stiff peaks have formed.
Be careful to stop as soon as they do, otherwise it will quickly separate into butter and buttermilk.
You can do this in the bowl of a stand mixer, or use any large mixing bowl with a hand mixer.
Add a half cup of cookie butter and all of the condensed milk to another mixing bowl. Stir them together until evenly combined, and the mixture’s smooth & creamy.
Add the salt to the mixture, and stir to combine.
Add 1/3 of the cookie butter mixture to the whipped cream, then fold in until evenly combined.
Add another 1/3 of the cookie butter mixture to the ice cream base, folding in again until evenly combined- then repeat for the remainder.
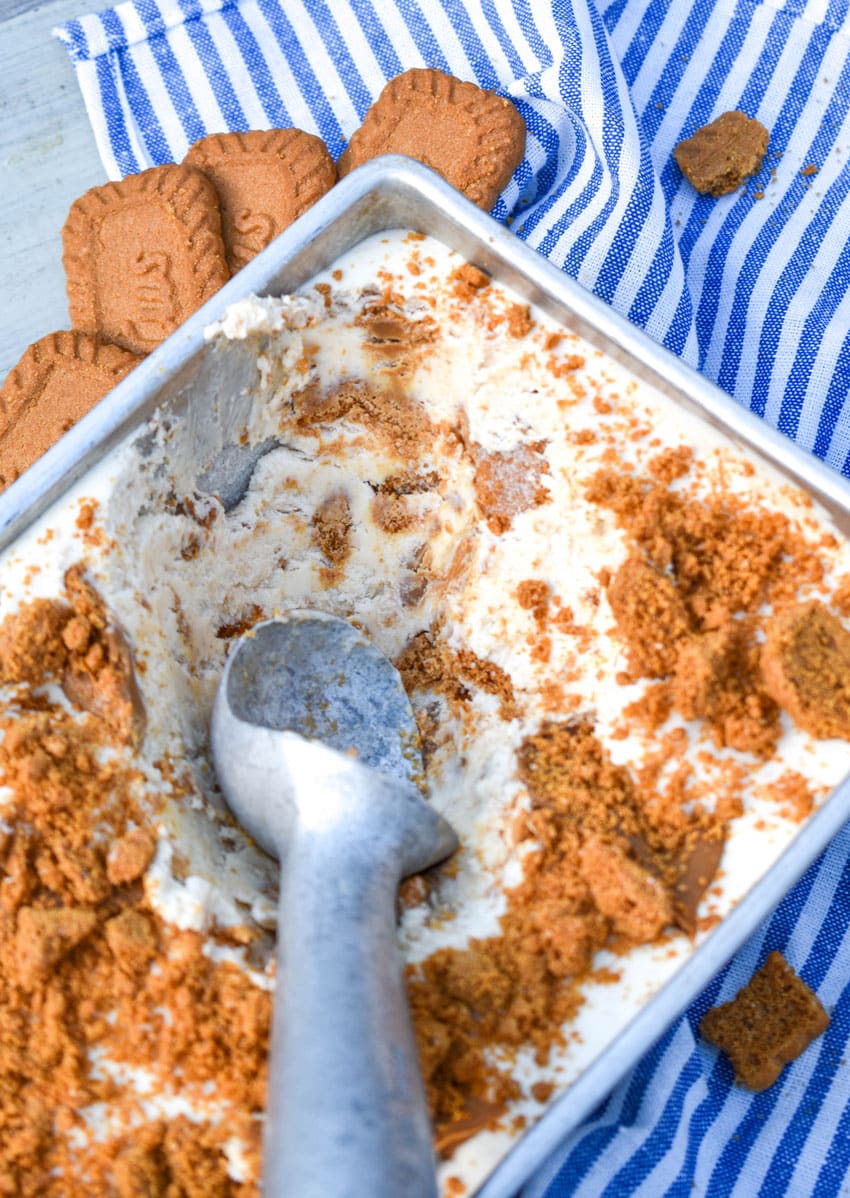
Add half of the ice cream mixture to a 9×5 inch metal loaf pan.
Using a spatula spread it out in an even layer.
Using a spoon, add dollops of the remaining cookie butter to the top of the ice cream mixture.
Sprinkle half of the crushed biscoff cookies evenly out overtop of the mixture.
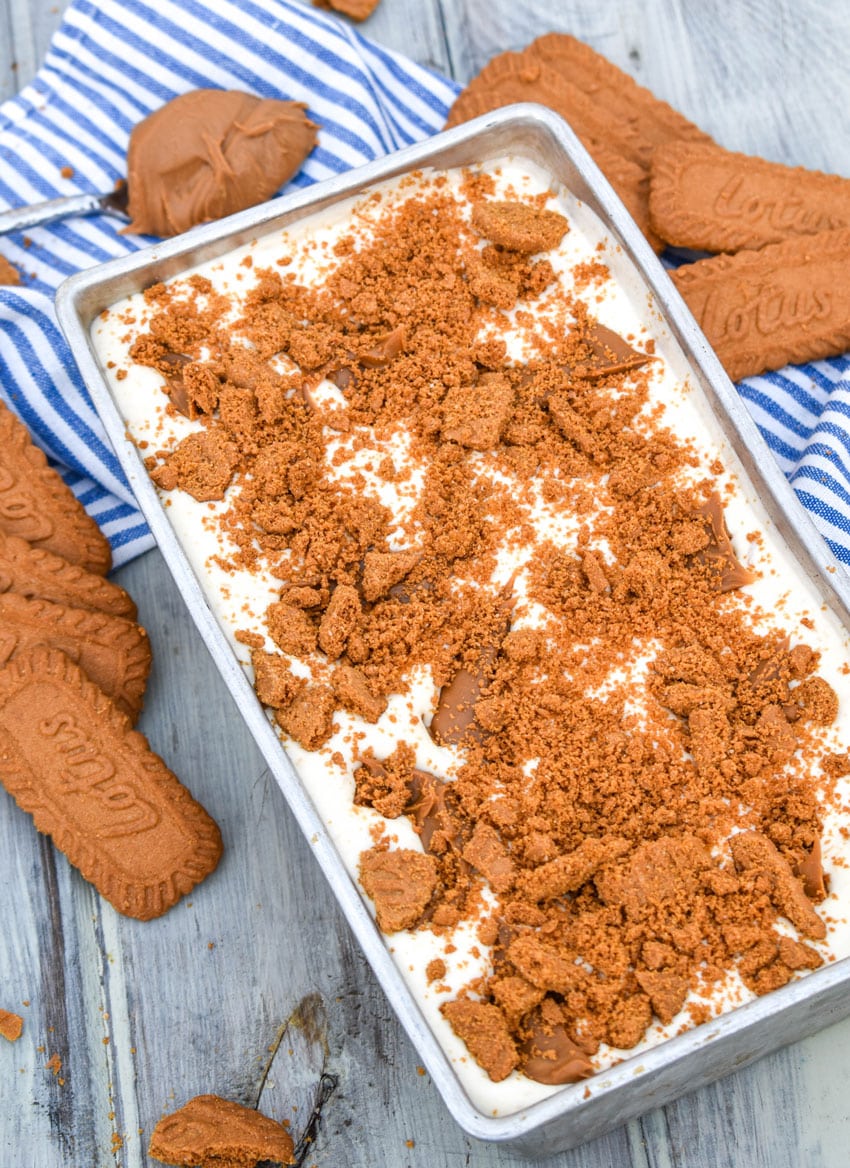
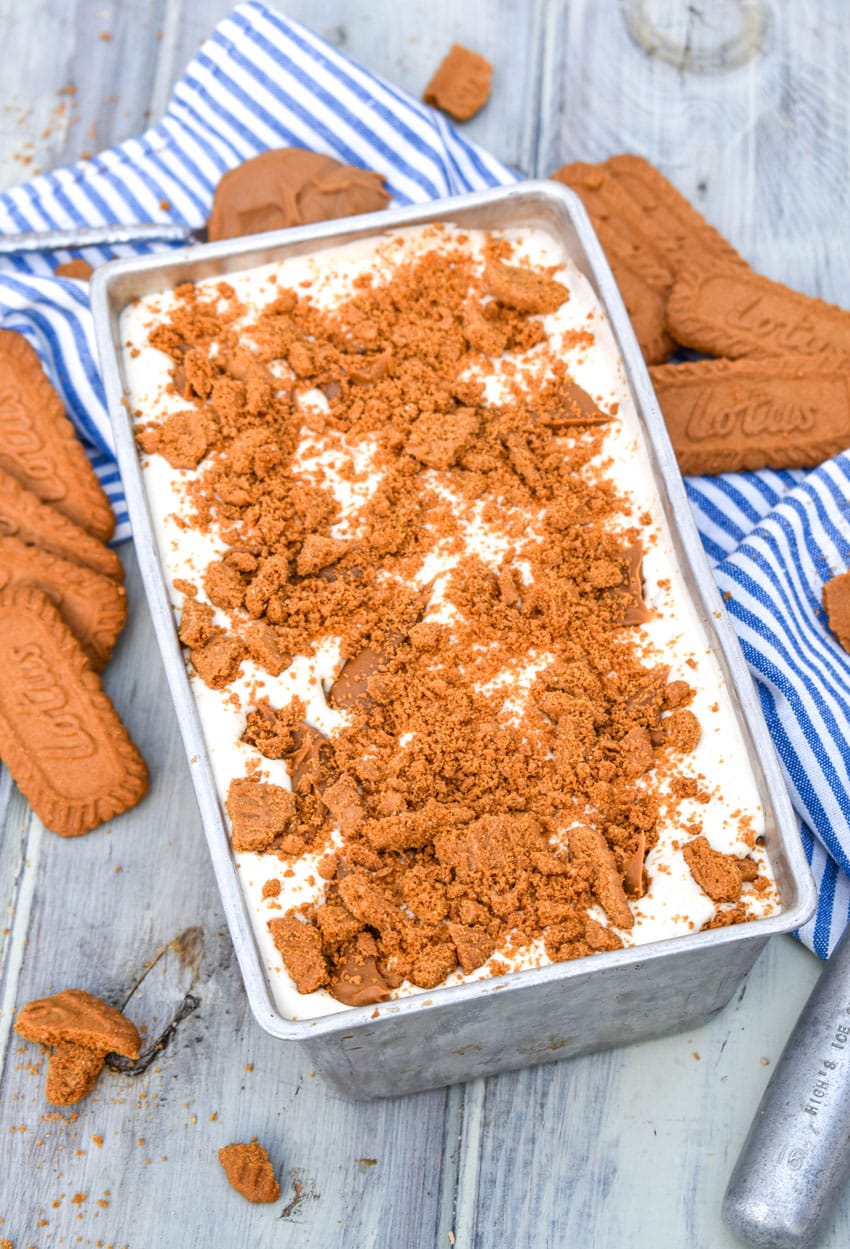
Transfer the rest of the ice cream mixture to the loaf pan, again spreading it out in an even layer.
Spread the remaining cookie crumbs evenly out overtop of the ice cream.
Cover the dish tightly with plastic wrap, then freezer for at least four hours but up to overnight.
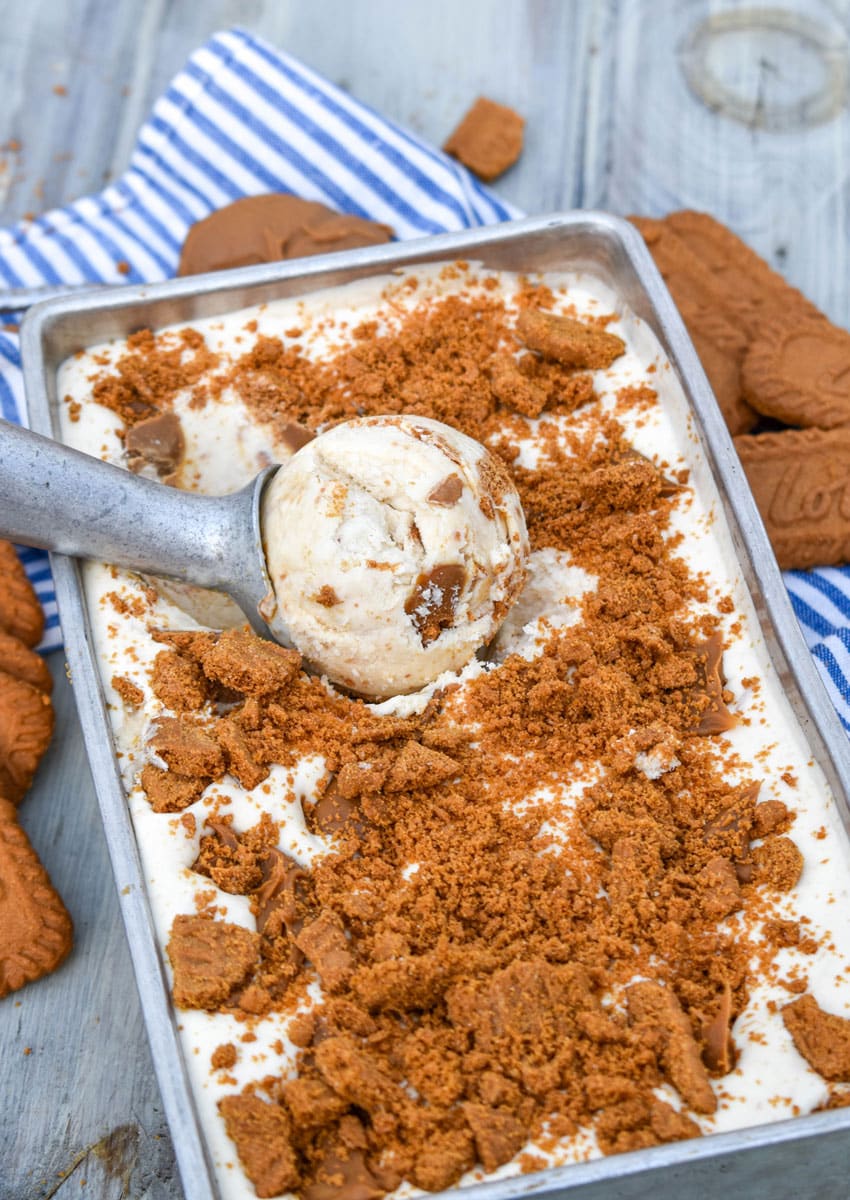
Uncover the dish, and let it rest for 5 minutes at room temperature. This will let the ice cream soften just enough so that it’s easy to scoop.
Serve and enjoy!
Storing Leftovers
There are six of us, so we easily finish off this cookie butter ice cream in one sitting.
If you have leftovers, simply recover the pan tightly with plastic wrap and store it back in the freezer.
It will be good for up to a month.
What Do Stiff Peaks Look Like In Heavy Whipped Cream?
Stiff, also called firm, peaks in whipped cream will stand straight up and hold their shape when the beaters are lifted out of the mixture.
If the tips fall over, or curl, then you’re close but not yet at stiff peaks.
Keep checking often, and stop whipping the cream as soon as the peaks are stiff and hold their shape.
It usually takes me anywhere from 6-8 minutes to achieve stiff peaks.
Why Isn’t My Cream Whipping & Doubling In Volume?
If you’re cream isn’t whipping, it’s because the cream isn’t cold enough.
Cream that isn’t cold enough can’t hold onto the fat that traps air bubbles, and can’t emulsify.
Use cream that’s straight out of the refrigerator.
Only pull it out when you’re ready to measure and immediately whip.
TIPS & TRICKS
- Be sure to watch the cream carefully while whipping, since cream can separate from whipped cream to butter and buttermilk quickly.
- Don’t skip adding the condensed milk mixture to the whipped cream in batches. Adding it all at once could cause the fluffy cream to collapse.
- I highly recommend using the little bit of salt called for. It doesn’t make the ice cream salty, but does really enhance the natural sweetness of the recipe.
- Prefer making things from scratch? Use our easy homemade cookie butter in this recipe!
Other No Churn Ice Cream Recipes
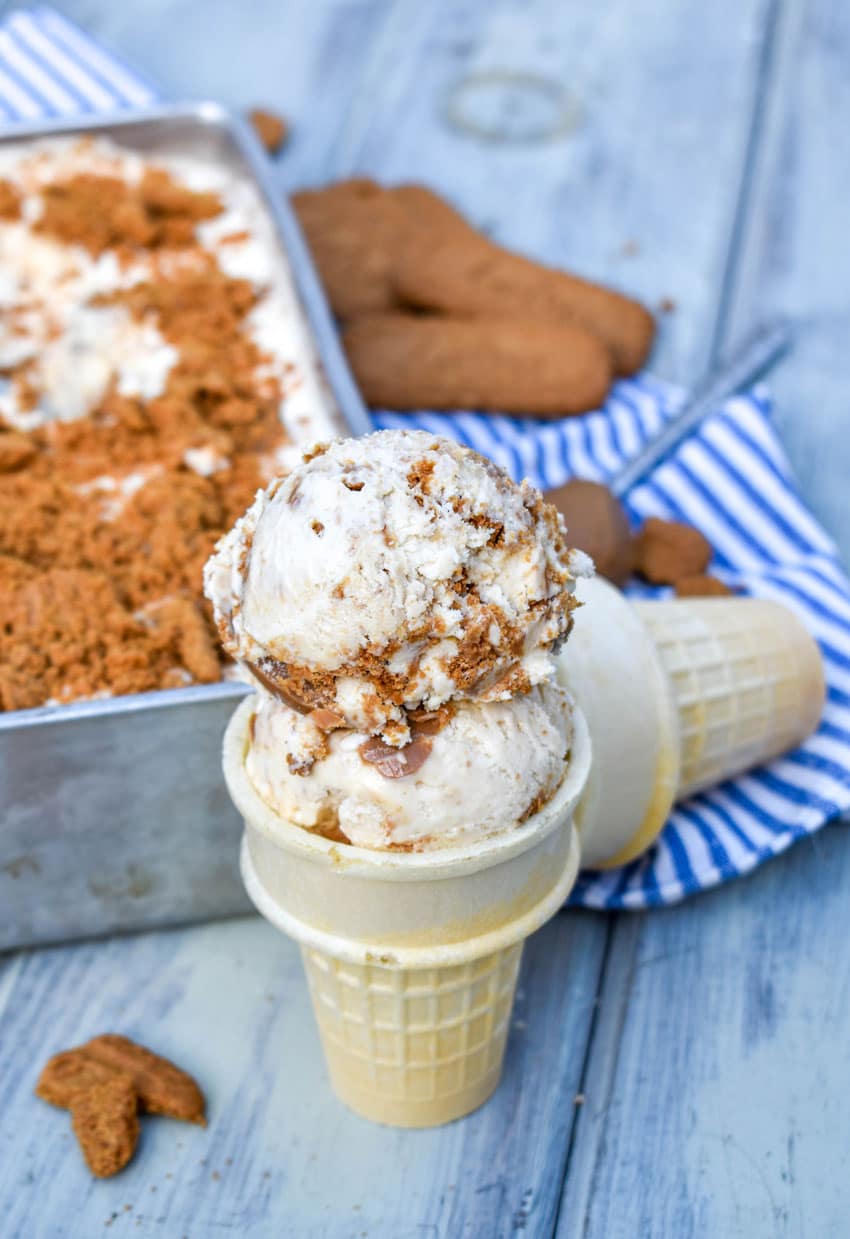
With crumbled biscoff cookies and a rich ribbon of cookie butter running through this smooth, creamy ice cream- it’s an indulgent treat that is surprisingly easy to make.
A scoop, or two or three, of this delicious no churn cookie butter ice cream is the perfect cold dessert to melt away the stress (or heat!) any day.
Are you looking for more easy no churn ice cream recipes?
Try these:
- Peaches & Cream No Churn Ice Cream
- No Churn Nutella Ice Cream
- No Churn Mint Chocolate Chip Ice Cream
- No Churn Chocolate Fudge Brownie Ice Cream
- Red Velvet Cake No Churn Ice Cream
If you’ve tried this NO CHURN COOKIE BUTTER ICE CREAM, or any other recipe on my site, let me know in the comment section how it turned out, we love hearing from our readers! You can also follow along with me on PINTEREST, FACEBOOK, and INSTAGRAM to see more amazing recipes and whatever else we’ve got going on!
No Churn Cookie Butter Ice Cream
Ingredients
- 2 cups heavy whipping cream
- 1 14 oz can sweetened condensed milk
- 3/4 cup cookie butter
- 1/4 tsp salt
- 1 cup crushed biscoff cookies
Instructions
- Add the measured cream to a large whipping bowl. Using a hand mixer, whip it at high speed until the cream's fluffy with stiff peaks.2 cups heavy whipping cream
- Add 1/2 cup of cookie butter (reserve the remainder) and condensed milk to a separate mixing bowl, and whisk them together until smooth & evenly combined. Add the salt to the mixture, and stir to combine.1 14 oz can sweetened condensed milk, 3/4 cup cookie butter, 1/4 tsp salt
- Pour 1/3 of the condensed milk mixture into the whipped cream, folding in to combine. Repeat in two more batches, until all of the condensed milk base has been combined.
- Add half of the cream mixture to a 9x5 inch metal loaf pan, spreading it out in an even layer. Add the remaining 1/4 cup of cookie butter to the mixture in small dollops, then sprinkle half of the cookie crumbs evenly out overtop.1 cup crushed biscoff cookies
- Pour the remaining ice cream mixture over top, again spreading out in an even layer. Sprinkle the remaining cookie crumbs evenly out over top of the ice cream.
- Tightly cover the loaf pan with plastic wrap, and freeze (flat) for at least four hours but up to overnight.
- Remove the frozen ice cream from the freezer, and let it rest at room temperature for 5 minutes. Then scoop, serve, and enjoy!
Notes
- Be sure to watch the cream carefully while whipping, since cream can separate from whipped cream to butter and buttermilk quickly.
- Don't skip adding the condensed milk mixture to the whipped cream in batches. Adding it all at once could cause the fluffy cream to collapse.
- I highly recommend using the little bit of salt called for. It doesn't make the ice cream salty, but does really enhance the natural sweetness of the recipe.
- Prefer making things from scratch? Use our easy homemade cookie butter in this recipe!
Nutrition


