Christmas Tree Themed Holiday Cheese Ball
This Christmas wow your guests with an easy cheese ball appetizer. This savory Christmas tree themed holiday cheese ball is not only festive and fun but is also delicious.
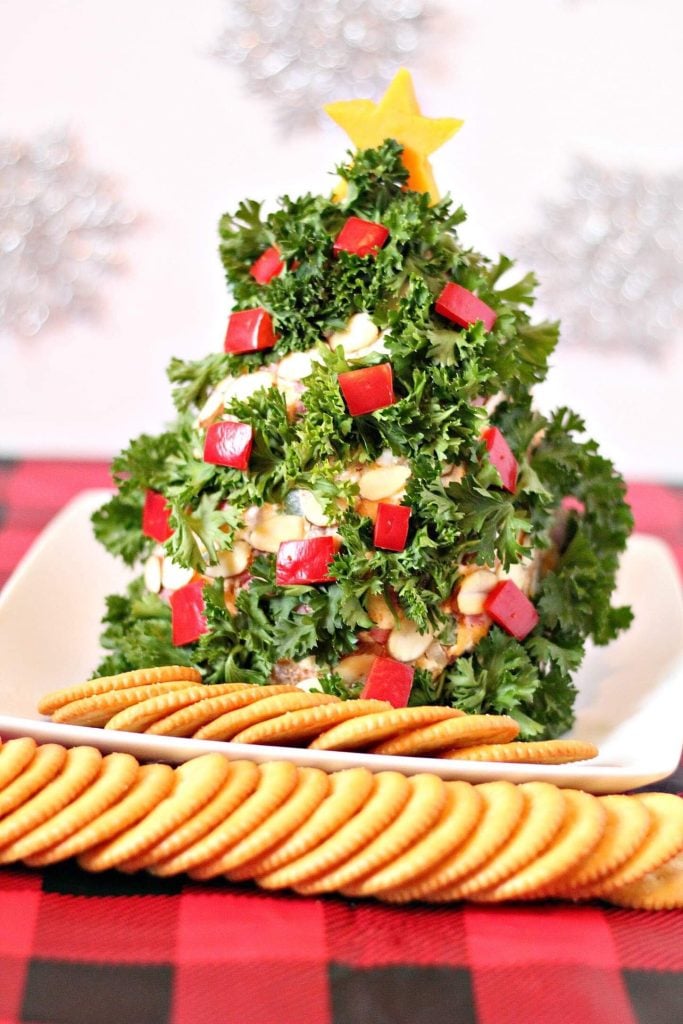
Full of flavor from bacon bits, jalapenos, and beef, this appetizer pleases a crowd while being easy to put together.
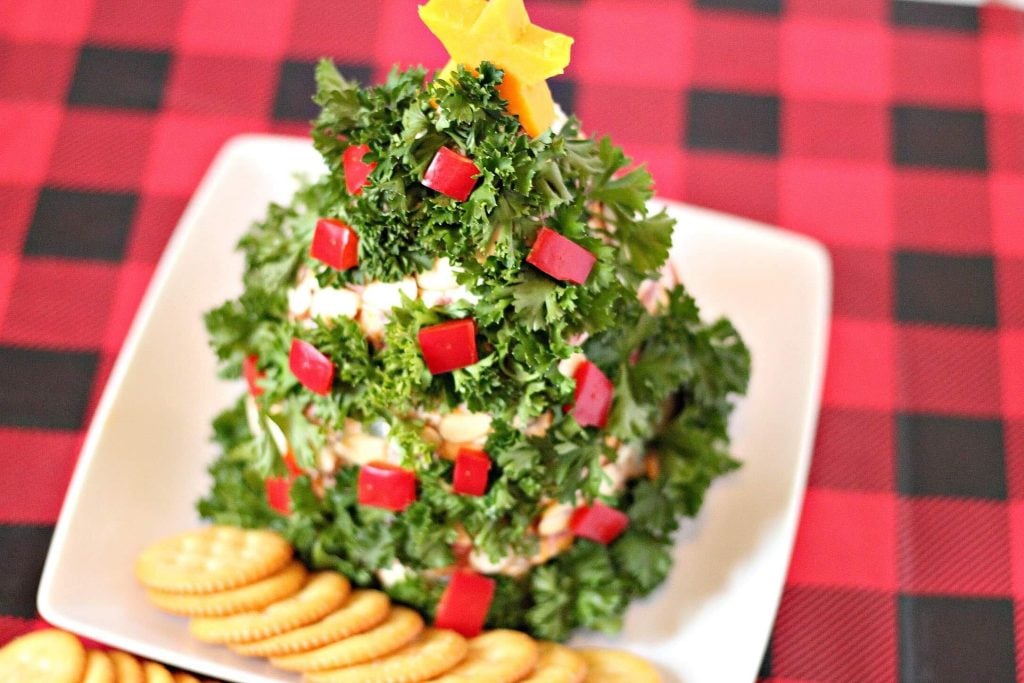
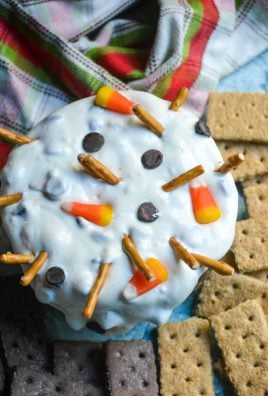
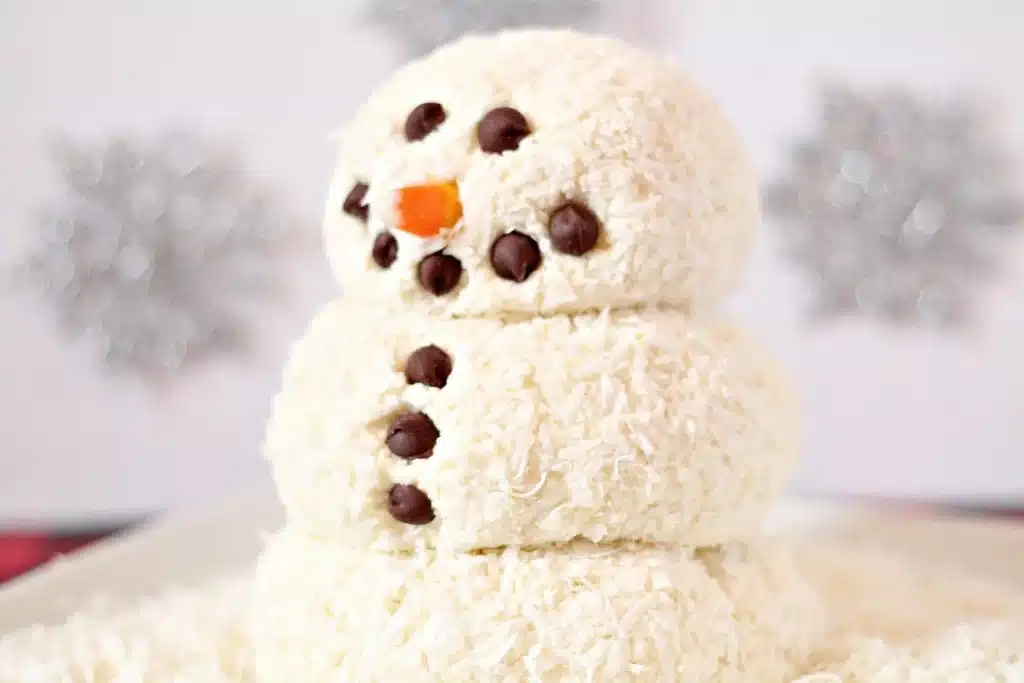
Sometimes, I get on a food kick. I go through phases where I love to make or eat variations of certain kinds of food. Right now I am loving all the holiday themed cheese balls like the snowman themed dessert cheese ball I made the other day and this Christmas tree themed holiday cheese ball.
They are the perfect way to start and end Christmas dinner.
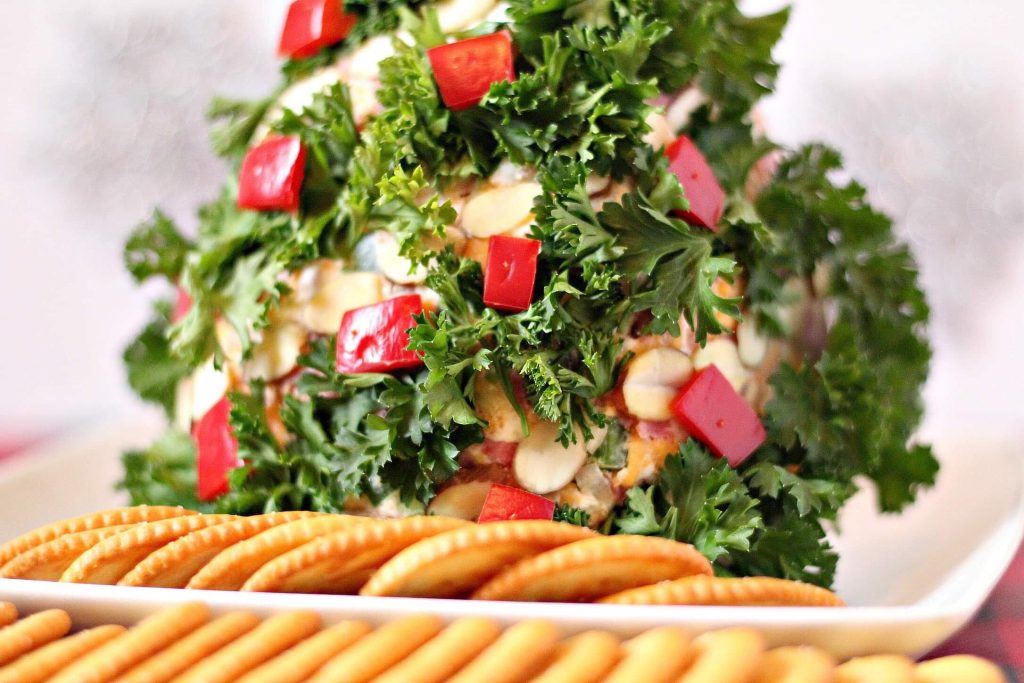
This Christmas tree themed holiday cheese ball looks festive and fun but is very easy to put together. The hardest part? Chopping your veggies and beef. (By the way, since Buddig beef may not be available everywhere, feel free to substitute any roast beef lunch meat.) But even that only takes a few minutes. I like to do that first to get it out of the way because actually assembling this cheese ball is fun.
Just add your cream cheese, shredded cheddar cheese, onions, jalapenos, bacon bits, and beef into a large bowl. Then get your hands a little dirty and knead the ingredients until they are well combined. After that, you can let your inner artist come out and shape the cheese ball into a Christmas tree shape. If this intimidates you or you doubt your artistic capabilities, keep it simple and just shape the cheese ball into a cone shape. The decorations will make it look very Christmas tree like.
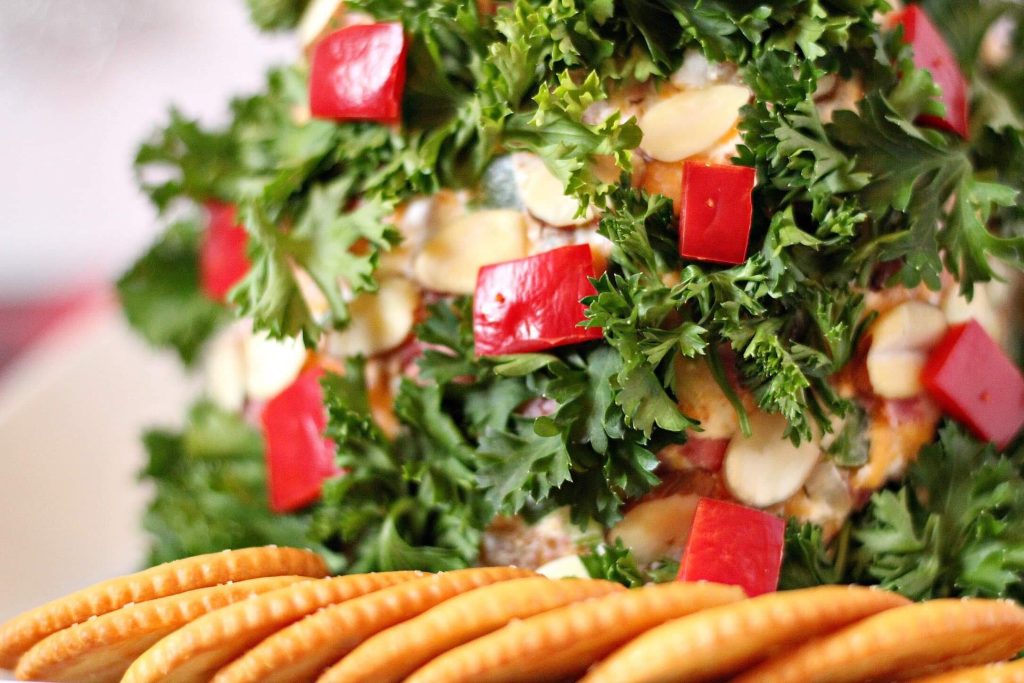
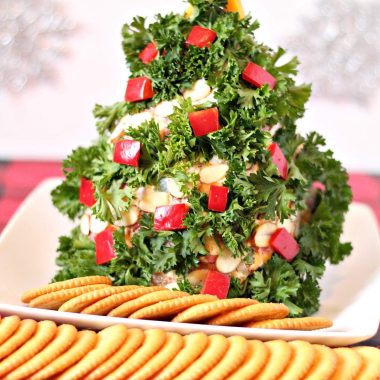
After that, you can decorate your tree- I mean cheese ball. I like to start by creating diagonal rows of almonds up the tree as tinsel or garland. After I add my sliced almond tinsel, I cover the tree in chopped parsley for that evergreen look. And because you can’t have a Christmas tree without ornaments, I take my diced pieces of pepper and attach them to the tree by sticking a toothpick in the back of the diced pepper piece and inserting the other end into the tree to make cute red pepper ornaments.
And what Christmas tree would be complete without a tree topper? For our Christmas tree themed cheese ball, I used a small cookie cutter and cut a star shape out of my block of cheddar cheese. I attached it to the top of the tree with another toothpick.
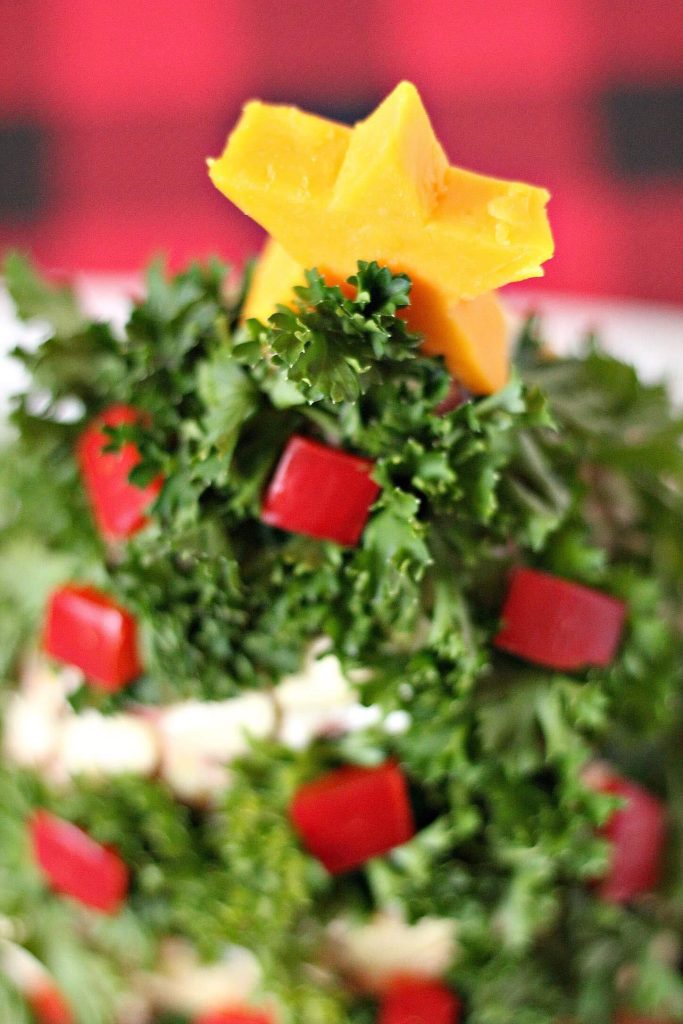
And the end result?
Just as lovely as the real Christmas tree in my living room and super delicious too.
Other Holiday Themed Recipes You Might Also Enjoy:
- Jack Frost Frozen Cocktails
- Snowman Themed Dessert Cheeseball
- Snowman Cupcakes
- Gingerbread Eggnog Milkshakes
- Christmas Tree Pull Apart Bread
- Eggnog Cookie Dough Bark
Ingredients
- 3 8 oz. packages of Cream Cheese
- 1 cup of Shredded Cheddar Cheese
- 1 bundle of Green Onions chopped
- 2 Jalapenos chopped
- 3/4 cup of Bacon Bits
- 1 package of Buddig Beef diced
- 1 bundle of Parsley
- 1 Red Pepper diced into small squares
- 1 small block of Cheddar Cheese
- 1 small bag of Almonds diced
- Toothpicks
- Crackers for serving
Instructions
- Start by placing your cream cheese, shedded cheese, onions, jalapenos, bacon bits, and beef into a large bowl.
- Knead with hands until all ingredients are well combined.
- Place on a serving plate and shape with hands into the shape of a tree.
- Start by using your almonds to make your "tinsel" on the cheese ball.
- Next cover your cheese ball in parsley to make it green.
- Take your diced red peppers and put one piece on the end of several toothpicks.
- Shove them down into the cheese ball to create "ornaments".
- Finally cut a star out of your block of cheese, and secure with a toothpick at the top.
- Serve and enjoy!

This looks like a cute and festive appetizer. I love it.
Thank you!
This looks better than my actual tree!!! An awesome idea for guests this season.