Cheeseburger Buns
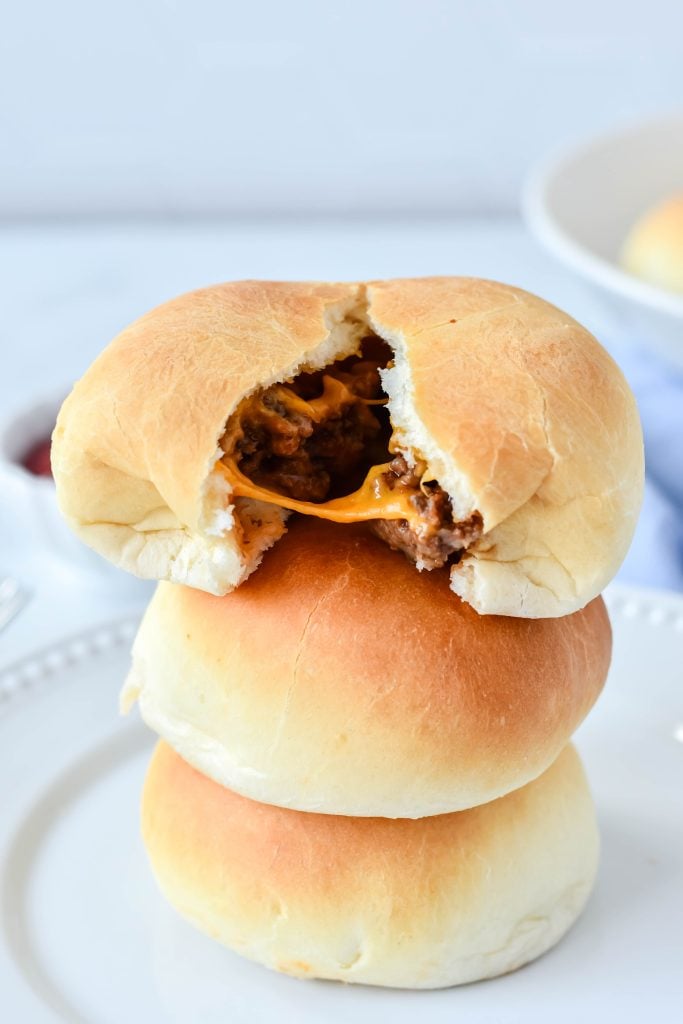
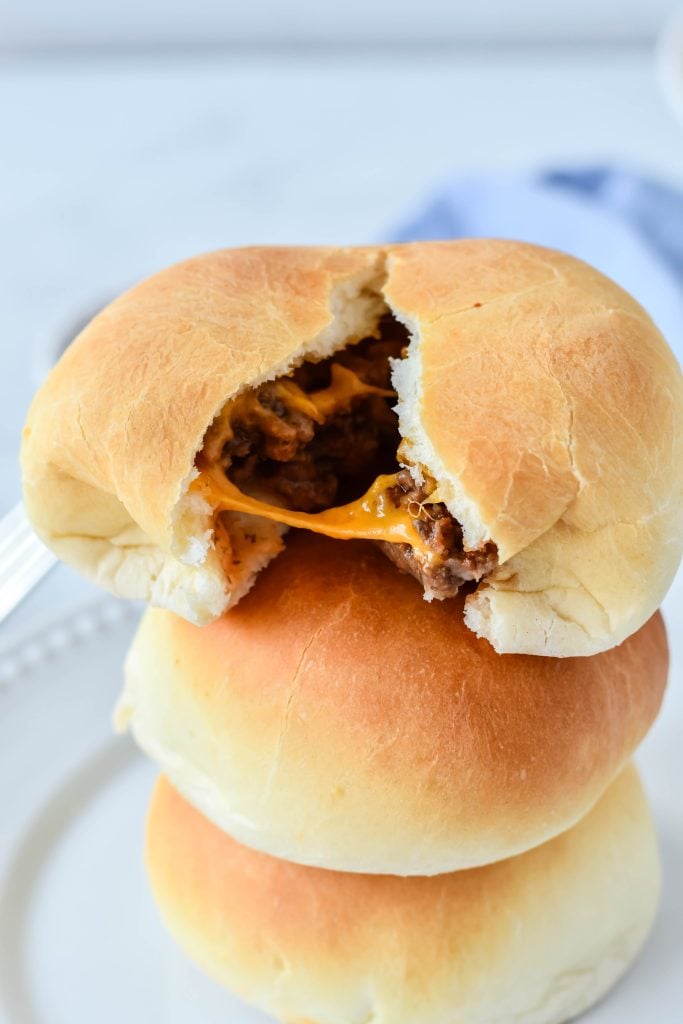
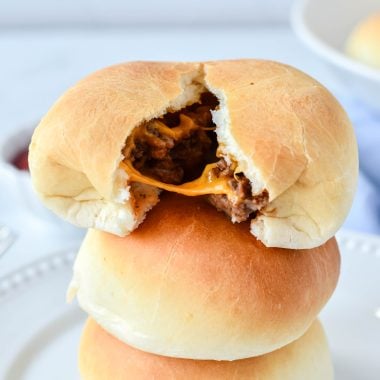
These stuffed cheeseburger buns are fun finger food for the whole family. Perfect for lunch or dinner, parties, and even potlucks- they’re a great way to enjoy all the flavors of a messy burger, in perfectly potable form.
I know I’m a day late (such is life when you have kids, sometimes anyway), but yesterday was National Cheeseburger Day.
In honor of that, and also because my family loves that cheesy, meaty concoction, I’m bringing you this delicious recipe.
Instead of a traditional burger, we opted for a new twist on the beloved classic.
The cheeseburger bun!
Can I just say that burgers inside of a bun are the new way to go?!
These things are amazing.
They could totally revolutionize the entire cheeseburger industry.
Give them a try for yourself and see. Savor the amazement.
These are easy to make, they freeze great, and as leftovers they’re still fantastic.
Ingredients Needed
- yeast – 2 .25o oz packages of active dry yeast, and it must be active dry yeast
- water – warm water is a must, not too hot though because hot or boiling water will kill the yeast instead of causing it to bloom
- milk – the milk should also be warm, but you can use any kind of milk except whole- which is too thick
- sugar
- shortening – not butter, but shortening which has a higher fat content and will result in the softest, most tender dough possible after baking
- egg
- salt
- flour – regular all purpose flour for this recipe, nothing special or fancy here
- ground beef – I like to use the leanest beef I can, but as long as you make sure to drain off all excess grease it will work
- onion – either a white or yellow onion will work, peeled & diced
- tomato sauce – the canned variety, but make sure it reads tomato sauce and not spaghetti sauce or marinara sauce
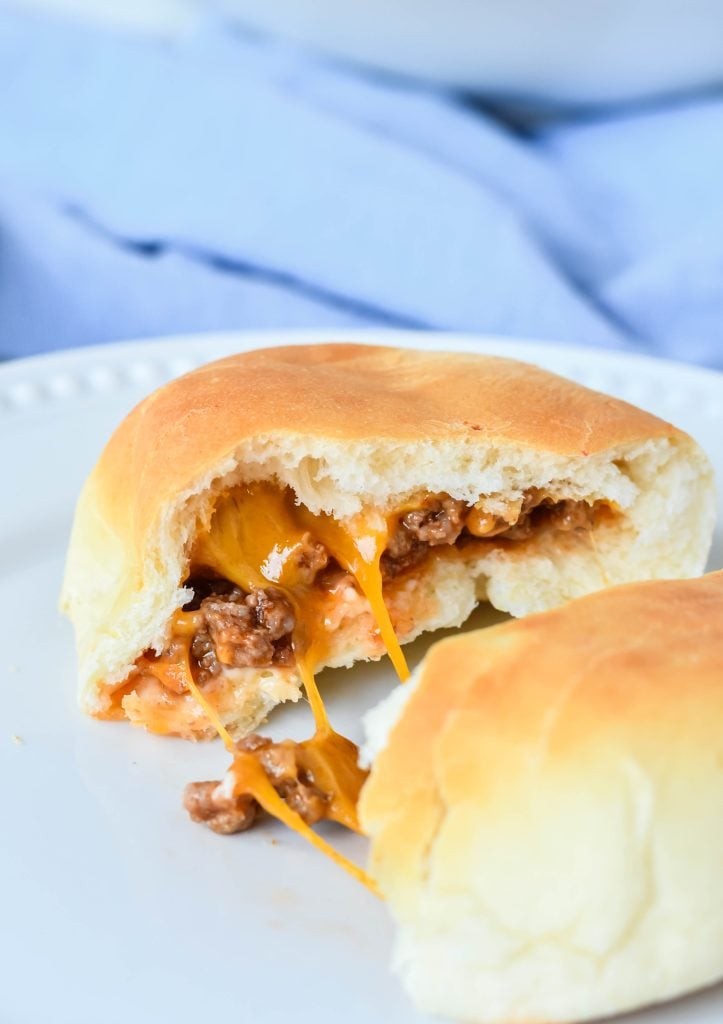
- American cheese – we used the pre-packaged Kraft singles kind usually, but the sliced variety from the deli will also work just as well but may result in less of a visual melted cheese pull when breaking the buns apart or biting into them
How To Make
While these cheeseburger buns are a single recipe, it’s essentially divided into two distinct part: making the dough, and then the stuffed buns.
Making The Dough
Add the yeast to a large bowl, and then pour in the warm water.
Whisk them gently together just until combined.
Next, add in the milk, sugar, shortening, egg, salt, and 2 cups of flour.
Using a hand mixer, beat the ingredients together until the batter’s smooth.
Add the remaining flour, and beat until the ingredient’s have come together to form a soft dough.
Alternatively, you can use a stand mixer if you have one.
If you have neither, you can absolutely take it back to basics and use a sturdy wooden spoon- however, be prepared because that will require a significant amount of arm power.
Spread additional flour out onto a clear work surface, such as a counter top of large cutting board.
Turn the dough out onto the floured surface.
With clean hands, knead the dough until it’s become smooth & elastic. This should take about 5 minutes.
If you’re using a stand mixer, beat the dough on a low speed for 5 minutes to achieve the same result.
Liberally grease a separate mixing bowl.
You can use butter, shortening, or cooking oil for this. Just don’t use too much, you don’t want any puddles.
Transfer the dough ball to the greased bowl, and turn it over once so that the top also gets greased.
Cover the dough bowl loosely with a kitchen towel or plastic wrap.
Set the bowl aside in a warm, dry place and let it do it’s thing.
It should take roughly 30 minutes for the dough to rise.
Making The Cheeseburger Buns
Add the ground beef & onion to a large skillet over medium heat.
Stir the meat, breaking it up and crumbling it as it cooks.
When the meat’s no longer pink, strain off all of the grease.
The more grease you strain, the less will end up in the buns.
This is key to keeping the buns from getting soggy during baking.
Transfer the strained meat back to the skillet, and stir in the tomato sauce until completely mixed in.
Remove the skillet from heat, and set aside on another unused burner to cool.
Now it’s time to go back to the risen dough. Remove the covering, and punch the dough down.
Literally, firmly punch your clean, clenched fist down into the middle of the risen dough.
The dough will immediately collapse as the excess air bubbles are released.
Divide the dough into 16-ish even dough balls. They don’t have to be perfect, but this should be your target.
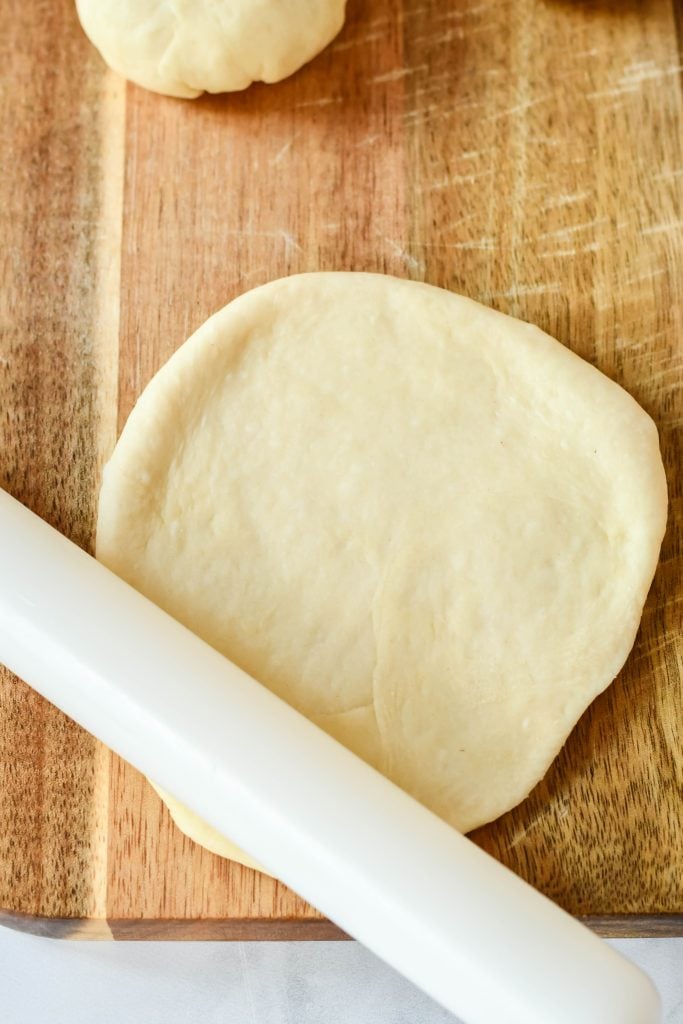
Working with one dough ball at a time- transfer it to a lightly floured surface.
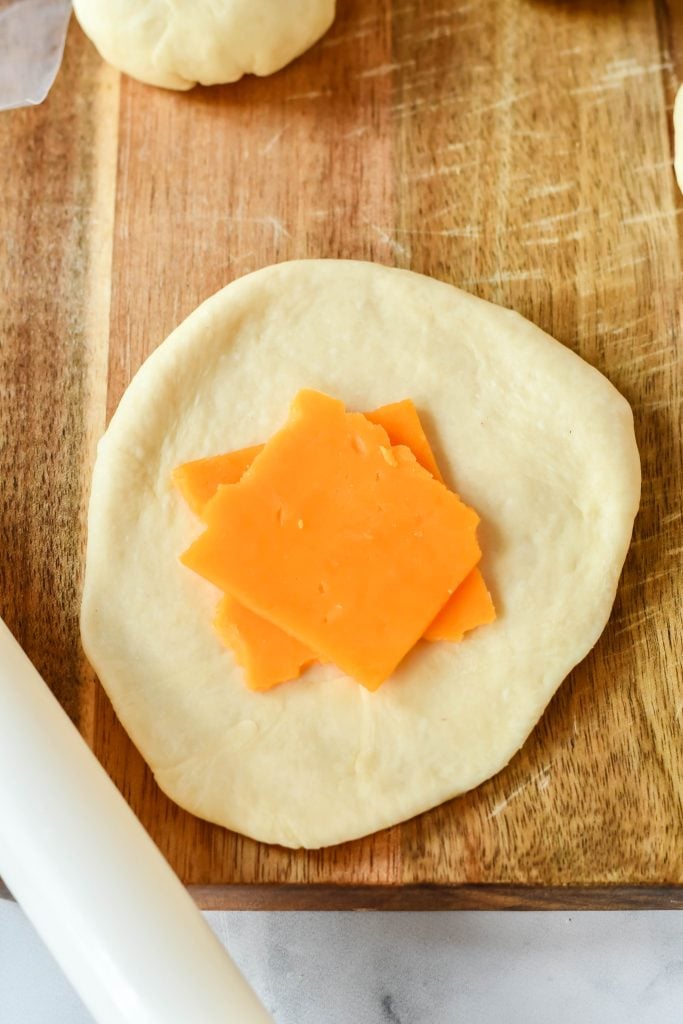
Gently roll the dough out into an even 5″ circle.
Slice the cheese slices into quarters, and add two quarters to the center of the spread dough circle.
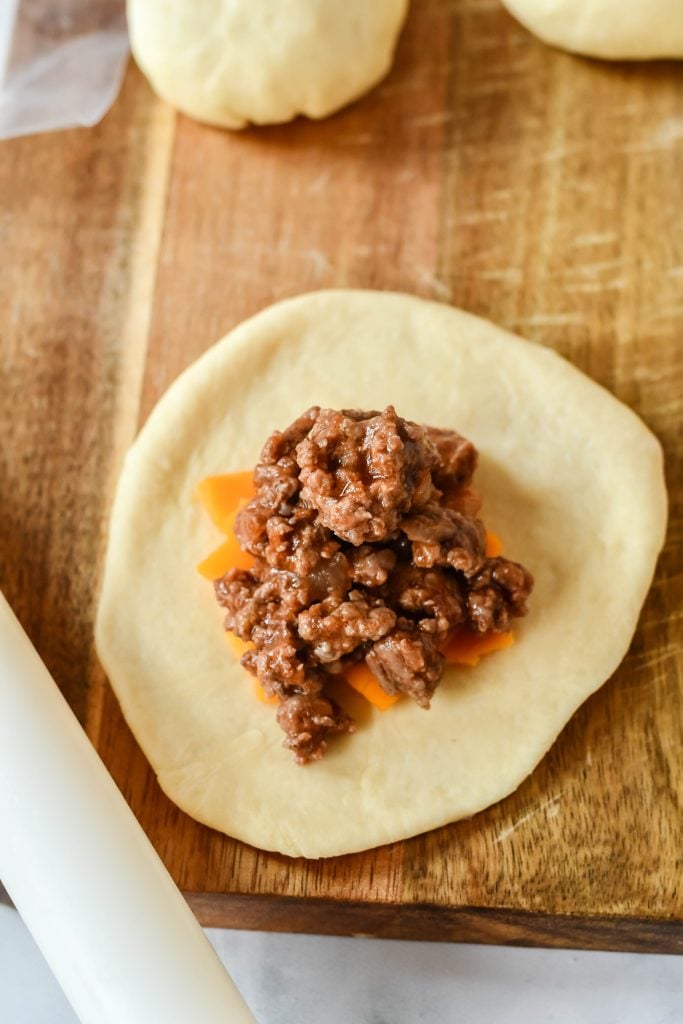
Spoon roughly 3 tablespoons of the ground beef mixture on top of the cheese.
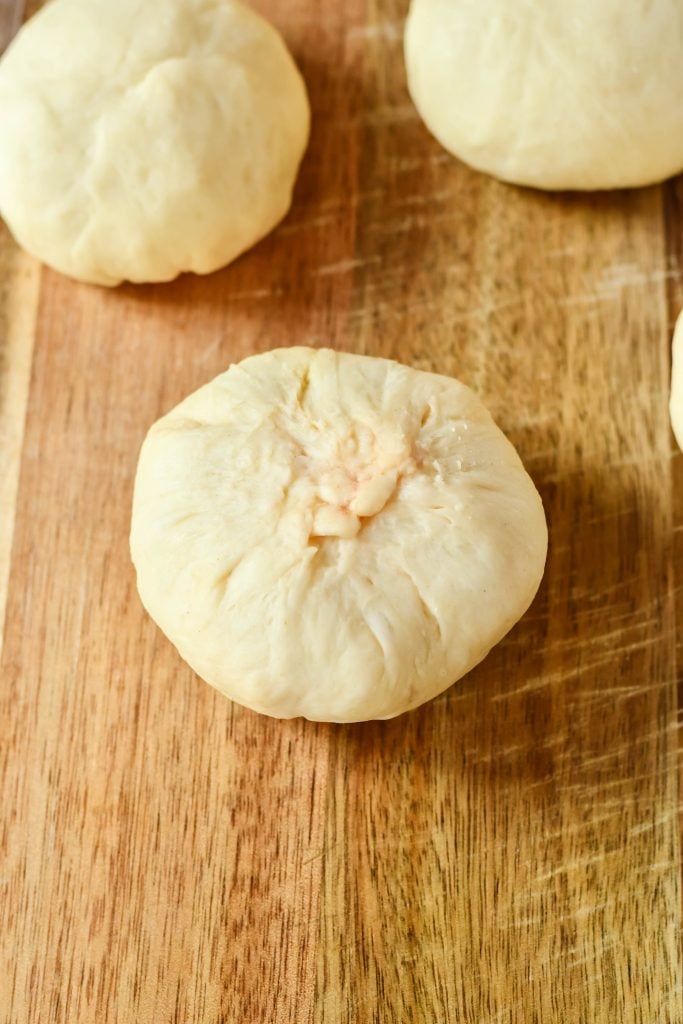
Bring the edges of the dough up to meet over the filling and pinch them together to seal.
Roll the stuffed cheeseburger bun between your hands a bit, if needed, to shape and finish sealing.
Place the prepared bun, seam side down, onto a non stick baking sheet.
Continue until all the buns have been stuffed and are on the baking sheet.
Cover the buns loosely with a kitchen towel, letting them rise again (in a warm place) for 20 minutes.
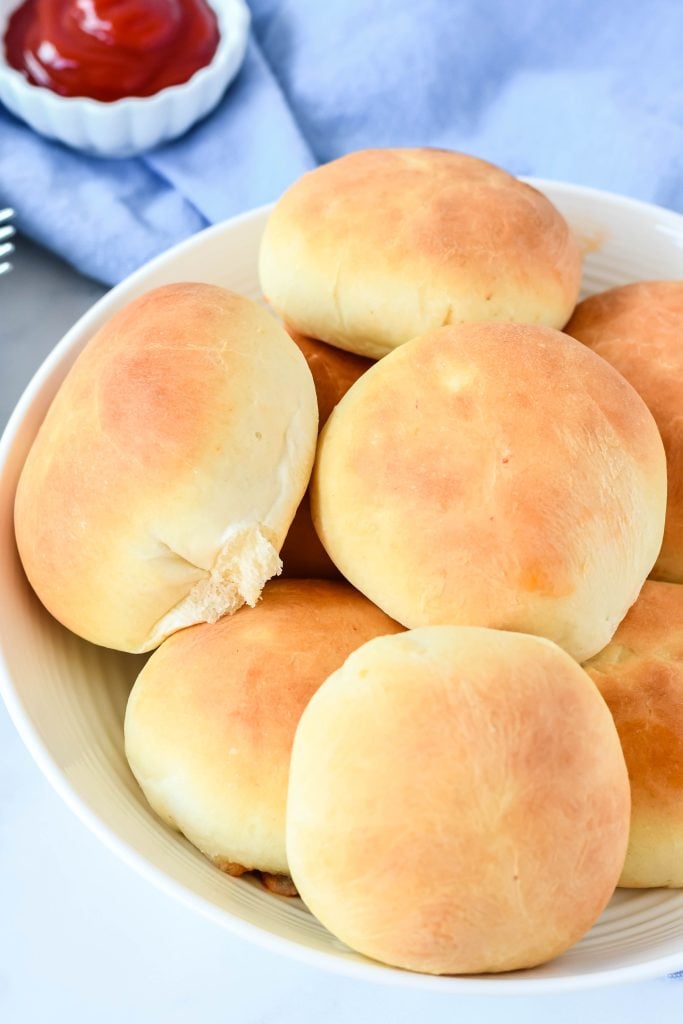
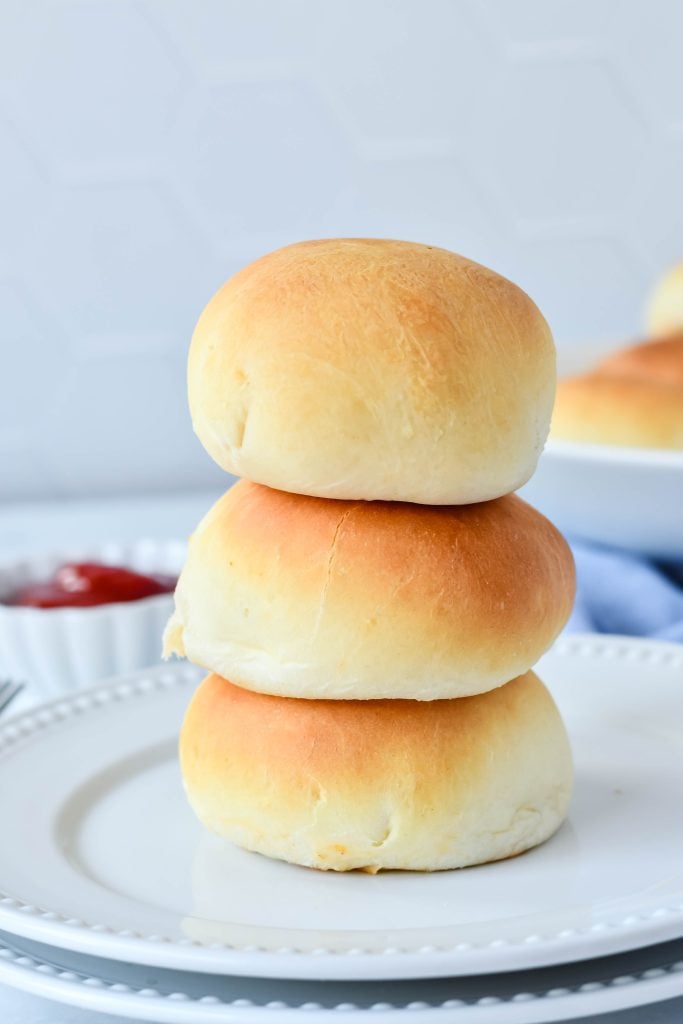
Bake them at 400 degrees for 8-12 minutes, or until golden brown and the dough’s cooked through.
Dipping Ideas
Unlike a traditional burger that’s dressed with condiments, these ones beg to be dipped before sinking your teeth into them.
Some of our favorite options include:
- ketchup
- mustard
- barbecue sauce
- queso
- an even mixture of mayonnaise and ketchup (our personal favorite)
Change Up The Fillings- Other Bite-Sized Ideas
Like something versatile? You aren’t obligated to stuff these with a cheeseburger filling.
Try ham and cheese, or broccoli, chicken, and cheddar. Sloppy Joes in a bun, anyone?
Other ideas we’ve liked include:
- Keep the cheddar cheese, but add some barbecue sauced pulled-pork.
- Use sliced or shredded mozzarella cheese, and add shredded chicken tossed on marinara sauce for a chicken parmesan version.
- For a pizza version, add mozzarella cheese with sliced pepperoni and a dash of sauce. Sprinkle the outside with Italian seasoning and a bit of garlic butter.
- Grilled cheese more to your liking? Add a larger amount of cheese, and dip these toasted stuffed buns in tomato soup when serving.
Want to give them a little extra pizzazz? Sprinkle sesame seeds out over top of the stuffed cheeseburger buns before baking!
Other Cheeseburger Ideas You Might Also Enjoy
- One Pot Cheeseburger Casserole
- Bacon Cheeseburger Meatloaf
- Cheeseburger Eggrolls
- Cheeseburger Nachos
- Bacon Cheeseburger Chili
If you’ve tried these STUFFED CHEESEBURGER BUNS, or any other recipe on my site, let me know in the comment section how it turned out, we love hearing from our readers! You can also follow along with me on PINTEREST, FACEBOOK, and INSTAGRAM to see more amazing recipes and whatever else we’ve got going on!
Cheeseburger Buns
Ingredients
- 2 packages 1/4 oz each active dry yeast
- 1/2 cup warm water
- 3/4 cup warm milk
- 1/4 cup sugar
- 1/4 cup shortening
- 1 egg
- 1 tsp salt
- 3 1/2 -4 cups all purpose flour
- 1 1/2 lbs ground beef
- 1/4 cup diced onion
- 1 8 oz can tomato sauce
- 8 slices American cheese quartered
Instructions
- In a large bowl, dissolve yeast in warm water. Add the milk, sugar, shortening, egg, salt and 2 cups flour; beat until smooth. Stir in enough remaining flour to form a soft dough.
- Turn onto a floured surface; knead until smooth and elastic, about 4-6 minutes. Place in a greased bowl, turning once to grease top. Cover and let rise in a warm place until doubled, about 30 minutes.
- In a large skillet, cook beef and onion over medium heat until meat is no longer pink; drain. Stir in tomato sauce. Remove from the heat; set aside.
- Punch dough down; divide into 16 pieces. On a lightly floured surface, gently roll out and stretch each piece into a 5-in. circle. Top each circle with two pieces of cheese and about 3 tablespoons beef mixture. Bring dough over filling to center; pinch edges to seal.
- Place seam side down on a greased baking sheet. Cover and let rise in a warm place until doubled, about 20 minutes. Bake at 400° for 8-12 minutes or until golden brown. Serve warm.
Nutrition
originally published September 19, 2013
recipe from Taste of Home magazine


")
My families new favorite. We double the recipe and still never have leftovers. Even my picky kids like it!
it’s really nice and meanful. it’s a really cool blog. Linking is a very useful thing. you have really helped lots of people who visit the blog and provide them useful information.
Will these freeze well? I have made these before, and they were a hit! Love them, but wanted to make some for a new mother along with other freezer meals 😊
Tami, these freeze beautifully! Just bake them as instructed, and let them cool completely before sealing in a freezer safe bag. They can be defrosted and reheated in the microwave when ready to enjoy.
It looks delicious. I wanna take a bite.
wow. it looks amazing recipe i will try at my home soon and comment after making this.
Oh my god what a recipe, what an idea. I fell in love with this recipe These type of recipes are very unique and delicious in appearance as well as in food.
Hi,
Can’t wait to make them! After I stuffed the rolls could I put in the fridge and bake the next day?
I want to try with ham and cheese.
I’d appreciate your help!
Thank you!
This sounds like such a clever idea! I love how you describe these cheeseburger buns as ‘perfectly potable’ – that’s exactly the appeal of enjoying a messy burger in a neat, portable form.