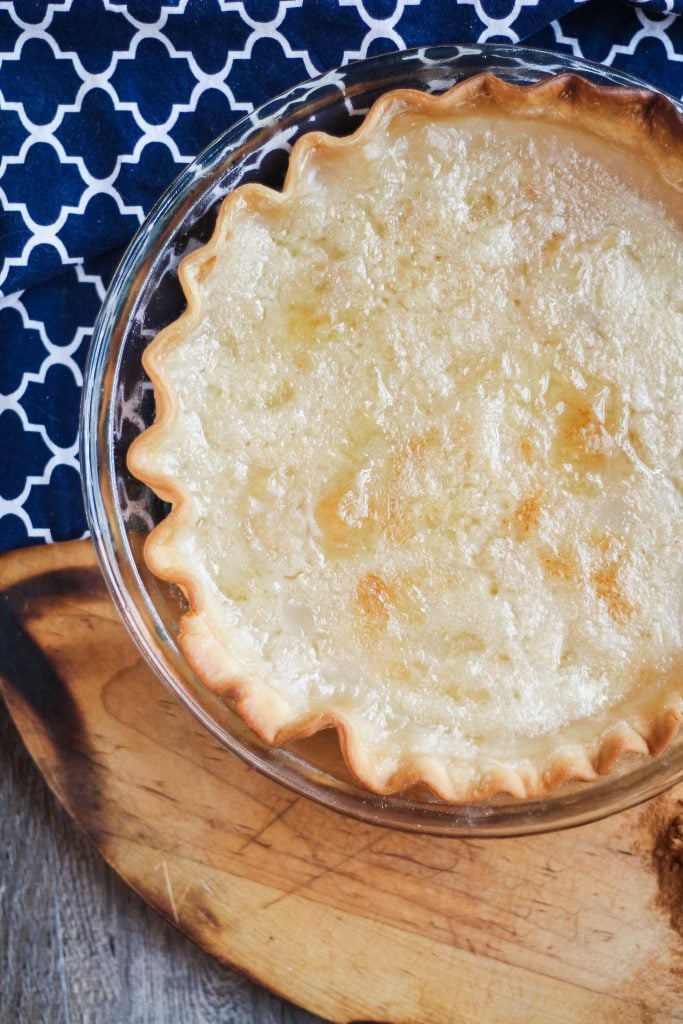
Water Pie
Six simple pantry staples come together to make magic in a pie plate with this vintage water pie recipe. Learn how to (re)make this sweet Depression-era dessert, and never be without a sweet treat after dinner again.
Pie, in all it’s glorious forms, seems to be the signature dessert of the U.S.A.
There’s even a whole saying about it- ‘as American as apple pie.’
And there’s so many different variations.
Fruit pies that became so popular. Pies that used sweetened nuts as filling.
Even the chess style pie that’s a Southern signature.
The range of sweet pastry filled desserts are arguably diverse as the country’s population.
No surprise when we’re fortunate to live in a melting-pot country with such a rich blend of different cultures.
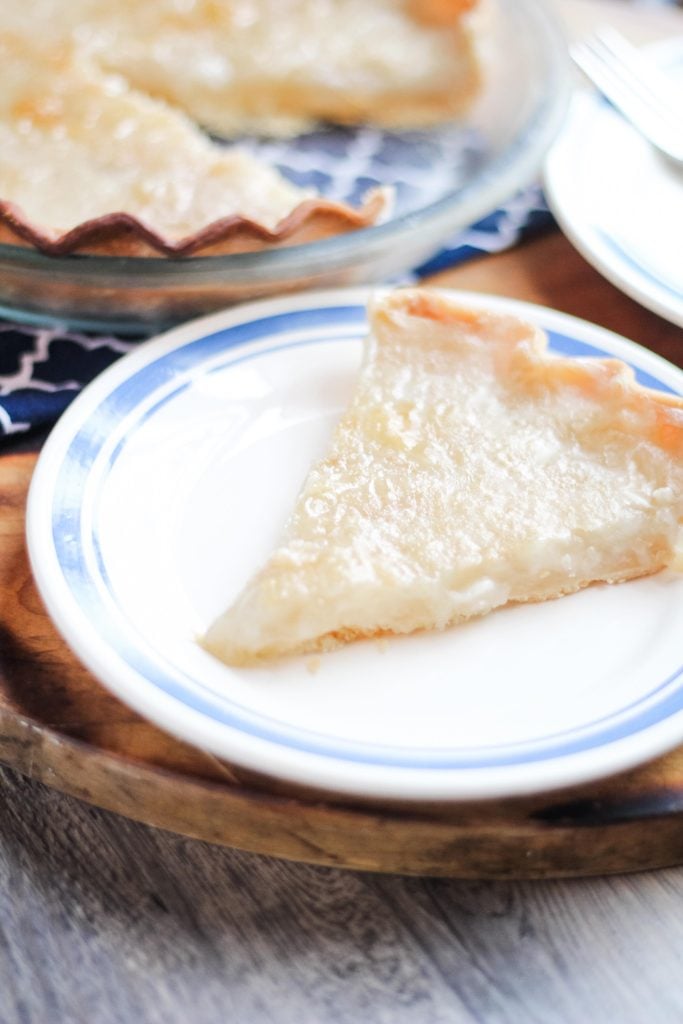
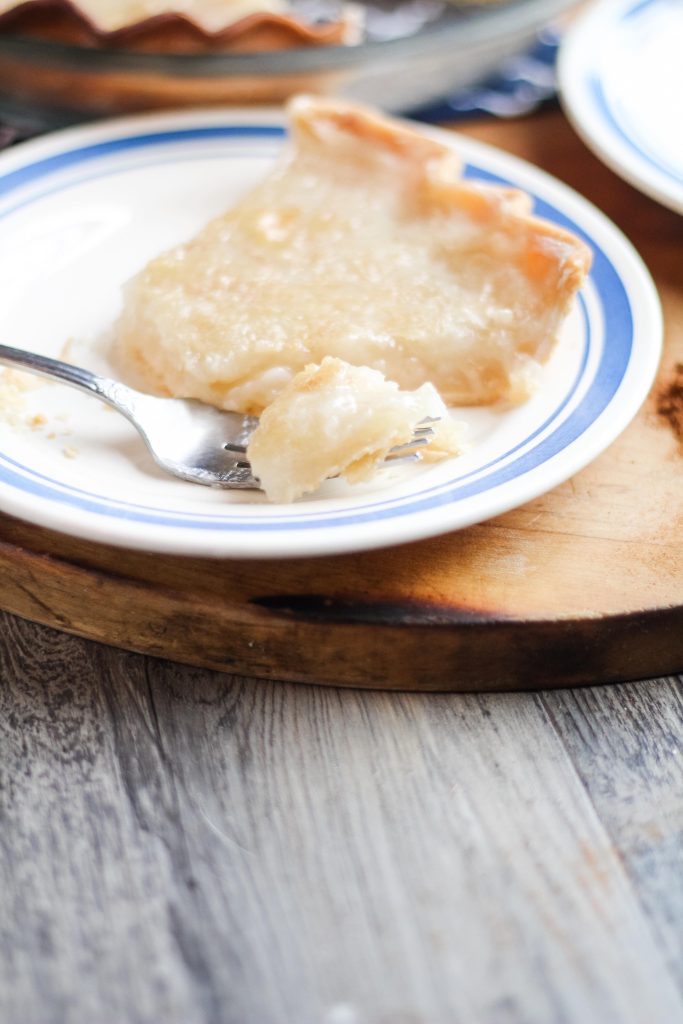
Everyone who loves a good slice of pie for dessert can agree that there’s something magical about sinking a fork into the buttery crust and watching a juicy bite break off.
There’s actually more than just the delectable taste that made pies so popular.
Pie crust used much less flour than making bread dough did.
They were also easy to bake. Cheaply too. And the fillings could be made to fit pretty much whatever was available in any region or season.
This made them a reliable source of food for hungry immigrants with multiple mouths to feed. The added benefit being they could also be made sweet or savory.
Pie was a staple of the average American’s diet. It was a tradition, and it was also something that was kind of taken for granted as much as it was savored & enjoyed.
Then came the Great Depression.
Everything you thought you could rely on on the food supply chain was disrupted, and this was in a market where most of the food was still homegrown or locally sourced.
Things like butter and sugar, necessities of most pies and pastries- especially the classic chess pie of the South were few and far between.
What was a family to do? Instead of completely going without, they adapted.
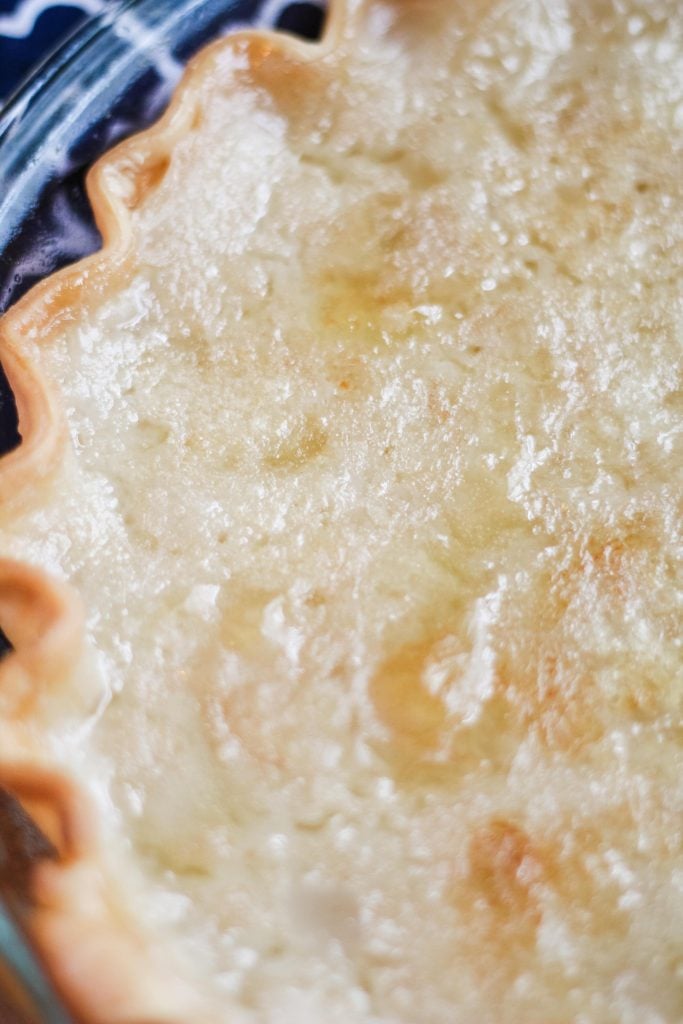
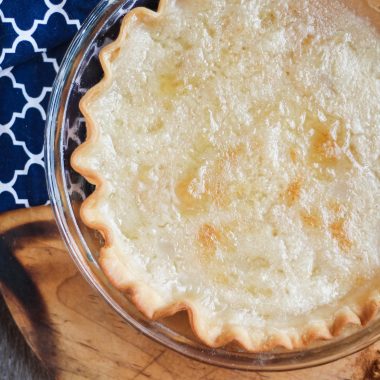
This vintage water pie recipe was born from that very struggle. It’s totally a product of the depression, but no less satisfying when you need a slice of thick sweet pie for dessert.
How To Make A Depression Era Pie
Making one of these vintage pies is simpler than you might think.
Start with an unbaked deep dish style pie crust, and set it on a rimmed baking sheet.
You can use a homemade pie crust, but I recommend a store bought version. I use the ones found in my store’s freezer section, then allow them to thaw completely before use.
If it’s your first time trying this water-based type of pie I definitely recommend the store bought pastry. There’s so much variation in homemade pie crust recipes, but I know the other works 100 % of the time with this particular recipe.
Pour the warm water into the pie. Yes, warm. Do not use cold water.
I’m not sure of the science behind this little tid bit, but I do know that every time I’ve tried it with cold water my pie has not set up properly even after chilling. It’s still, well- watery.
Add the flour & sugar to a small mixing bowl, use a fork to stir them together until the two are evenly combined.
Sprinkle the mix evenly out over the water in the pie crust.
Gently pour two teaspoons of vanilla extract evenly out over the water.
Lastly, add five evenly cut pats of butter to the water. They will float, and that’s what they’re supposed to do.
Carefully & gently transfer the pie to the oven, which should be heated to 400 degrees. Avoid spillage while transferring the pie.
Bake the pie for 30 minutes, then reduce the heat to 375 degrees (without opening the door) and bake it for anothe 30 minutes.
Use your oven light to check on the brownness of the outer pie crust edges.
If they already look deeply golden brown, carefully but quickly cover the edges of the pie with foil to prevent them from burning.
Otherwise proceed with the recipe as written.
Remove the cooked pie from the oven. Do not panic when it’s still water-y. This is normal. As it cools the pie’s filling will gel/set up.
Once the pie’s cooled completely, cover it with aluminum foil & refrigerate until chilled through and ready to serve.
The refrigeration part at the end is when it will completely firm up.
Other Things You May Want To Know About This Hot Water Pie Recipe
- It’s believe to originally have come from the Amish/Mennonite/Hutterite communities.
- It goes by a variety of other names depending on the community- Hutterite pie, Sucre (sugar) pie, poor man’s pie, and zucker pie.
- It’s a close cousin to the Pennsylvania Dutch milk (shlek) pie, where they replace the water with milk.
- Yes, the pie crust will not only cook completely but also get crispy even with all that water in it’s shell during the baking process.
Tips & Tricks For Making This Vintage Pie
- Brown sugar can be subbed in this recipe, but we prefer the using the regular granular kind.
- Use a deep dish pie crust. If you use a shallower pie crust the filling may very well bubble up and over, creating a mess in the oven you have to clean up later.
- If you prefer a more buttery taste overall, cut the butter into smaller pieces. Smaller pieces will spread more evenly over all as the pie cooks.
- For a fun finish, you can sprinkle extra sugar out evenly over top and briefly torch it (like a creme brulee) for a delicious caramelized sugar ‘crust’ on top.
Sometimes simple is better, and often vintage desserts embrace that concept.
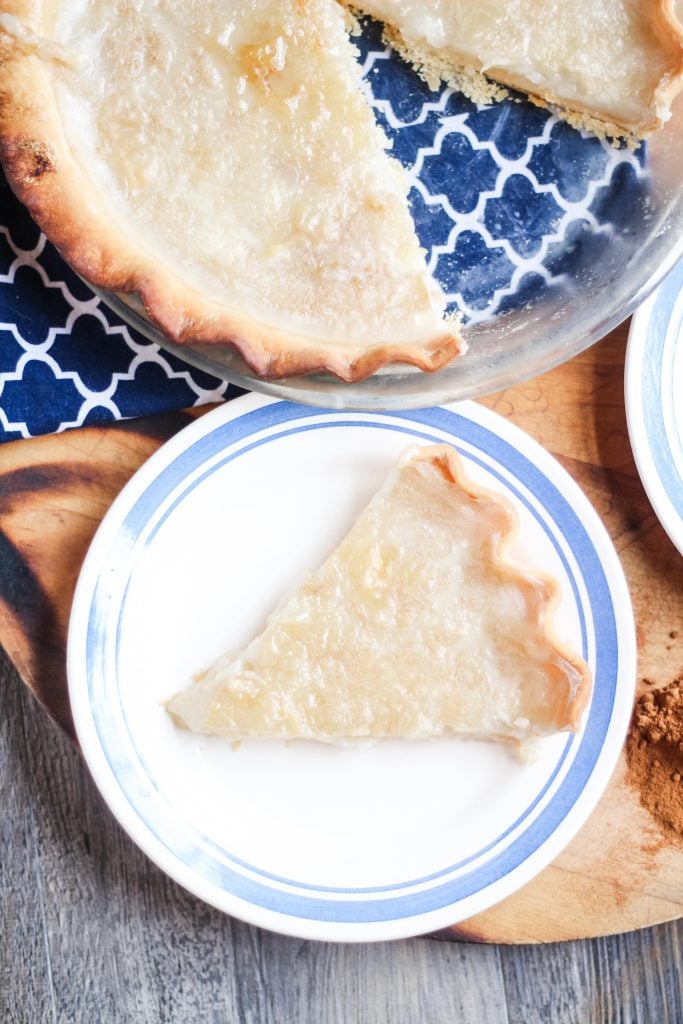
Despite the lack of fruit or frosting, this pastry dessert is perfectly sweet and a single slice makes a delicious dessert.
Make a pie of your own, and savor a taste from a simpler time with this water pie recipe.
Is It The Same As A Sprite Pie?
There’s a viral video that’s been going around on TikTok the past few months showing a similar dessert.
This one uses sprite instead of water to make it’s magic.
The recipes are identical, except for the swapping of water for the lemon lime flavored soda.
To make it, use one can 12 oz can of Sprite (which = 1 1/2 cups of liquid), instead of the 1 1/2 cups of water called for in the recipe below.
Otherwise, prepare the pie as instructed.
Other Vintage Dessert Ideas To Try:
If you’ve tried this WATER PIE, or any other recipe on my site, let me know in the comment section how it turned out, we love hearing from our readers! You can also follow along with me on PINTEREST, FACEBOOK, and INSTAGRAM to see more amazing recipes and whatever else we’ve got going on!
Hot Water Pie
Ingredients
- 1 9" deep pie crust unbaked
- 1 1/2 cups water
- 4 tbsp flour
- 1 cup sugar
- 2 tsp vanilla extract
- 5 tbsp salted butter cut into 5 equal pats
Instructions
- Set the empty pie crust on a rimmed baking sheet.
- Pour the water into the pie crust.
- In a small mixing bowl, whisk together the flour & sugar. Sprinkle this mixture out evenly over the water.
- Sprinkle the vanilla extract out over top.
- Add the pats of butter on top of the water.
- Bake the pie at 400 degrees for 30 minutes.
- Reduce the heat to 375 degrees and continue cooking the pie for 30 more minutes. If the pie crusts look like they're browning too much, cover them with foil to prevent burning.
- Remove the cooked pie from the oven. It will still be watery, but will set and firm up as it cools.
- Allow the pie to cool completely. Cover it, and refrigerate until chilled through and completely set.
- Slice and serve! Enjoy!
Nutrition


So disappointing. Not only is it not appetizing to look at, the texture was so odd and the flavor just ehhhh. I normally like these old depression style recipes but this was a huge miss for me.
I actually cooked this pie a lot longer than in the recipe….still
wasnt set…. so I refrigerated overnite and put back in oven 45 min with crushed walnuts. I got a pie similar to pecan pie…it’s okay but not something I would make again.
I could not believe this! But it is really good!!! Amazing recipe!!!
Is it possible to substitute with Almond flour?
I am not really familiar with cooking with almond flour, so I’m not sure. If you try it though, I’d love to know the results!
I have recently made a couple of these pies and thought the 1st one was a little to sweet for my liking… So I started to experiment a little with the recipe… I was delighted to find this as it is a great expensive way to make a dinner dessert…
I cut the sugar down to 1 cup sugar. It don’t seem like much, but did make a difference in the sweetness… I then added 3 egg whites, because I like custard pie, I figured WHY NOT add some egg whites??? I then added some minute 3 tbs tapioca to the dry mix sugar and flour… I have NEVER thawed the pie crust before hand. I mix everything I need and take the pie crust out of the freezer and put it into the oven at 350 degrees for 30 minutes… After 30 minutes, I wrap the crust with foil to keep it from burning… I also, prolly use more vanilla then most, because I like the flavor of it, so I make sure I put a good amount over the top…
I put my water and egg combo into the pie shell, then spoon sprinkle the dry ingredients into the shell… Put my butter pats on top, then the vanilla over that… I have not had a failure yet, prolly just lucky, but this being a very forgiving and easy recipe, I would think it would be hard to mess it up… Anyway, it’s a GREAT TASTING dessert… I am very happy I found it, but not sure my waste is gonna say the same in a month or so??? LOL
Also I failed to mention in my post, AFTER 30 minutes wrapping the crust, I put it back into the over for another 40 minutes at 350 degree’s… I couldn’t fine HOW TO EDIT my post, so I will just add my forgetfulness here…
Love it!! A bit sweet but still delicious! I sprinkled a bit of cinnamon on top. It did look like it wasn’t going to set up but after cooling I put in fridge and it set up beautifully! Definitely making againaybe with a tad less sugar!!
My mother made this alot except she used milk instead of water, lovevthe pie with the milk instead of water . She always sprinkled some cinnamon on top . Delicious