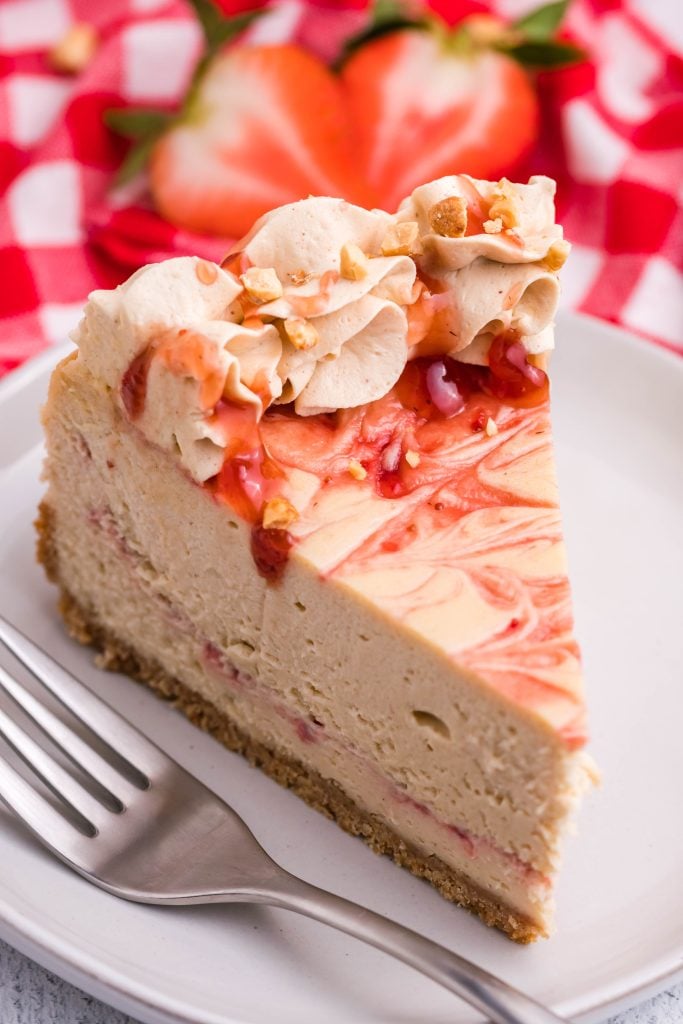
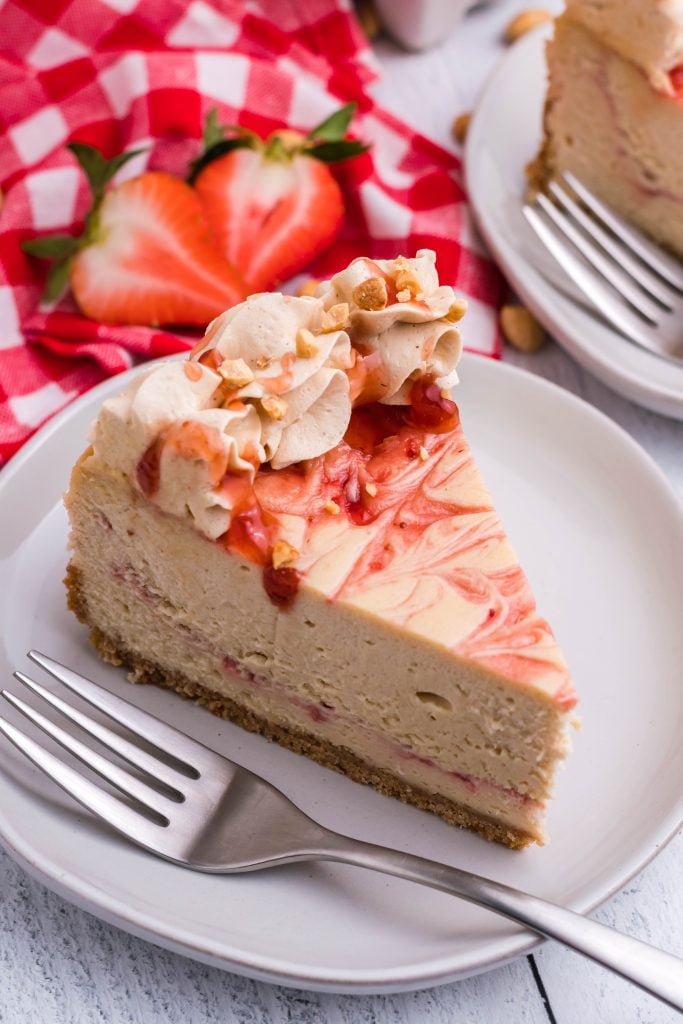
Peanut Butter & Jelly Cheesecake
Peanut butter and jelly cheesecake combines the flavors of the childhood classic with the rich and creamy dessert. The perfect slice of nostalgia for any cheesecake or peanut butter lover!
This post may contain affiliate links. As an amazon associate, I earn from qualifying purchases. See my full Disclosure Policy for details.
Peanut butter and jelly is one of those combos that immediately takes me back to childhood and days of brown bag school lunches.
And add it to one of my true dessert loves- cheesecake that is- and we have a real winner.
It’s smooth, creamy, and absolutely loaded with peanut butter and jelly flavor.
If you are a fan of pbjs then I know you’ll adore this dessert!
Ingredients
To make this you’ll need:
- Graham cracker crumbs– If you don’t have any you can make your own by popping graham crackers into a food processor and pulsing until they are the right texture.
- Butter– Use unsalted butter and melt it.
- Cream cheese– Full fat cream cheese softened.
- Peanut butter– Make sure you use smooth peanut butter and avoid any of the natural peanut butters because they will separate.
- Sugar– Regular granulated sugar.
- Flour– All purpose.
- Vanilla– Real vanilla extract, not imitation.
- Eggs
- Preserves– You could also use topping, jam, or jelly. The recipe calls for strawberry but you could sub grape or raspberry if you’d rather. Make sure you warm this up first.
How to Make
Start by making the crust.
To do that, add about 2 packages graham crackers into a food processor until you get about 2 cups of crumbs.
Then, add the melted butter and pulse until combined.
Press this mixture into springform pan you’ve sprayed with cooking spray, taking the crumbs about 1 inch up the sides of the pan.
Bake it in a 350 degree oven for 10 minutes.
Now, you can make the filling.
Cream the softened cream cheese and peanut butter together until it is nice and smooth In the bowl of a stand mixer equipped with a paddle attachment.
Then scrape the sides and bottom of the bowl.
Add the sugar and flour to the mixture and mix on high for an additional 1-2 minutes.
Turn the mixer down to low speed and slowly, pour in the heavy whipping cream and vanilla. Then gradually increase the speed of the mixer to high and mix for about 1 minute.
Lastly, add the eggs one at a time, mixing just until the yolk disappears into the batter.
Carefully pour half the cheesecake batter onto the crust.
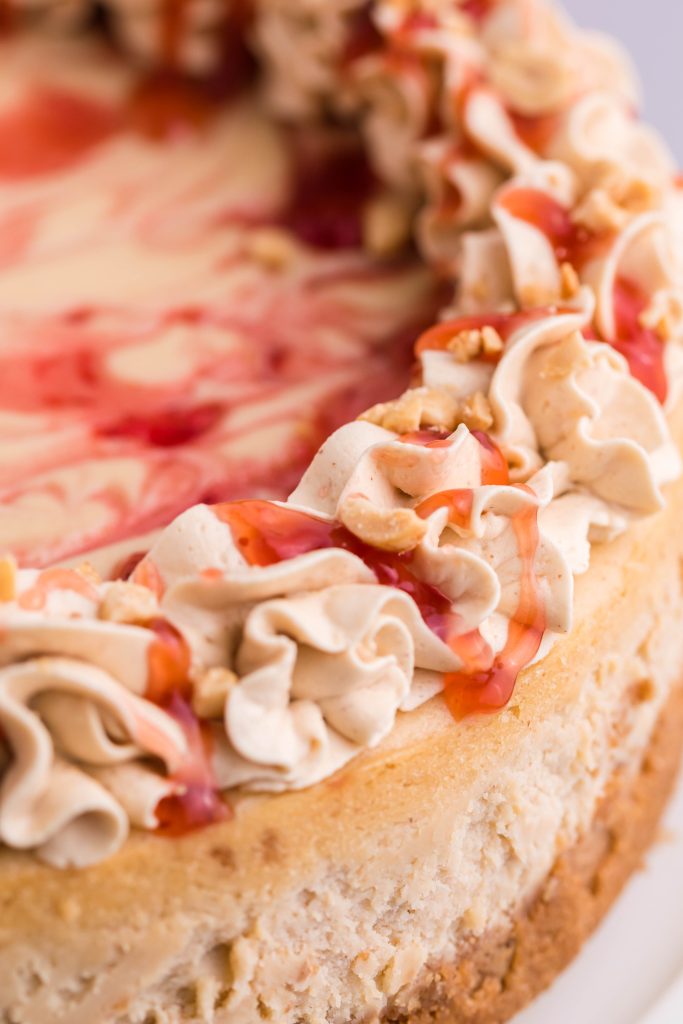
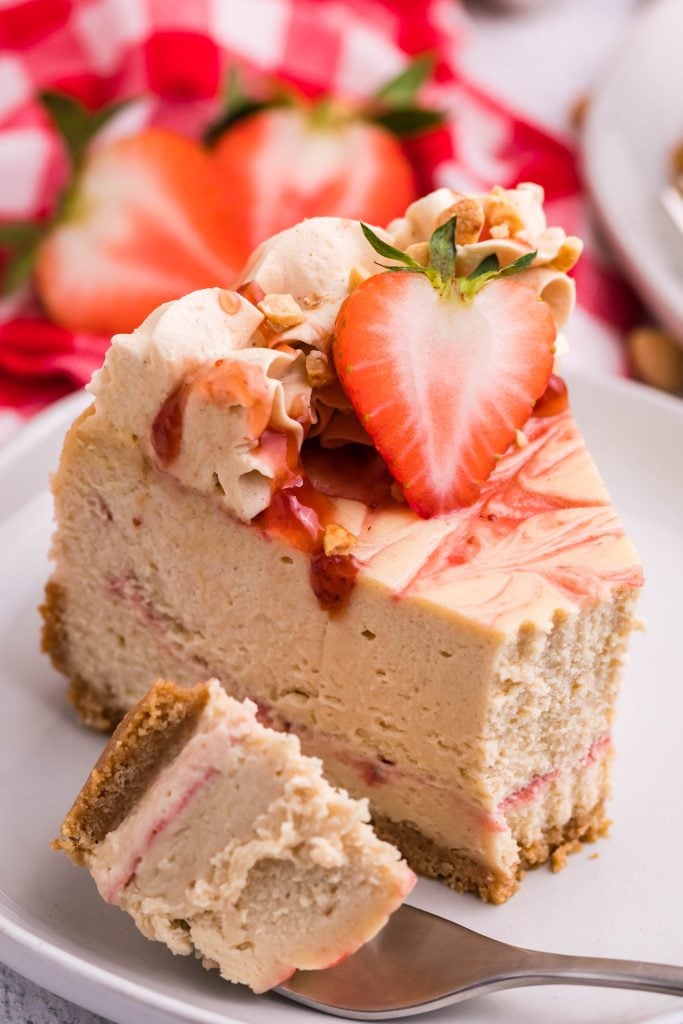
Then, drizzle half of the strawberry topping over the cheesecake filling and use a toothpick to swirl it.
Pour over the remaining cheesecake filling, and repeat with the strawberry topping on top.
Place in the oven for 15 minutes at 350 degrees.
After 15 minutes, without opening the oven door, reduce the heat to 200 degrees and bake for an additional 50-55 minutes or until the center slightly jiggles.
Once the center is set, turn the oven off and slightly crack the oven door for about 15 minutes to allow the cheesecake to cool down slowly.
Then, remove the cheesecake from the oven and allow to cool completely on a wire rack.
Then place in the refrigerator overnight until completely set.
Before serving, top with whipped cream, strawberry topping, and chopped peanuts.
Enjoy!
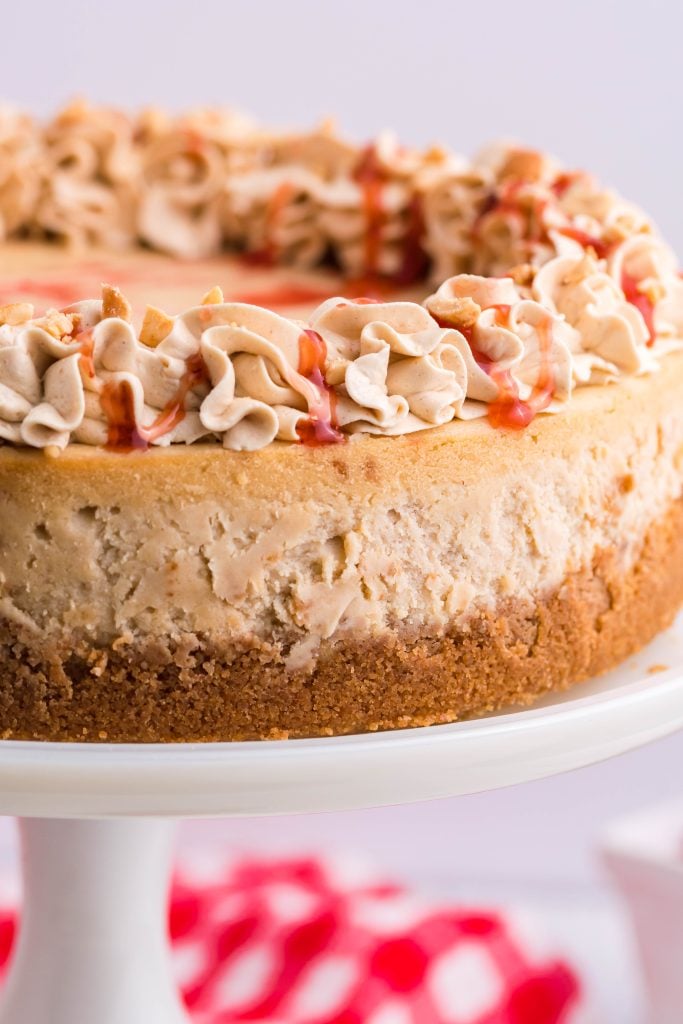
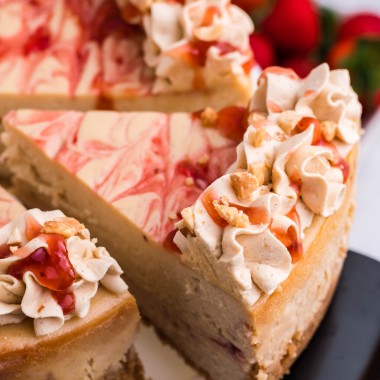
Making Peanut Butter Whipped Cream
Dressing up cheesecakes is half the fun of making them! It’s an easy & tasty way to really amp up the ‘wow’ factor.
My favorite way to do this is with a simple border of piped whipped cream, followed with a drizzle of something, and a final sprinkle of something else.
You’ll need the whipped cream to be more stiff than just regular cream you whipped until stiff peaks form. If it’s not it won’t pipe on prettily and also won’t hold it’s shape well.
To make this sturdier version, add one cup of cream to a mixing bowl plus two tablespoons of powdered sugar. Beat it until light & fluffy, roughly 4-7 minutes- careful not too overmix.
If you want to really embrace the peanut butter theme, I HIGHLY recommend making a peanut butter whipped cream to top the border of this pb & j dessert with!
Follow the same instructions above, but also add one tablespoon of peanut butter to the mixer before beating the cream. Pipe this onto the border of the cheesecake using a piping bag and your favorite decorative tip.
Storing
If you have leftover cheesecake, you can’t store it on your counter. It needs to be refrigerated or frozen.
To store in the fridge, wrap it tightly in plastic wrap or store it in a lidded cake container. Both of these methods will keep the texture of your cheesecake spot on.
Leftover cheesecake will last about 5 days in the fridge.
To freeze cheesecake, wrap it tightly in plastic wrap and place it in a zippered freezer bag. You can even make your life easier by wrapping individual slices and freezing them.
Cheesecake will keep in the freezer between 2 and 3 months.
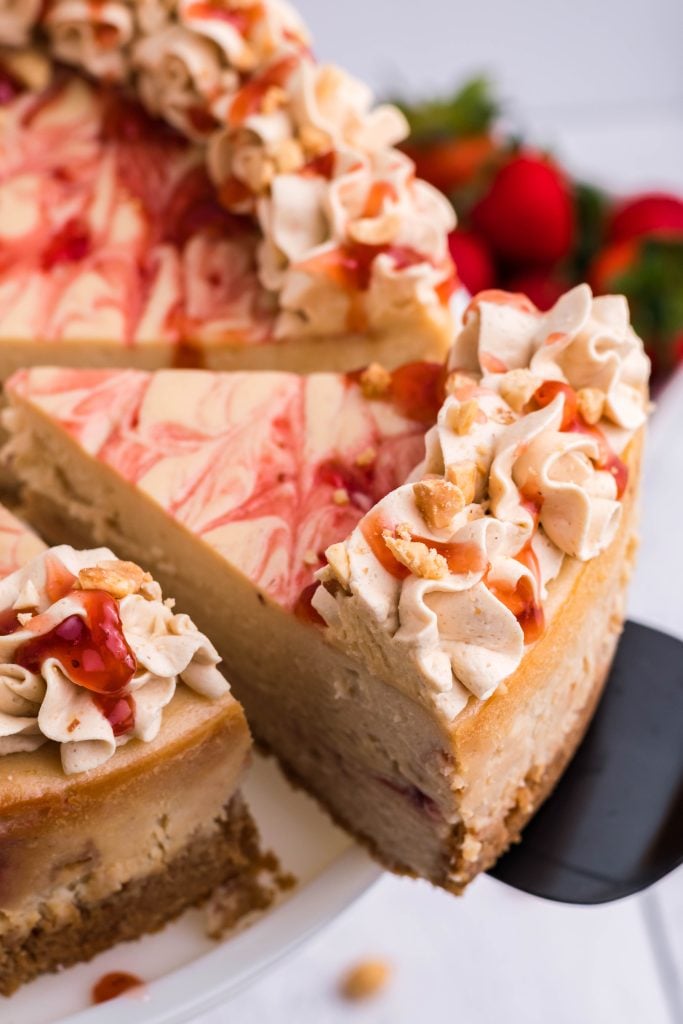
How To Cut A Cheesecake For The Perfect Slice
There’s nothing worse than when you’ve taken the time to make a beautiful dessert, and somebody comes along and instead of cutting a pretty slice- they hack it up.
Don’t ruin your gorgeous cheesecake, instead use one of these two tricks to get the perfect slice each and every time!
Use A Hot Knife
This is the way my Grandma and Mom have always done it, using a sharp kitchen knife. You’ll need a tall glass (glass, not plastic, so that it maintains the heat) cup filled with hot water.
Dip the knife into the hot water, holding it there for 2-3 seconds. Remove the knife and quickly wipe it try with a clean dish towel.
Moving quickly, so that the knife stays hot, make your first cut. Remove the knife, and wipe it off on a paper towel to clean it completely. Dip it back into the hot water, repeating the process until you’ve cut your desired number of sliced.
The hot knife trick will yield perfect, clean cuts every time as long as you’re sure to clean the knife in between cuts before heating it up again.
Use Dental Floss
While the idea may seem like an odd choice at first, it’s actually pretty genius. One of the sons learned this method in culinary school, and showed it to me.
Using (unflavored!) dental floss will give you fool proof slices quickly. This is my preferred method if I’m taking a cheesecake to a party or potluck and want to precut the slices, but keep the dessert together.
Pull a long strand of floss tight between a finger on each hand. I like to wrap it around each finger just to ensure I’ve got a good hold on it. Visually line it up with where you want to slice, and holding it taught press both sides down together all the way through the cheesecake.
Simply pull it out gently by one end. The floss will come out clean, and repeat until all your cuts have been made.
Choose whichever method feels most comfortable to you. Either one will yield beautiful slices that highlight the layers of your dessert.
Tips and Tricks
- Do NOT open the oven door while you are baking the cheesecake. They are very delicate and opening the door could cause your cake to crack.
- You don’t have to let the cheesecake cool in a cracked oven for 15 minutes, but this does help prevent cracking.
- Be careful not to overbake the cheesecake. There will be some slight jiggle in the center and that’s ok. It will completely set and firm in the fridge.
- Do NOT use natural peanut butter. These are the peanut butters you need to stir before using. The peanut butter won’t incorporate properly into the mixture.
Other Cheesecake Recipes You’ll Love
This peanut butter and jelly cheesecake is a delicious nostalgic dessert. Make it and feel like a kid all over again!
Looking for other cheesecake recipes? Try these:
- New York Style Cheesecake
- Smoked Cheesecake
- Hot Chocolate Cheesecake
- Oreo Cheesecake Brownies
- No Bake Hot Fudge Brownie Cheesecake
- Cinnamon Bun Cheesecake
- Savory Cheesecake
If you’ve tried this PEANUT BUTTER AND JELLY CHEESECAKE, or any other recipe on my site, let me know in the comment section how it turned out, we love hearing from our readers! You can also follow along with me on PINTEREST, FACEBOOK, and INSTAGRAM to see more amazing recipes and whatever else we’ve got going on!
Peanut Butter & Jelly Cheesecake
Ingredients
For The Crust:
- 2 cups Graham Cracker crumbs
- 6 Tablespoons butter- melted
For The Cheesecake
- 4 8 oz pkg cream cheese softened
- 1 cup smooth peanut butter
- ¾ cup sugar
- 3 Tablespoons flour
- 2 teaspoon vanilla extract
- ¾ cup heavy whipping cream
- 3 eggs
- 1 ½ cups strawberry topping- or preserves warmed up
Instructions
To Make The Crust
- Add about 2 packages graham crackers into a food processor until you get about 2 cups of crumbs. Add melted butter and pulse until combined. Pour into he prepared springform and use the back of a spoon to pack down to form the crust. Take the crumbs up the sides of the pan about 1 inch.
- Bake at 350 for 10 minutes.
To Make The Filling
- In the bowl of a stand mixer equipped with a paddle attachment, cream the cream cheese and peanut butter for 3-4 minutes or until nice and smooth and there are no lumps. Scrape the sides and bottom of the bowl.
- Add the sugar and flour. Mix on high for an additional 1-2 minutes.
- Slowly, pour in the heavy whipping cream and vanilla and mix on low speed until combined then slowly increase the speed to high and mix for about 1 minute.
- Add the eggs in last, one at a time, mixing just until the yolk disappears into the batter.
- Carefully pour half the cheesecake batter in the prepared pan. Drizzle half of the strawberry topping over the cheesecake filling and use a toothpick to swirl. Pour over the remaining cheesecake filling, and repeat with the strawberry topping on top.
- Place in the oven for 15 minutes at 350 degrees. After 15 minutes, without opening the oven door, reduce the heat to 200 degrees and bake for an additional 50-55 minutes or until the center slightly jiggles (it should resemble Jell-o, not look wavy like water)
- Once the center is set, turn the oven off and slightly crack the oven door for about 15 minutes to allow the cheesecake to cool down slowly. (This is optional but will help avoid cracks in your cheesecake)
- Once the 15 minutes are up, remove the cheesecake from the oven and allow to cool completely on a wire rack. Then place in the refrigerator overnight until completely set.
- Top with whipped cream, strawberry topping, and chopped peanuts and serve.
Notes
Nutrition
This post may contain affiliate links. As an amazon associate, I earn from qualifying purchases. See my full Disclosure Policy for details. As always, all opinions are my own.


I want to make this!! What size pan did you use?
Just a standard 9″ springform pan.
Delicious cheesecake!! I made this yesterday with Nutterbutter cookie crust and mixed berry preserves!! It is amazing!! I did add 10 oz of peanut butter baking chips to the cheesecake batter… I’m a peanut butter junkie, so never to much peanut butter!!!
Super easy to make. Just waiting until morning to try it. Next time I’m going to use a 10 inch pan. 9 was just a little too thick.
I made this for the family but truly for my daughter and son in law it’s still in the oven… 350 for 15 minutes the 200 for 50 to 55 minutes I hope they love it
It’s one of our favorite desserts to make when we’re craving something indulgent or to serve for guests. Hope your kids loved it!
I am going to be making this for my daughters birthday who is a PB & J lover. I don’t see anything about a water bath, is that correct? I’ve never made a cheesecake without one but would love it if I didn’t have to for this one. TIA!
So from my experience I’ve only ever water bathed when trying to prevent a traditional cheesecake from cracking. I’ve never used a water bath with this one since it is dense and also has mix ins.