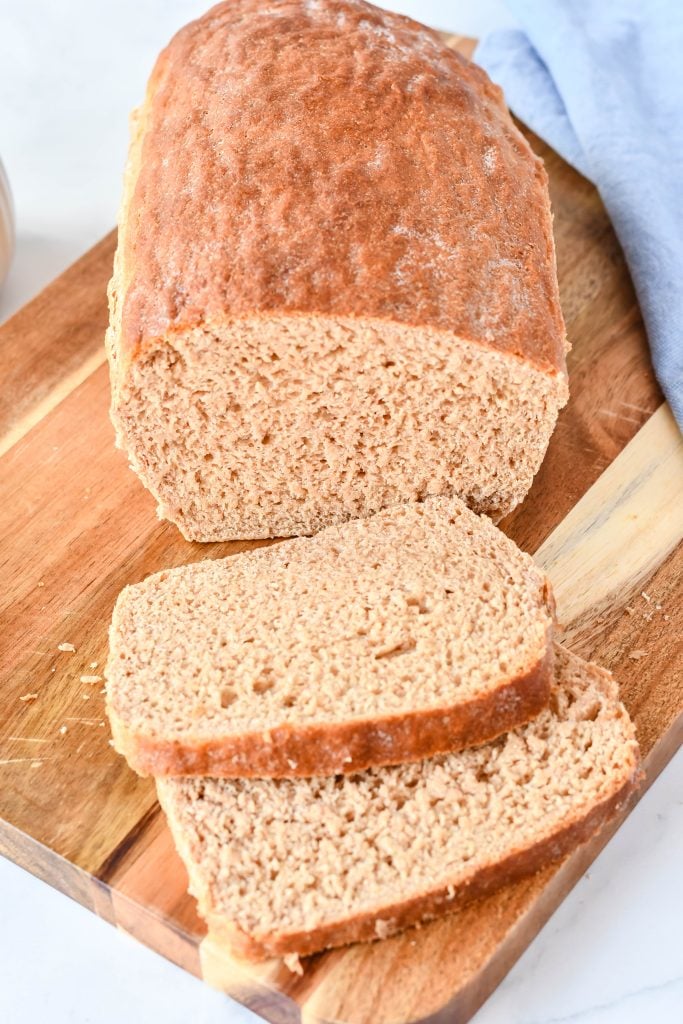
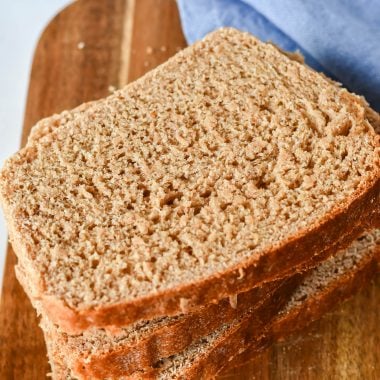
Honey Wheat Sandwich Bread
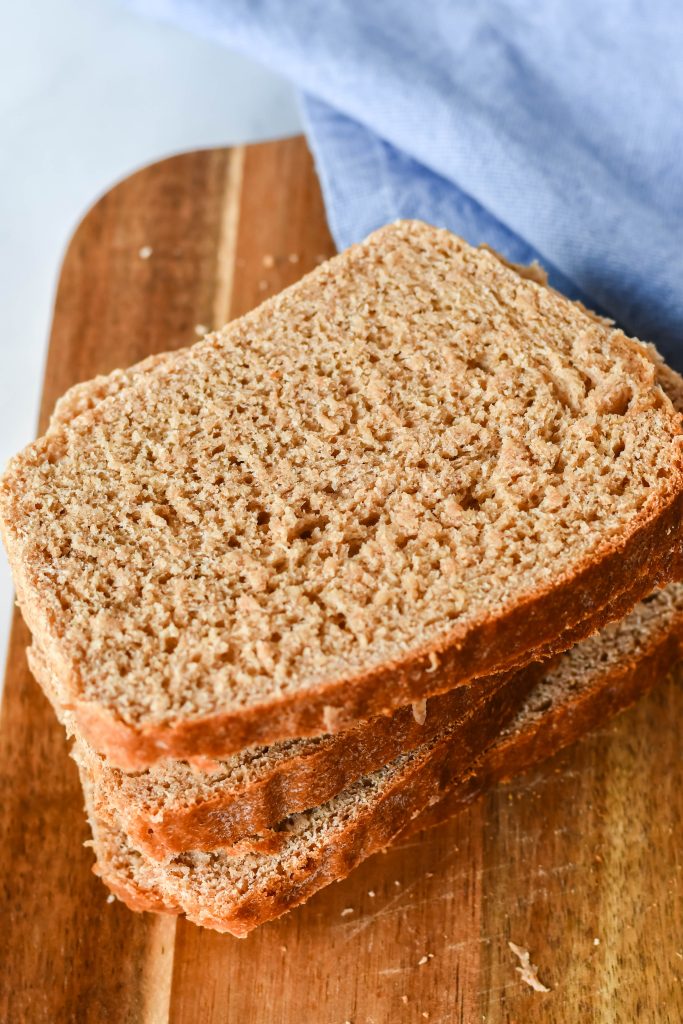
Honey wheat sandwich bread creates the perfect vehicle for sandwiches, butter and almost any jam or spread you can imagine. This recipe yields a fluffy, moist loaf that slices so well. Plus it is much tastier and less expensive than its mass-produced grocery store counterparts.
Is there anything better than freshly baked bread?
The answer is a hard no unless of course that something is a freshly baked loaf of bread that is yummy and only costs $1.34 per loaf or 11 cents per slice to make thanks to the recipe I got and adapted from Budget Bytes.
And that, my friends, is what you get with this honey wheat sandwich bread.
Plus, it’s pillowy soft and moist with the best flavor unlike some whole wheat bread is heavy and dense.
My family begs for me to make this bread, and I’m sure yours will too!
Why make homemade sandwich bread?
For several reasons!
First, let’s talk taste.
This homemade bread recipe has the best flavor.
It doesn’t have the chemically taste that many commercially processed sandwich breads tend to have.
Plus you wind up with a higher quality bread for much less cost than store bought bread.
And lastly, baking bread is fun and relaxing.
It can be a great way to get your kids involved in the kitchen or just a way to unwind on the weekend.
How to Make
- Activating the yeast
- Making the dough
- Proofing the dough
- Baking the bread
Activating the Yeast
Making the Dough
Once the yeast mixture starts to firm, stir the olive oil and salt into the mixture until it is well combined.
Then, stir in the wheat flour. The dough will still be very sticky at this point.
Once that’s mixed in add the all-purpose flour, 1/2 cup at a time, until you can no longer stir it with a spoon.
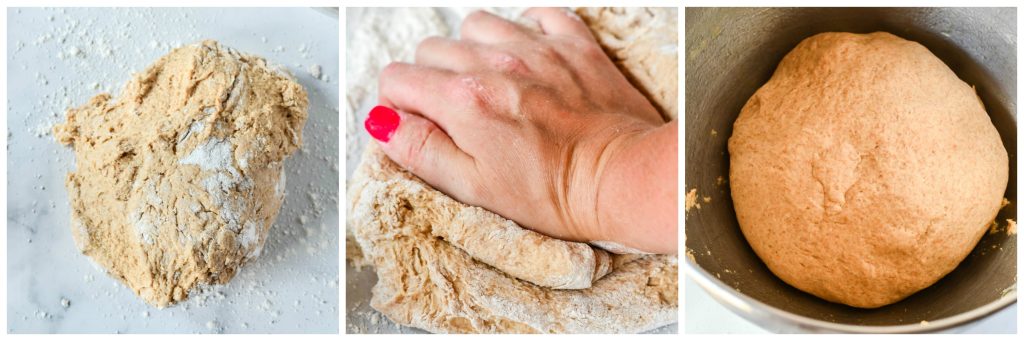
Then turn the dough ball out onto a flat surface that you’ve covered liberally with flour.
Knead in the remainder of the all purpose flour.
You’ll know you’ve added enough flour when the dough is soft and malleable but not sticky.
Knead for around 3 minutes or until the dough is stretchy and smooth.
Proofing the Dough
Proofing the dough just means letting it rise. Once the dough is elastic and smooth, you can put the dough ball into a large bowl and gently cover it with a towel.
Set it in a warm place and let it rise until it’s doubled in size. This takes about 45 minutes.
When it’s doubled in size, you’ll gently beat down the dough and shape it into a log the legnth of your loaf pan.
Coat the loaf plan with nonstick spray and put the dough inside of it.
Cover it and let it rise again until doubled, about another 45 minutes.
Baking the Bread
Once the dough has doubled in size again, cut a long slit in the top of the dough to allow for expansion during cooking.
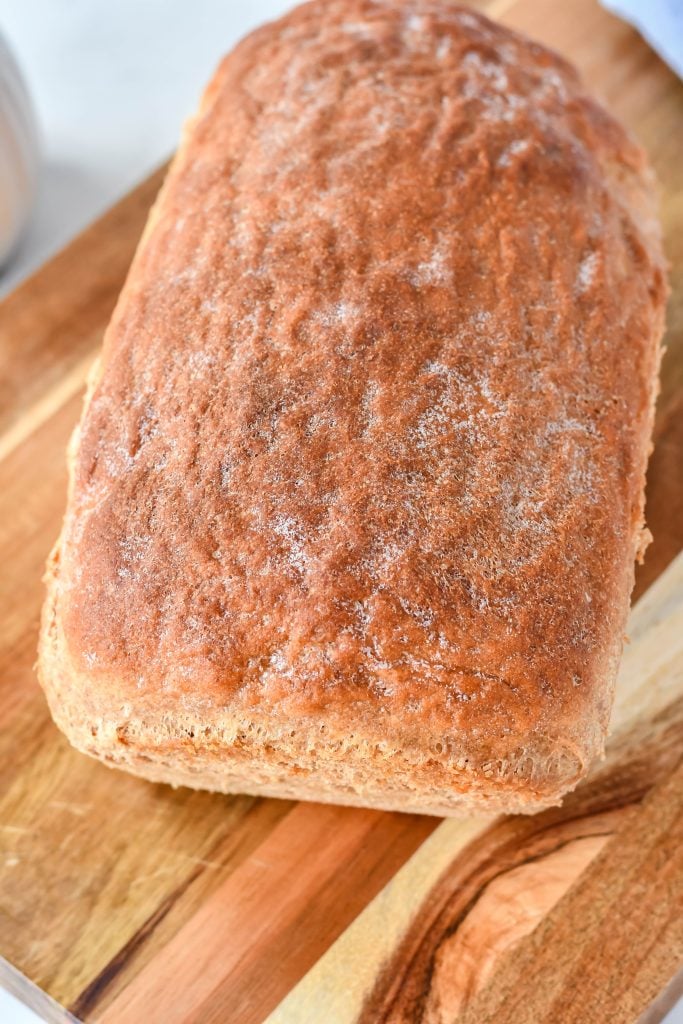
Then bake the bread in 425 degree oven for 30 minutes or until it’s golden brown on top.
When the bread is done, remove the bread from the pan and transfer it to a cooling rack.
Let it cool totally prior to slicing.
Storing the Bread
Freshly baked bread doesn’t last as long as store bought bread on the counter because of the lack of preservatives.
It will last 3-4 days covered on the counter or about a week in the fridge.
You can also wrap the loaf well in plastic wrap or foil and put it in a sealable freezer bag in the freezer for up to 6 months.
What to Serve with It
This bread works well in place of any sandwich bread in nearly any sandwich or panini or even grilled cheese.
I particularly like it with:
- Peach basil chicken salad sandwiches
- Grilled pickle and cheese sandwiches
- Dill pickle tuna salad sandwiches
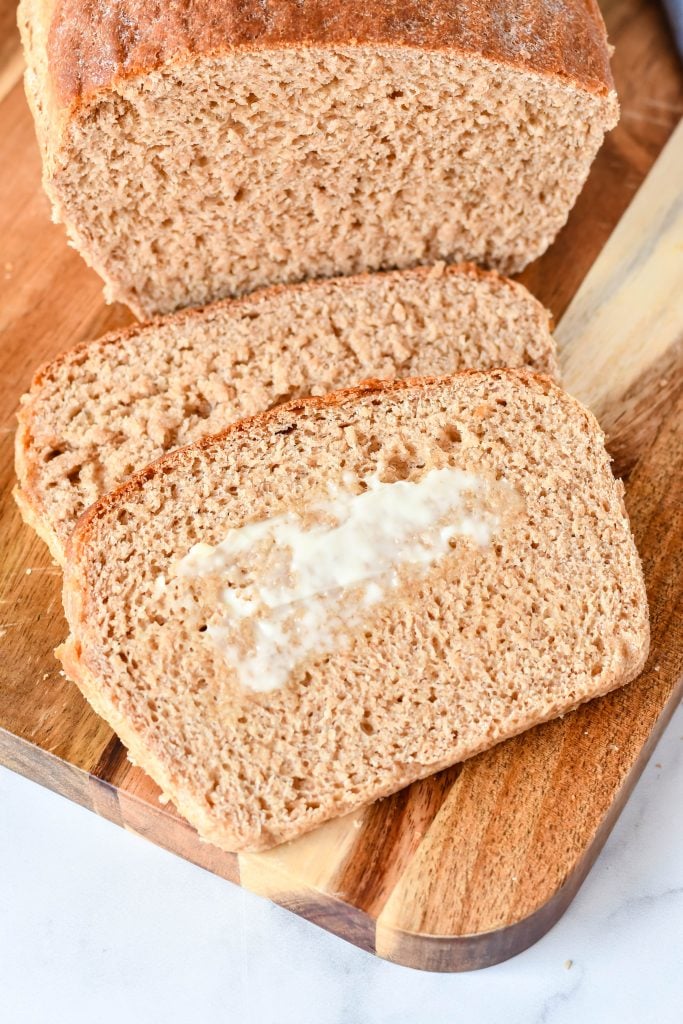
It’s also wonderful on it’s own, toasted for breakfast and slathered with cinnamon honey butter.
Tips and Tricks
- Make sure the water is the right temperature. You want the water to be somewhere between 105 and 115 degrees Farenheit.
- Don’t under or over knead the dough. The dough should get stretchy and smooth. It will hold its shape when it’s been kneaded enough. If it hasn’t it will sag whereas if it is has been over-kneaded it will feel very dense and tough.
- To proof the dough, set the covered dough in a warm spot in your kitchen. I like to heat my oven to warm, put the dough in the oven and then turn the oven off while keeping the door closed. This trick is especially handy on cold winter days.
- When you cut the slit into the unbaked, proofed bread loaf, use a serrated knife.
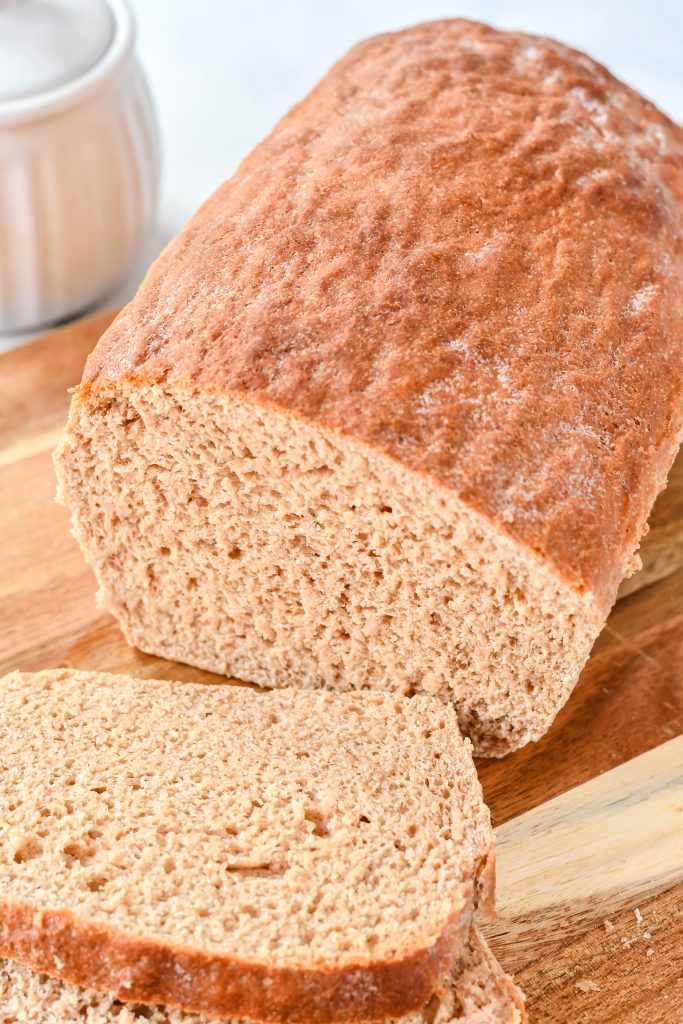
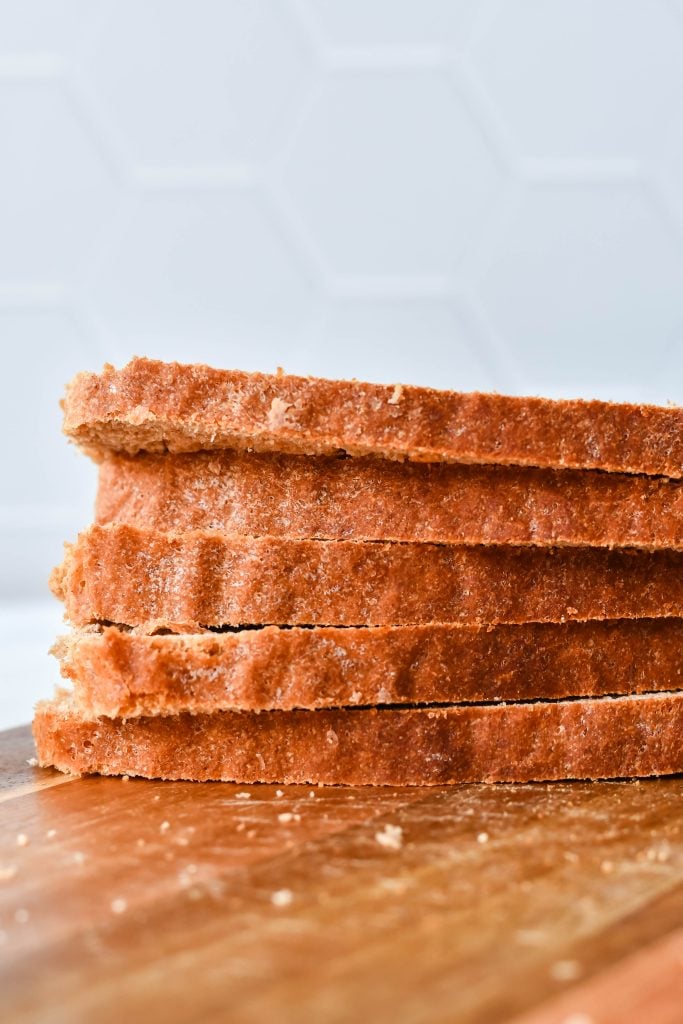
- To cut the bread and to create prettier, more uniform slices, turn the bread loaf upside down before cutting.
Other Homemade Bread and Roll Recipes
This honey wheat sandwich bread is my no fail, go to bread recipe when I want a fluffy homemade piece of bread for a sandwich.
Make it today and see why you’ll never want to go back to store bought again!
Looking for other bread recipes? Try these:
If you’ve tried this HONEY WHEAT SANDWICH BREAD, or any other recipe on my site, let me know in the comment section how it turned out, we love hearing from our readers! You can also follow along with me on PINTEREST, FACEBOOK, and INSTAGRAM to see more amazing recipes and whatever else we’ve got going on!
Honey Wheat Sandwich Bread
Ingredients
- 1 1/4 cups water
- 3 tbsp honey
- 2 tsp yeast
- 3 tbsp olive oil
- 1 1/2 whole wheat flour
- 2-3 cups all purpose flour
- 1/2 tbsp salt
Instructions
- Combine the water, yeast, and honey. Stir to combine and allow to sit until it becomes foamy. It may take up to ten minutes because of the honey.
- Stir in the olive oil and salt.
- Stir in the 1 1/2 cups of wheat flour. Once that’s mixed in add the all-purpose flour, 1/2 cup at a time, until you can no longer stir it with a spoon.
- Turn the ball of dough out onto a floured surface and knead in the rest of the all purpose flour.
- Keep adding flour until you have a soft, elastic but not sticky ball. Knead for about 3 minutes.
- Loosely cover the ball of dough and let rise until it’s doubled in size, about 45 minutes.
- Shape the dough into the log about the length of your loaf pan.
- Coat the bread pan with non-stick spray or oil and place the dough inside.
- Allow the dough to rise again until doubled inside, about 45 minutes.
- Cut a long slit in the top of the dough to allow for expansion during cooking ( a serrated blade makes the smoothest cut).
- Preheat oven to 425 degrees. Bake the bread for 30 minutes, or until a deep golden brown on top.
- Remove the bread from the pan, transfer to a wire rack, and allow to cool before slicing*.
Notes
Nutrition
recipe originally posted May 15, 2013


