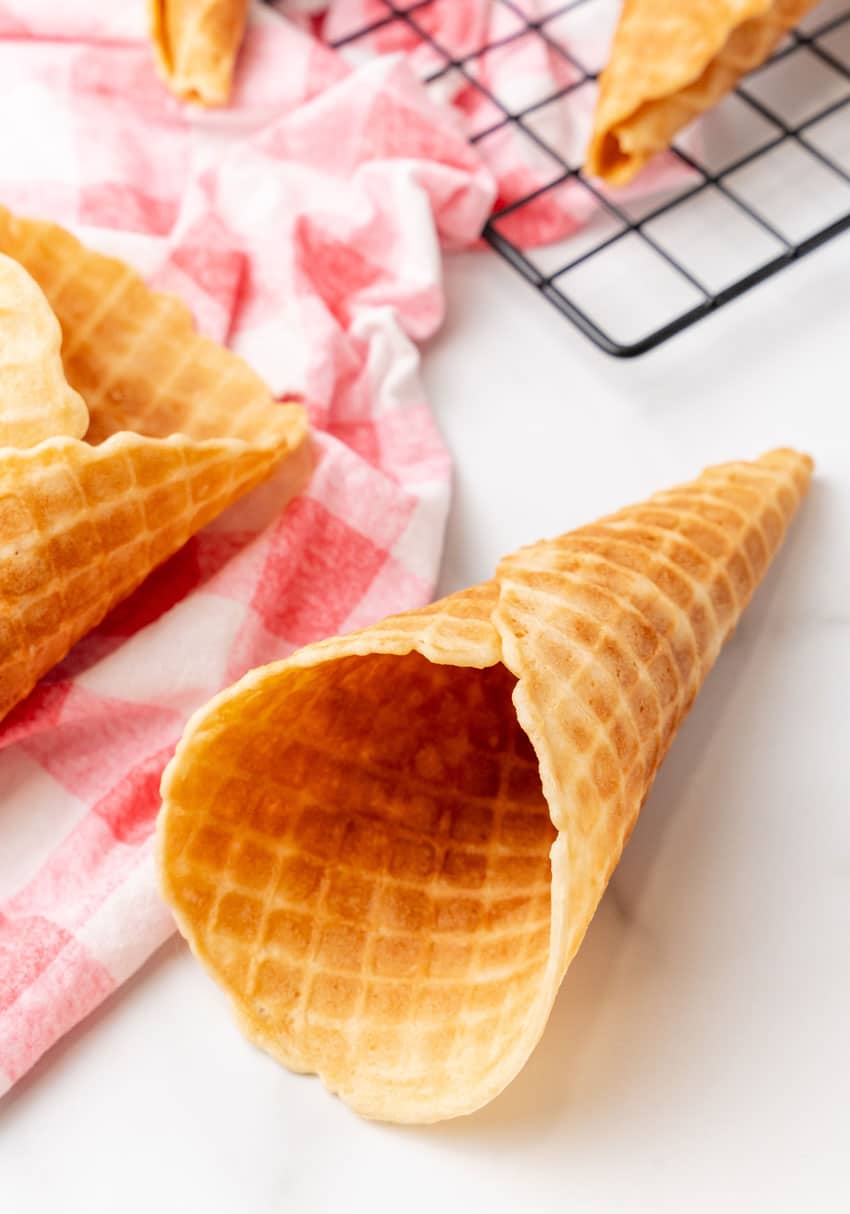
Homemade Waffle Cones
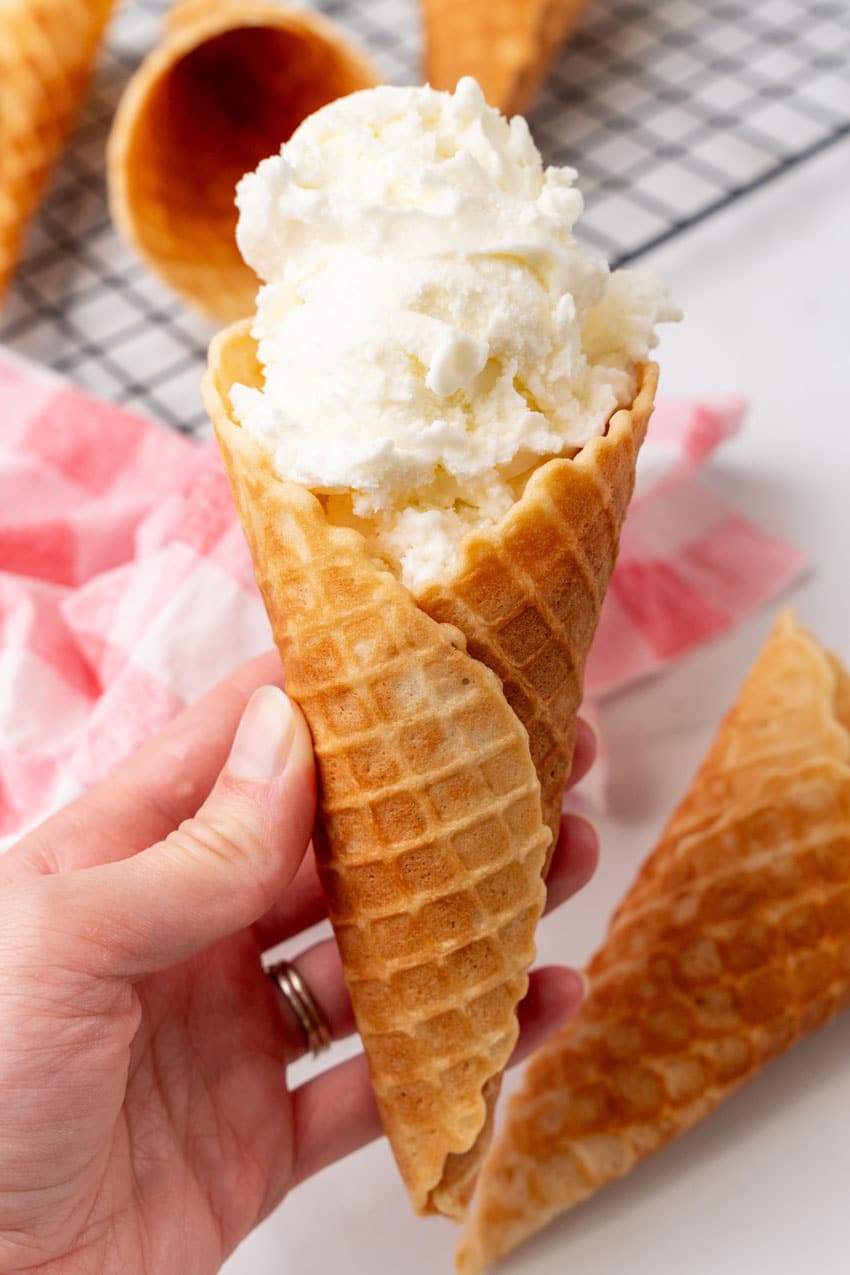
Homemade waffle cones give you an ice cream shop style treat right at home! Sweet, crunchy waffle cones are the perfect pairing to your favorite ice cream!
This post may contain affiliate links. As an amazon associate, I earn from qualifying purchases. See my full Disclosure Policy for details.
Summer means ice cream every day.
There’s no such thing as too much ice cream if I’m being honest, and my kids definitely agree!
But there is such thing as too many trips to the ice cream shop.
To take all 6 of us for ice cream cones it’s almost the same price as 2 large pizzas or a few days worth of groceries.
But just because my wallet says that multiple stops for ice cream are a no go doesn’t mean we can’t treat ourselves to ice cream shop style treats like our favorite flavors piled high in homemade waffle cones.
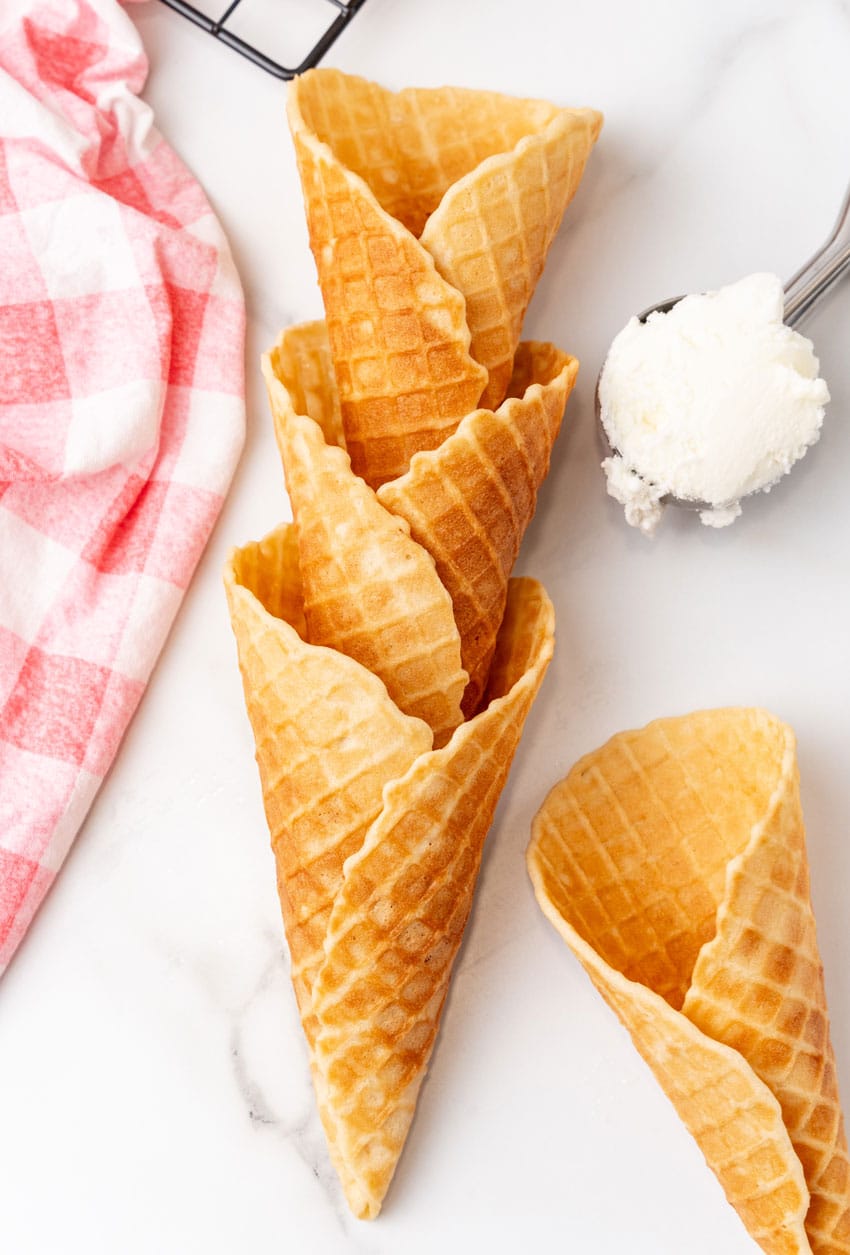
Homemade waffle cones are easy to make if you have a waffle cone maker and a few ingredients that are probably in your pantry already.
And since you serve them fresh, they will be so much yummier than the ones that have been sitting around your local ice cream parlor for a few days.
Ingredients
To make this you’ll need:
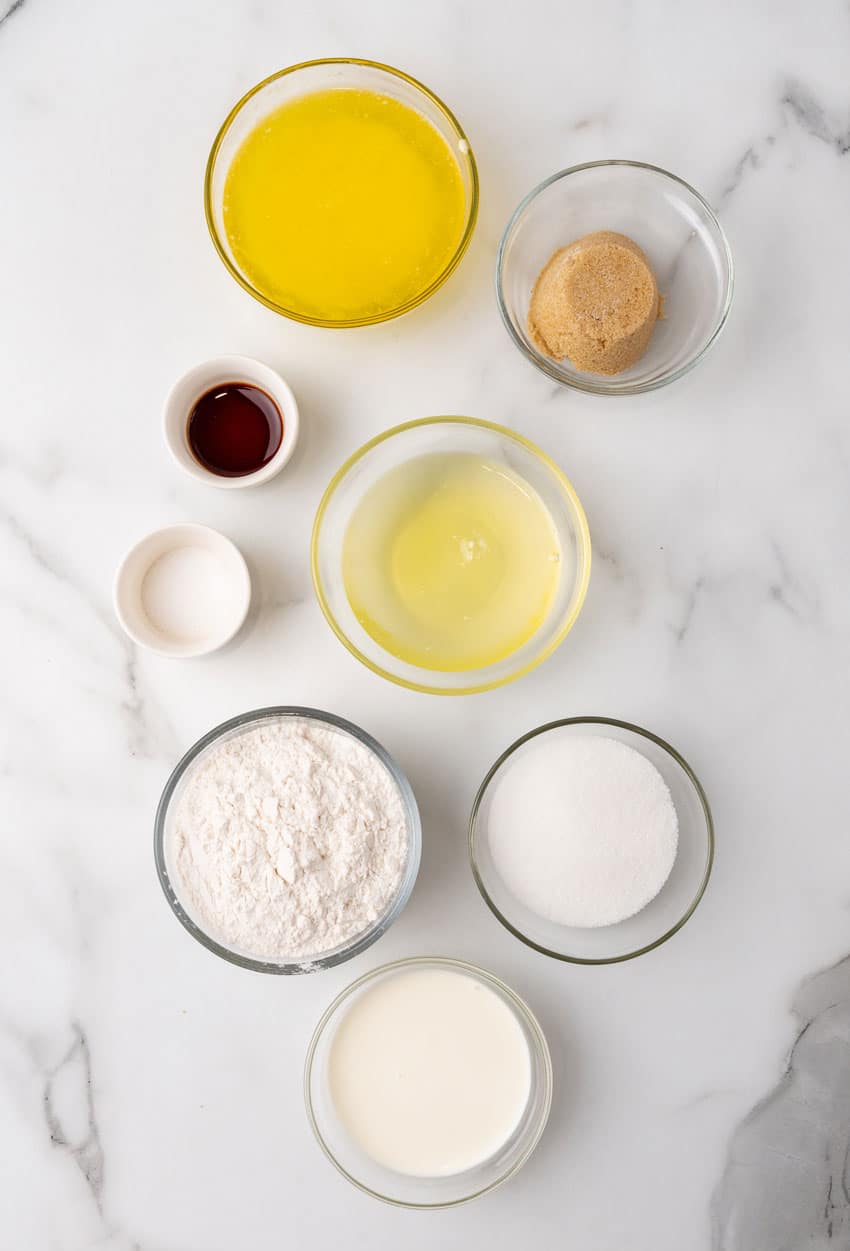
- Sugar– Granulated and brown sugar
- Butter– Melted
- Heavy cream– Don’t substitute this for a lower fat dairy
- Egg whites– Just the whites
- Vanilla extract– Real vanilla extract
- Salt
- Flour– All purpose
How to Make
Homemade waffle cones are easier than you may think!
To make them, whisk together the granulated sugar, melted butter, heavy cream, egg whites, brown sugar, vanilla extract and salt in a medium bowl.
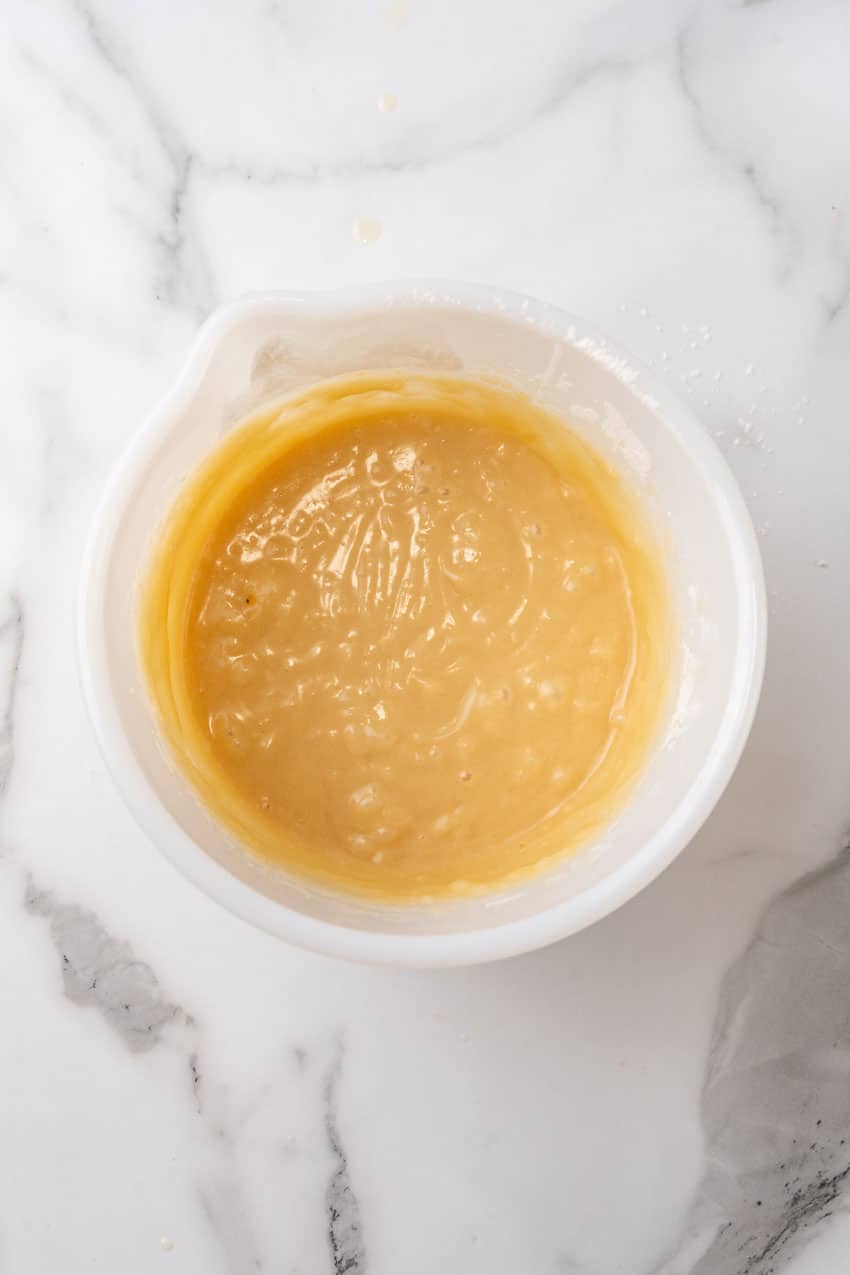
Then stir in the flour until just combined.
Once the flour is combined, set the batter aside for 5-10 minutes to thicken slightly.
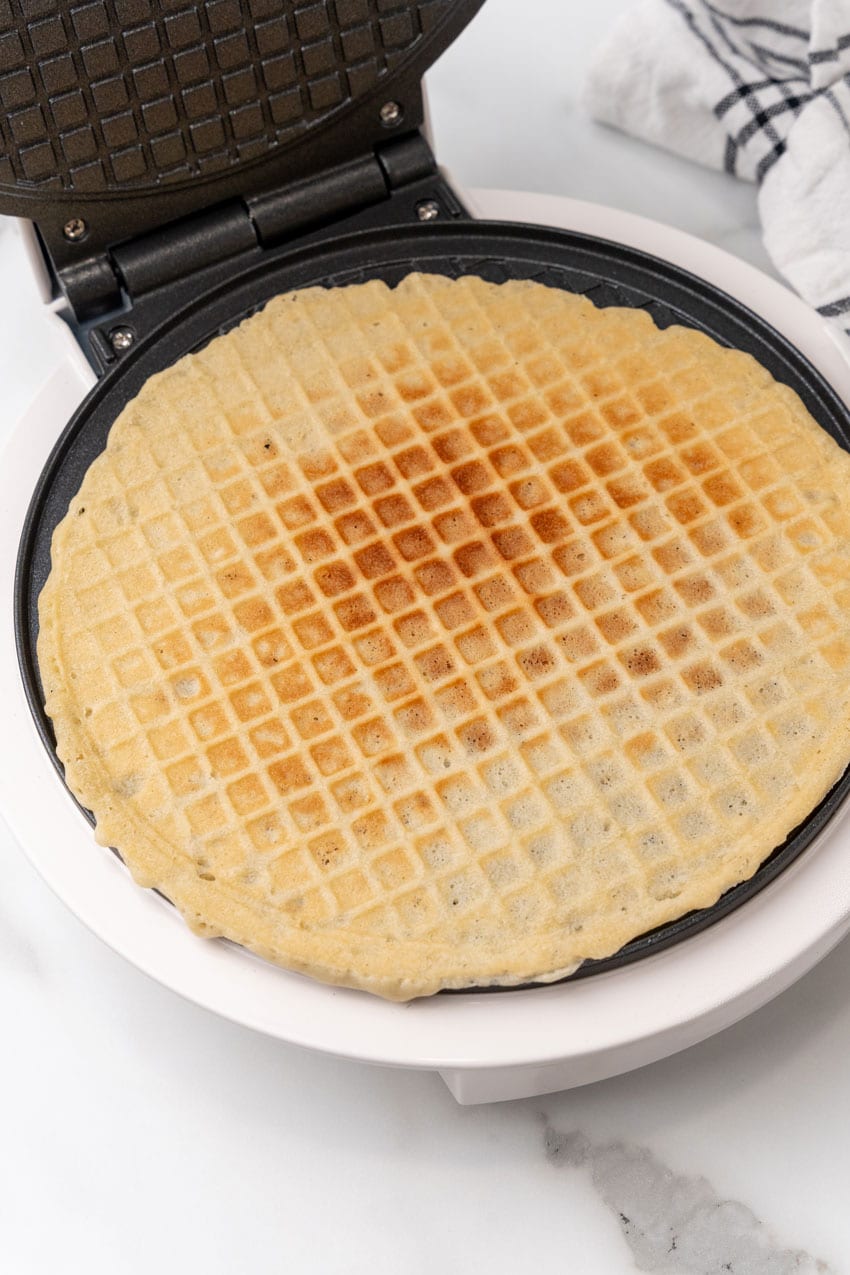
While the batter thickens, preheat the waffle cone maker to medium high.
Once the waffle cone maker is hot, scoop ¼ cup of batter into the center then close the lid and press down slightly.

Cook the waffle cone until golden brown.
Once it is golden brown carefully remove the cone to a clean dish towel.
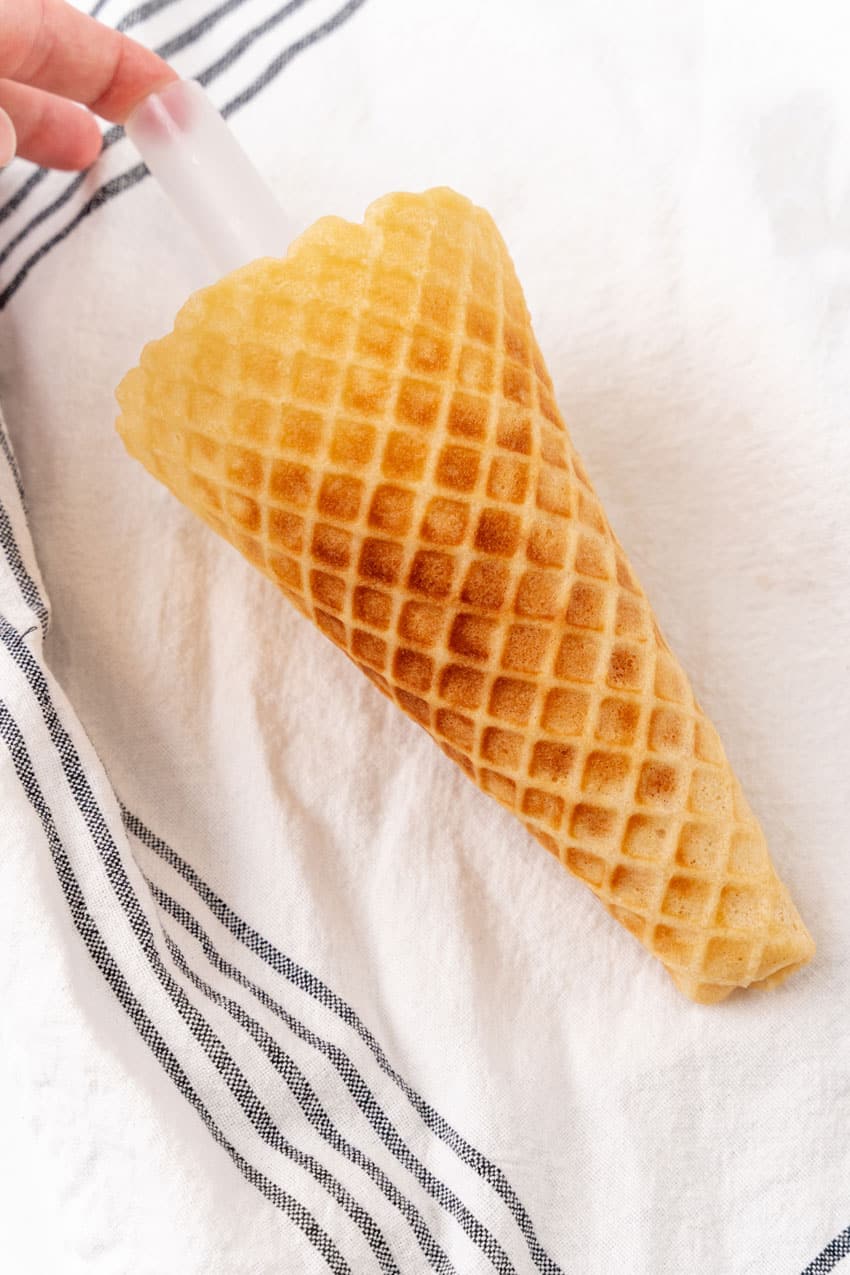
Wrap it tightly around the cone mold using the dish towel and hold in place for 1-2 minutes.
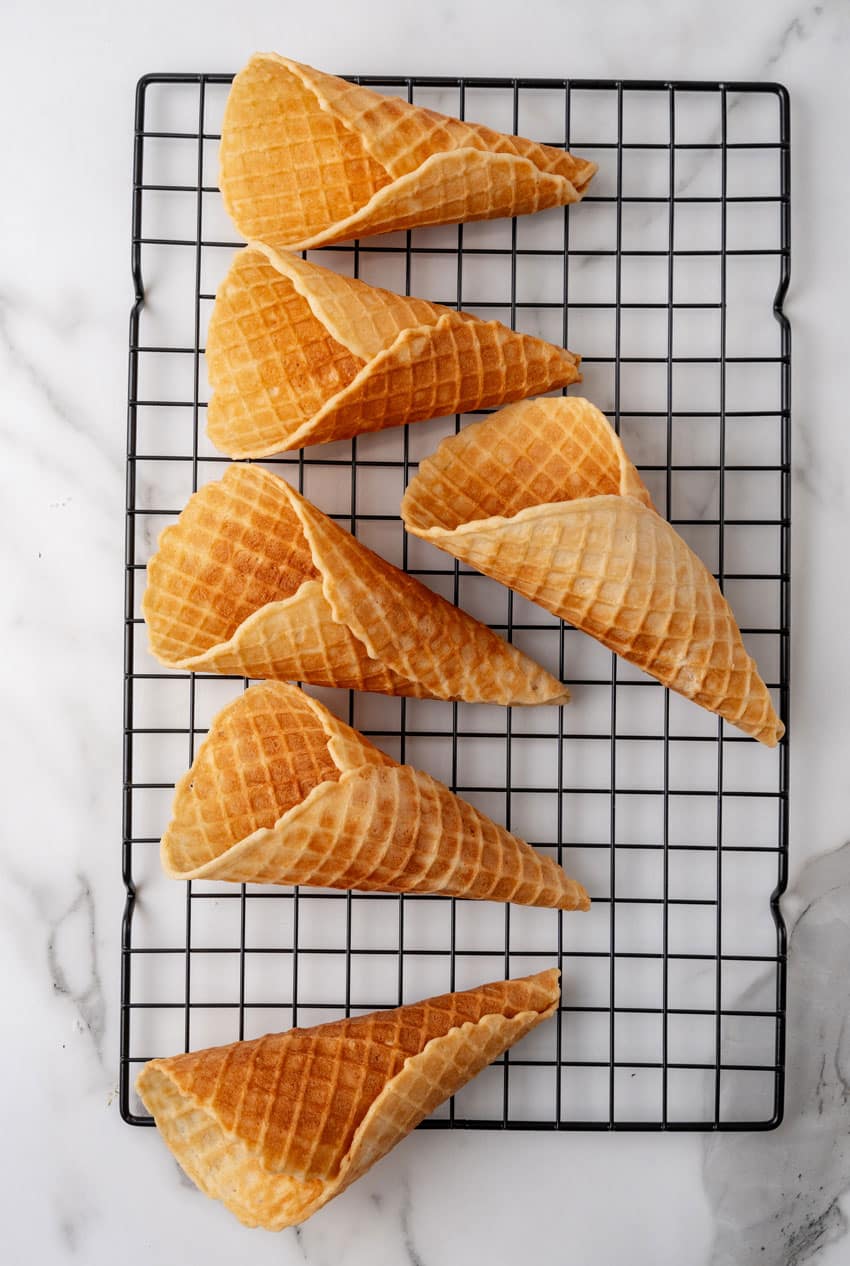
Place the cone on a cooling rack and repeat with the remaining batter.
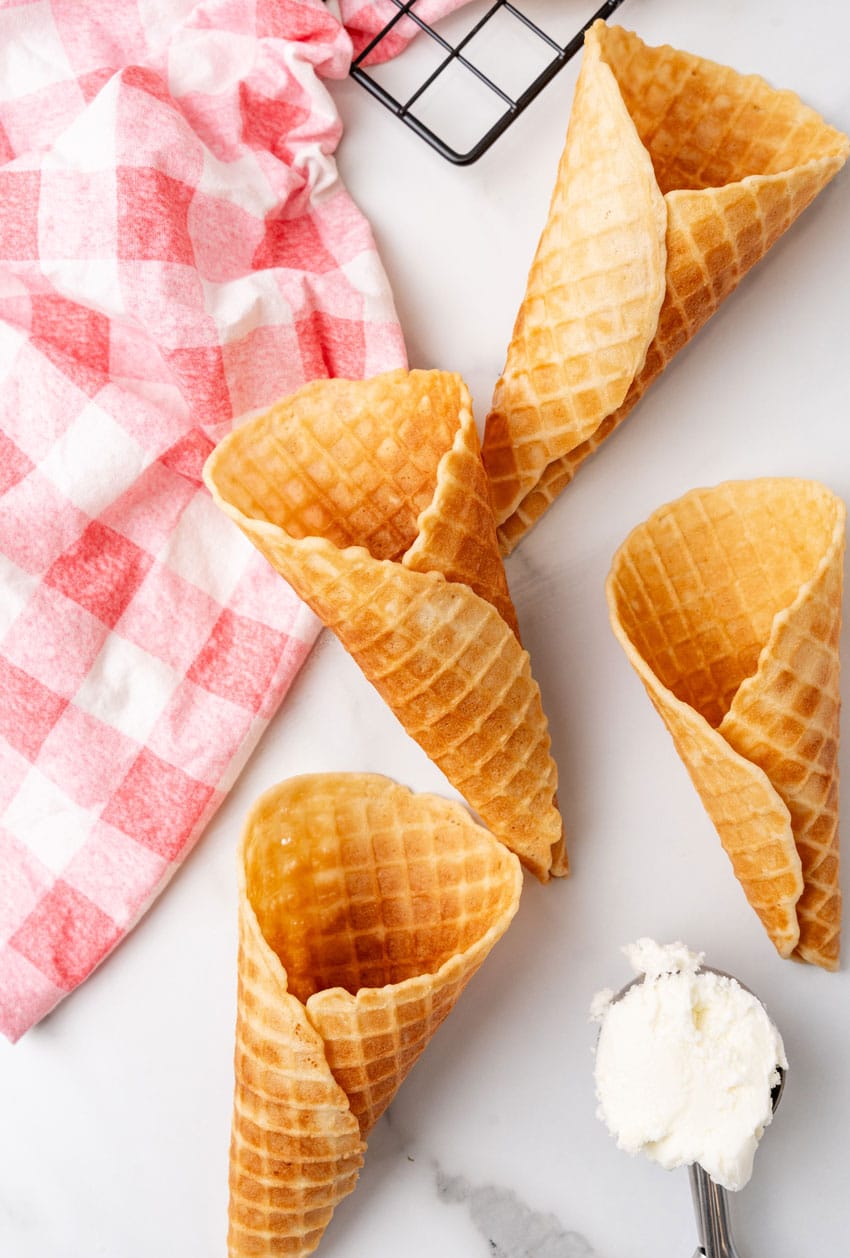
Serve with ice cream and enjoy!
Storing
These cones are best the day you make them but you can store them in an airtight container or ziplocking bag on the counter for up to a few days.

Tips and Tricks
- Spray the waffle cone maker with nonstick spray for an easy release.
- Dip the finished cones into melted chocolate and sprinkles or chopped peanuts for fancy waffle cones.
- While you can save these, they are best enjoyed the day you make them.
Homemade Ice Cream to Serve with Homemade Waffle Cones
These homemade waffle cones are a delicious to treat to serve with your favorite homemade ice cream!
Make them and enjoy!
Looking for some yummy homemade ice cream recipes?
Try these:
- Key Lime Pie Ice Cream
- Strawberry Cheesecake Ice Cream
- Peaches & Cream Ice Cream
- Blueberry Muffin Ice Cream
- Cookie Butter Ice Cream
- Nutella Ice Cream
- Mint Chocolate Chip Ice Cream
If you’ve tried these HOMEMADE WAFFLE CONES, or any other recipe on my site, let me know in the comment section how it turned out, we love hearing from our readers! You can also follow along with me on PINTEREST, FACEBOOK, and INSTAGRAM to see more amazing recipes and whatever else we’ve got going on!

Homemade Waffle Cones
Ingredients
- ⅓ cup granulated sugar
- ¼ cup melted butter
- ¼ cup heavy cream
- 2 egg whites
- 2 tablespoons brown sugar
- 1 teaspoon vanilla extract
- ¼ teaspoon salt
- ¾ cup flour
Instructions
- In a medium bowl, whisk together the granulated sugar, melted butter, heavy cream, egg whites, brown sugar, vanilla extract and salt.⅓ cup granulated sugar, ¼ cup melted butter, ¼ cup heavy cream, 2 egg whites, 2 tablespoons brown sugar, 1 teaspoon vanilla extract, ¼ teaspoon salt
- Stir in the flour until just combined, then set aside for 5-10 minutes to thicken slightly.¾ cup flour
- Preheat the waffle cone maker to medium high.
- Scoop ¼ cup of batter into the center then close the lid and press down slightly
- Cook until golden brown, then carefully remove to a clean dish towel. Wrap tightly around the cone mold using the dish towel, and hold in place for 1-2 minutes.
- Place on a cooling rack and repeat with the remaining batter
Notes
- Spray the waffle cone maker with nonstick spray for an easy release.
- Dip the finished cones into melted chocolate and sprinkles or chopped peanuts for fancy waffle cones.
- While you can save these, they are best enjoyed the day you make them.
Nutrition
This post may contain affiliate links. As an amazon associate, I earn from qualifying purchases. See my full Disclosure Policy for details. As always, all opinions are my own.


I had no idea homemade waffle cones were so easy to make. So much better tasting than store bought!