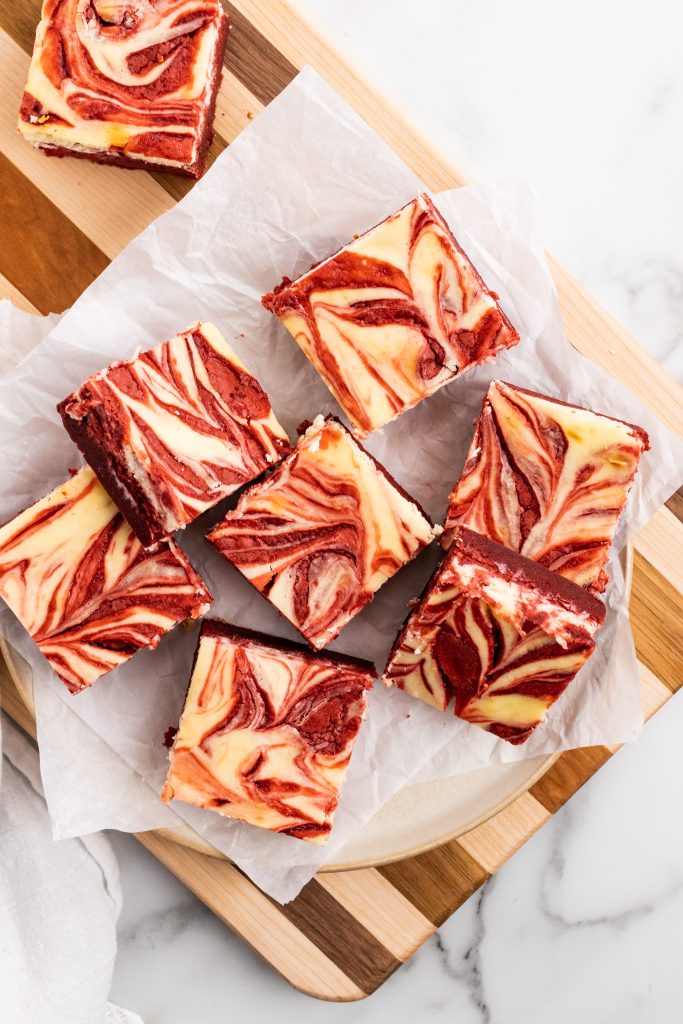
Red Velvet Cheesecake Brownies
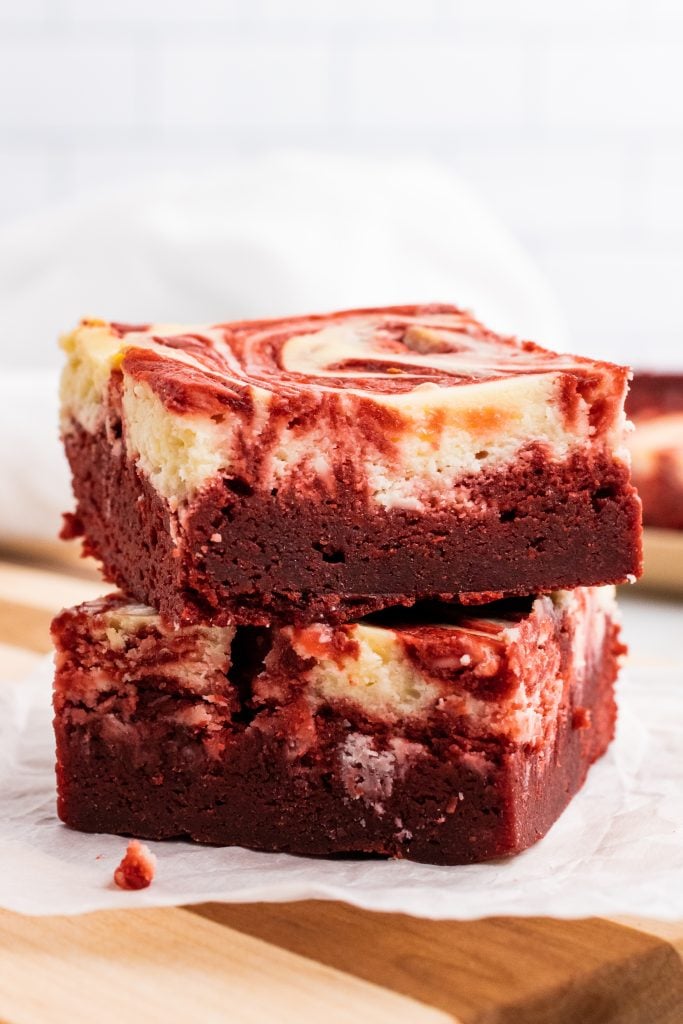
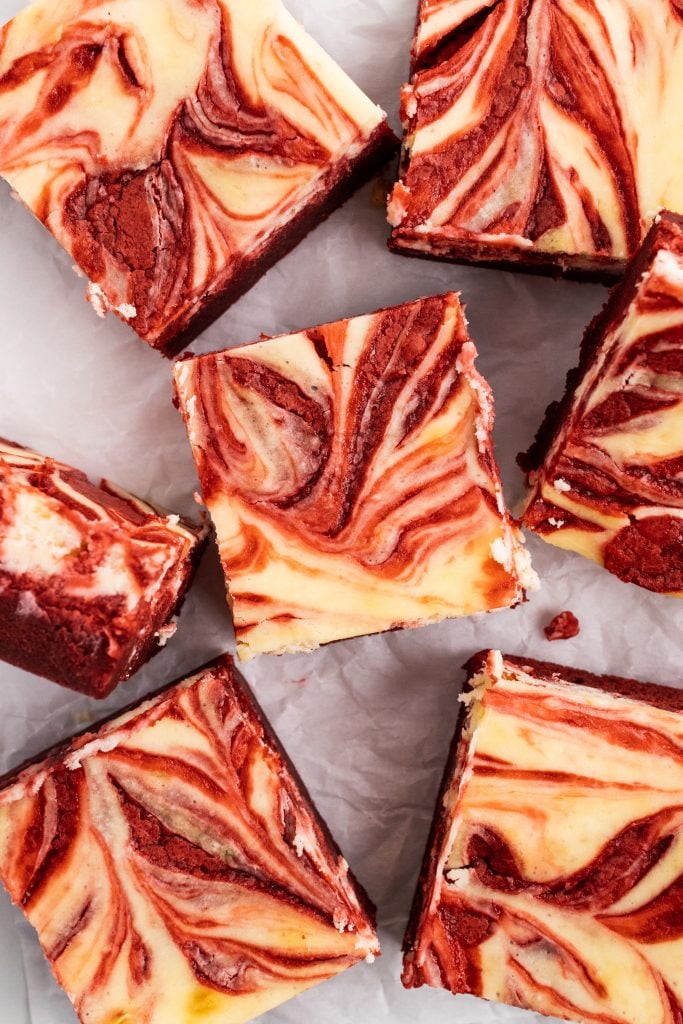
Red velvet cheesecake brownies feature a rich, fudge-y red velvet brownie layer marbled with creamy cheesecake layer. This dessert is sure to make anyone’s heart skip a beat at first bite.
This post may contain affiliate links. As an amazon associate, I earn from qualifying purchases. See my full Disclosure Policy for details.
Valentine’s Day is almost upon us again.
And while I am not one to go over-the-top budget-wise for the day, I really do enjoy doing little things for my guys for the occasion.
By far one of their favorite treats to come home to on that day are my red velvet cheesecake brownies.
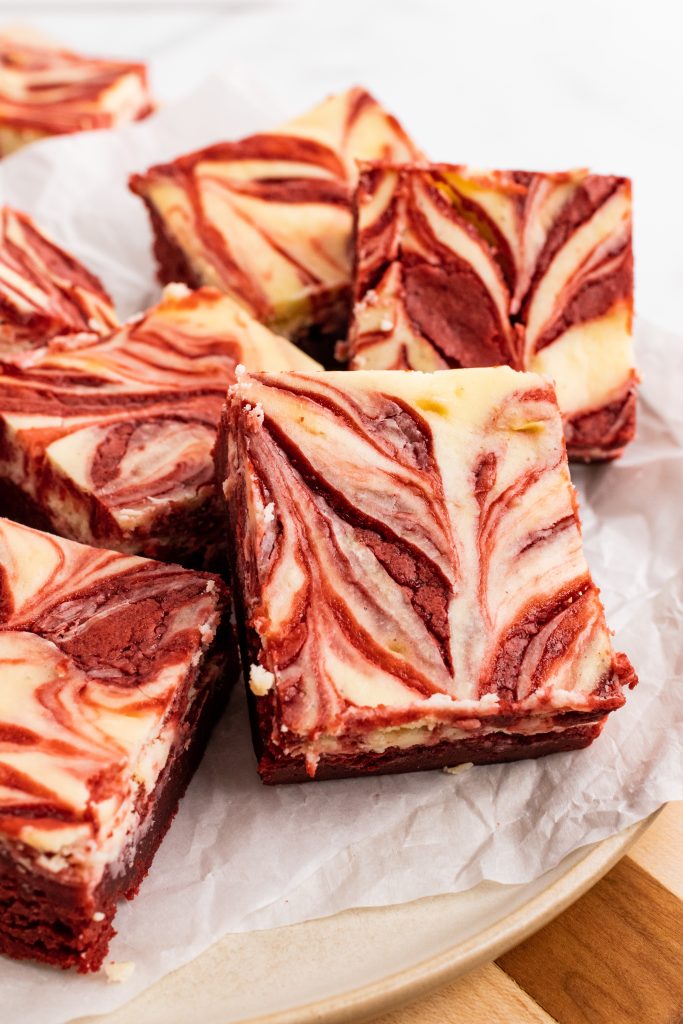
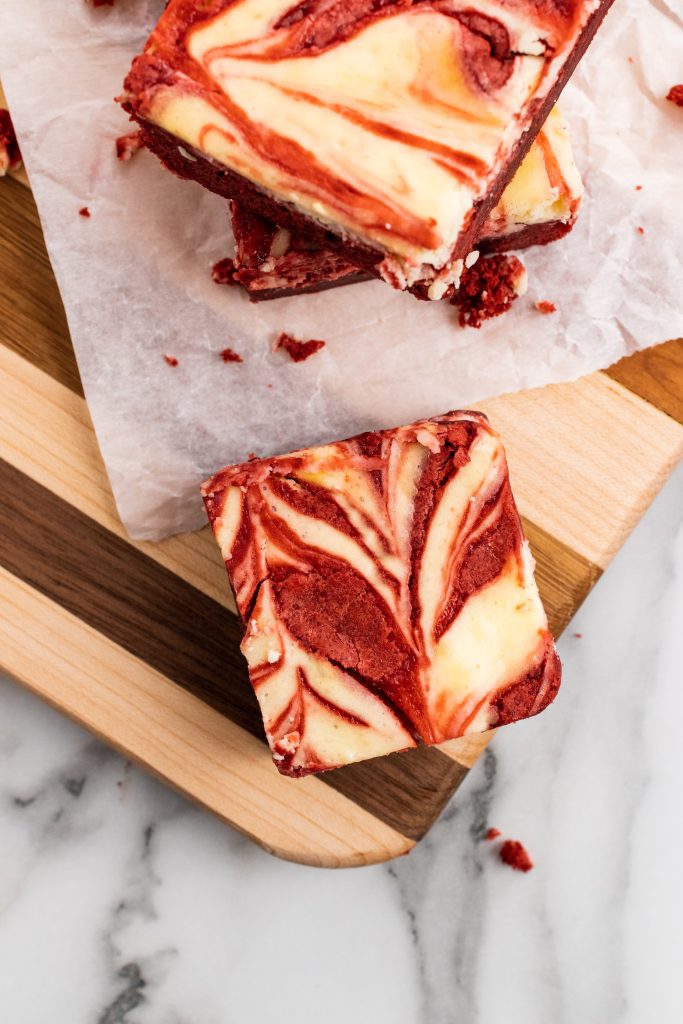
And what’s not to love? They’re a perfect combination of three of our favorite desserts: red velvet cake, cheesecake, and brownies. And it’s wonderful.
And red, lots of red, because L O V E.
What makes a cake red velvet?
Red velvet is very similar to chocolate cake and very popular in the south.
The cake normally features buttermilk, vinegar, cocoa powder, and cream cheese frosting.
These red velvet bars play with that flavor combination and with the chocolate flavor from the brownies and tangy cream cheese flavor from the cheesecake.
Ingredients
To make this you’ll need:
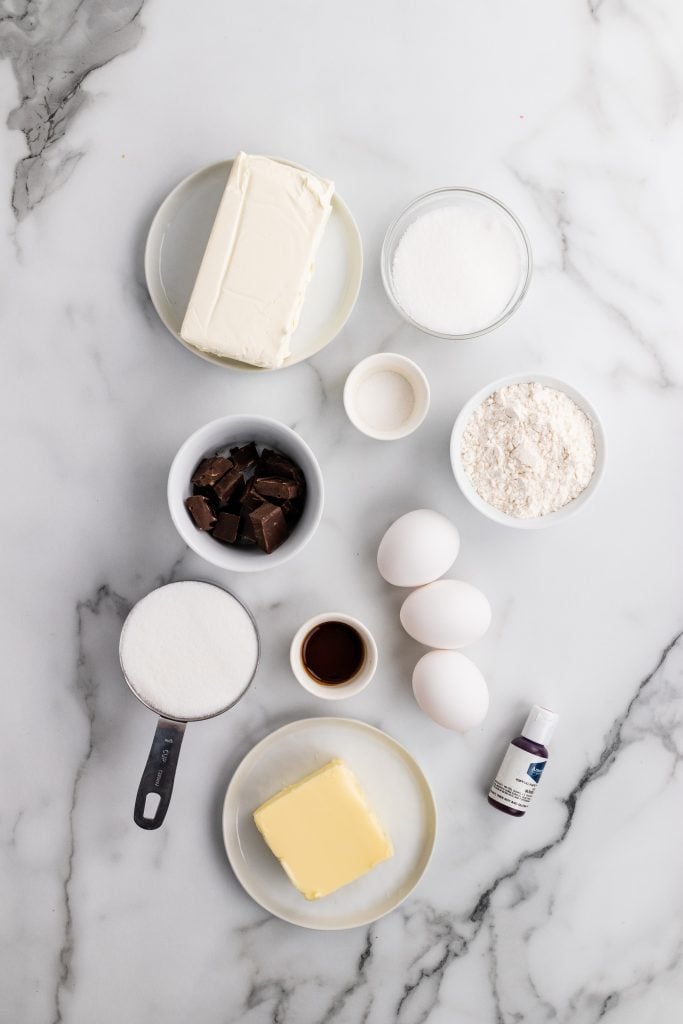
- Butter– Use unsalted butter or the bars will end up too salty.
- Chocolate– Baker’s chocolate bars you’ve coarsely chopped. Either semi sweet or dark.
- Sugar– Granulated.
- Eggs– At room temperature.
- Vanilla extract– Go for the real stuff over imitation for best flavor.
- Red food coloring– How you get that deep red velvet color.
- Flour– All purpose.
- Salt– A pinch to balance the sweetness.
- Cream cheese– Full fat cream cheese at room temperature
How to Make
Line an 8×8 or 9×9″ baking pan with aluminum foil and spray it lightly with non-stick cooking spray. Set the prepared pan aside.
Then melt the chopped chocolate and butter in a microwave safe bowl, microwaving in 15 second intervals until the chocolate is melted.
Stir in between each interval. The mixture is ready when they are completely melted and smooth. Set it aside to cool for a bit.
Then in a large bowl, whisk together the sugar, eggs, vanilla extract and red food coloring.
Once that is combined, stir in the chocolate butter mixture until smooth.
Then stir the flour and salt into the bowl until everything is just combined and no streaks of the dry ingredients remain.
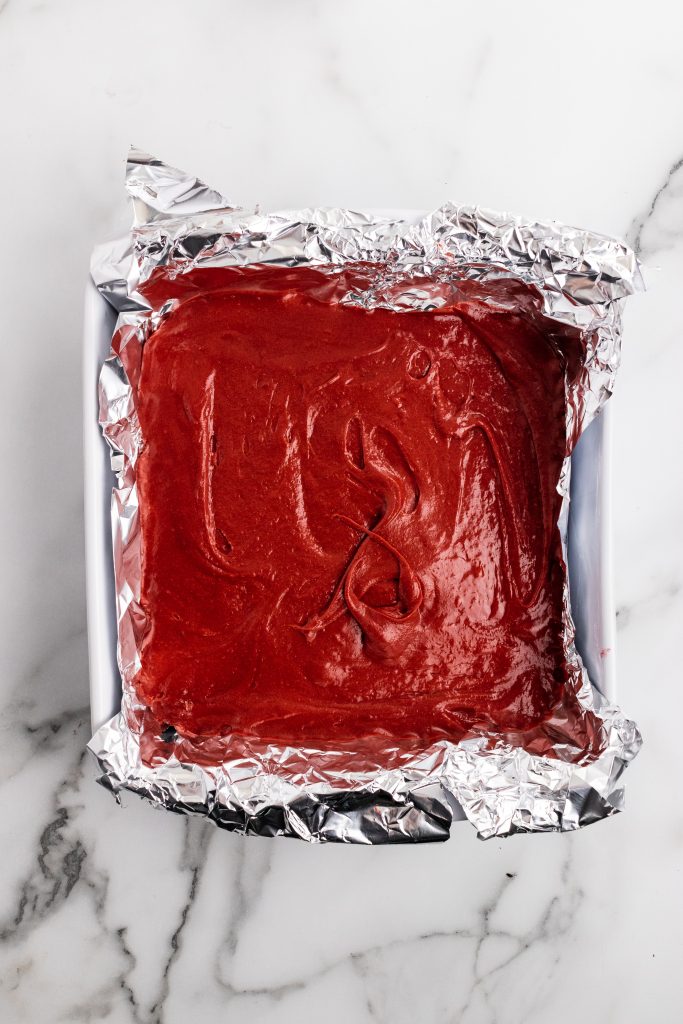
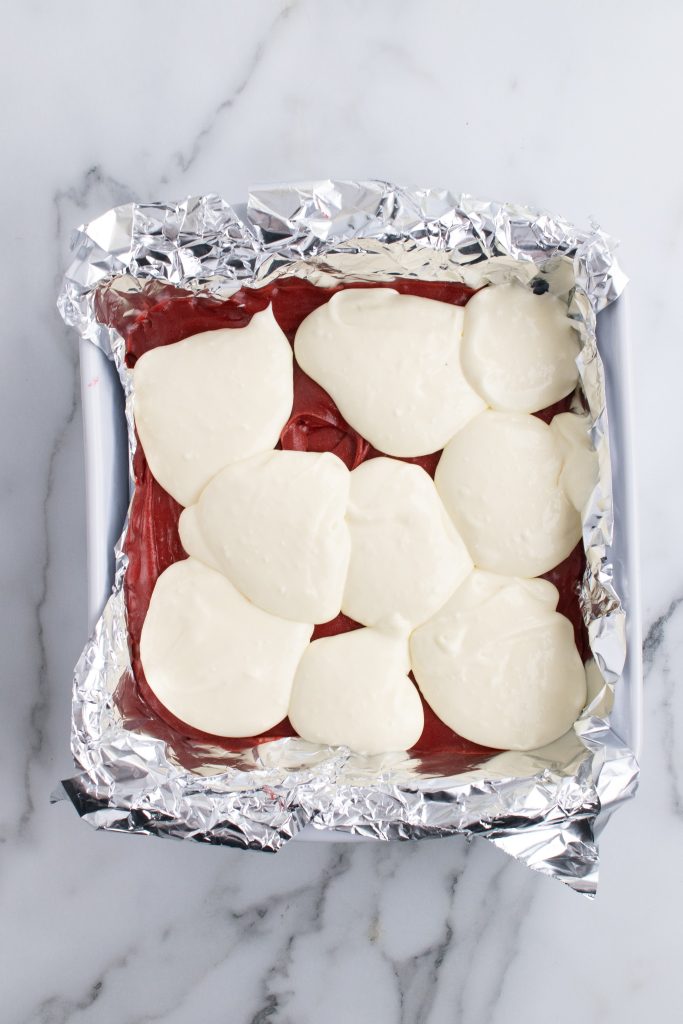
Pour the brownie batter into the prepared pan and spread it out into an even layer with a spatula.
Now make the cheesecake mixture by beating together the cream cheese, sugar, egg and vanilla extract in the bowl of a stand mixer until the mixture’s smooth.
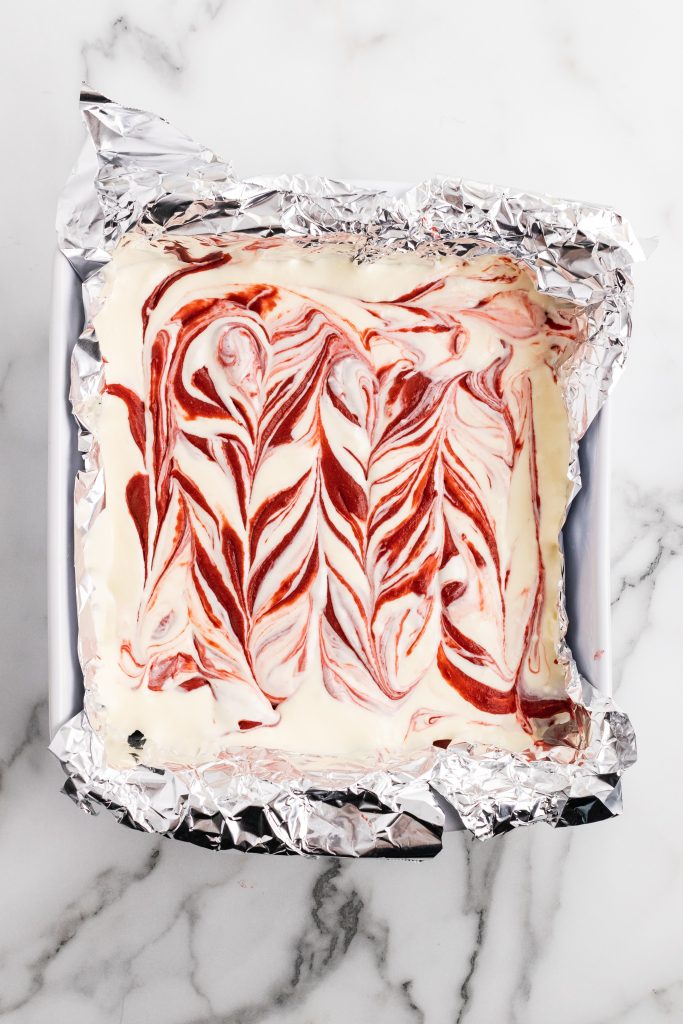
Use a large spoon to drop the cheesecake mixture in dollops onto the top of the prepared brownie batter and gently swirl the two batters together with the end of a butter knife.
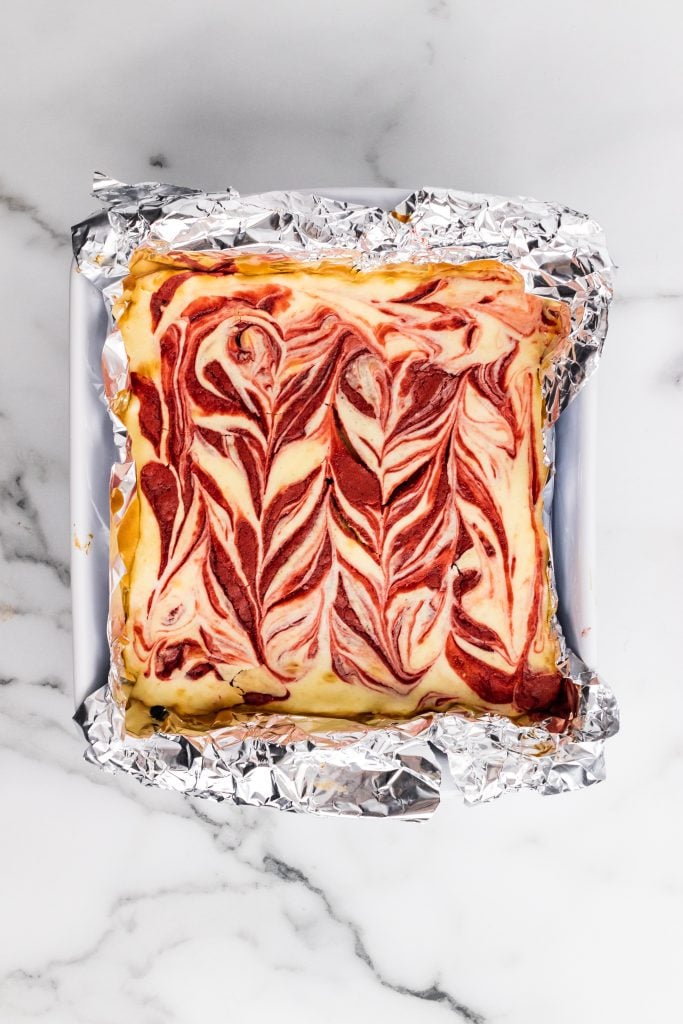
Bake at 350 degrees for 35-40 minutes, or until the brownies and cheesecake are both set and a knife or toothpick inserted into the middle of the cheesecake mixture comes out clean.
Let the brownies to cool in the pan completely before slicing and serving, either at room temperature or chilled.
Enjoy!
Storing
Because of the cheesecake swirl, you should always store these red velvet brownies in the fridge and not on your counter top.
To store, wrap them tightly in plastic wrap so they don’t dry out. Refrigerate for up to a week.
Tips and Tricks
- The batter should be red, but if you don’t think it’s red enough, add an extra 1/2 tsp of red food coloring.
- Make sure not to burn the chocolate. It will seize up and be unusable if you do.
- When the cheesecake brownies are done, the edges should be browning slightly but the middle should just be set.
Other Brownie Bars You’ll Love
These red velvet cheesecake brownie bars are one of our favorite treats for Valentine’s Day or anytime we want a chocolate cheesecake fix. Make it and show someone how much you love them today!
Looking for other brownie bar recipes? Try these:
- Oreo Cheesecake Brownies
- Copycat Little Debbie Cosmic Brownies
- Butterfinger Cheesecake Brownies
- Buckeye Brownies
If you’ve tried this RED VELVET CHEESECAKE BROWNIE BARS, or any other recipe on my site, let me know in the comment section how it turned out, we love hearing from our readers! You can also follow along with me on PINTEREST, FACEBOOK, and INSTAGRAM to see more amazing recipes and whatever else we’ve got going on!
Red Velvet Cheesecake Brownies
Ingredients
- 1/2 cup butter
- 2 oz dark or semi sweet, chocolate, coarsely chopped
- 1 cup sugar
- 2 large eggs
- 1 tsp vanilla extract
- 1 1/2 tsp red food coloring
- 2/3 cup all purpose flour
- 1/4 tsp salt
- 8 oz cream cheese room temperature
- 1/3 cup sugar
- 1 large egg
- 1/2 tsp vanilla extract
Instructions
- Line an 8x8 or 9x9" (the smaller will yield slightly thicker brownies) baking pan with aluminum foil and lightly grease it with non-stick cooking spray.
- Use a double boiler or a microwave/microwave safe bowl to melt the butter and chocolate together. Stirring together until they're completely melted and the chocolate is very smooth. Set it aside to cool for a bit.
- In a large bowl, whisk together the sugar, eggs, vanilla extract and red food coloring. Add in the chocolate mixture and stir until smooth. The batter should be red, but if you don't think it's red *enough*, add an extra 1/2 tsp of red food coloring. Add flour and salt into the bowl and stir until everything is just combined and no streaks of the dry ingredients remain.
- Pour the brownie batter into the prepared pan and use a spatula to spread it out into an even layer.
- In the bowl of a stand mixer, beat together the cream cheese, sugar, egg and vanilla extract until the mixture's smooth. Use a large spoon to drop the cheesecake mixture in dollops onto the top of the prepared brownie batter. Use a butter knife to gently swirl the two batters together.
- Bake at 350 degrees for 35-40 minutes, or until the brownies and cheesecake are both set. A knife, or toothpick, inserted into the middle of the cheesecake mixture should come out clean and the edges will be lightly browned.
- Allow the brownies to cool in the pan completely before slicing and serving, either at room temperature or chilled.
Notes
- The batter should be red, but if you don't think it's red enough, add an extra 1/2 tsp of red food coloring.
- Make sure not to burn the chocolate. It will seize up and be unusable if you do.
- When the cheesecake brownies are done, the edges should be browning slightly but the middle should just be set.
Nutrition
recipe originally published January 27, 2016
This post may contain affiliate links. As an amazon associate, I earn from qualifying purchases. See my full Disclosure Policy for details. As always, all opinions are my own.


Yummy! I want to come home to these on Valentine’s day too!
They’re the perfect little pick me up, especially on V-Day :)
WOW! They look so amazing!! It seems, that this recipe is quite easy to make, so it is perfect for me! I’ ll give it a try! Thank you for this inspiration!
Have a nice day!
It is easy, isn’t it wonderful?! Thanks, and I know you’re going to love them :)
We must be on the same wavelength. I reposted something like that yesterday. Yours look amazing. Have a great weekend.
Brownies look lovely, you’ve got the nice pinkish color! :)
Thanks, Mila!
Red velvet and brownies = yum!
Exactly.
Meaghan, these red velvet cheesecake brownies sound amazing! I wish I had one RIGHT now! I can see why your family looks forward to them!
Thanks, Michelle! I’m sitting here sipping my coffee and wondering if I can convince myself that they’re a socially acceptable breakfast item.
Meaghan these look outstanding and so pretty! Pinning for later, thanks for being a bloggy friend! :)
Same to you Katie, and I’m so glad you liked them. Thanks for the pin!
What a gorgeous color for brownies! Absolutely loved these!!
Thanks!