Galaxy Eggs
These galaxy eggs are quick, easy, and extremely cool to boot! Pretty shades of blue, purple, and pink make for a gorgeous background and a splattering of white paint adds the stars.

This post may contain affiliate links. As an amazon associate, I earn from qualifying purchases. See my full Disclosure Policy for details.
I love doing seasonal things with the sons.
Apple picking and pumpkin carving in the fall.
Throwing epic themed birthday parties for them.
And of course dyeing Easter eggs!
We’re sort of over the lackluster and expensive Easter egg kits you can buy in the store.
The results are ho hum at best and they aren’t super fun to put together.
But you can get creative with some supplies you likely already have in your pantry and make these fantastic galaxy eggs!

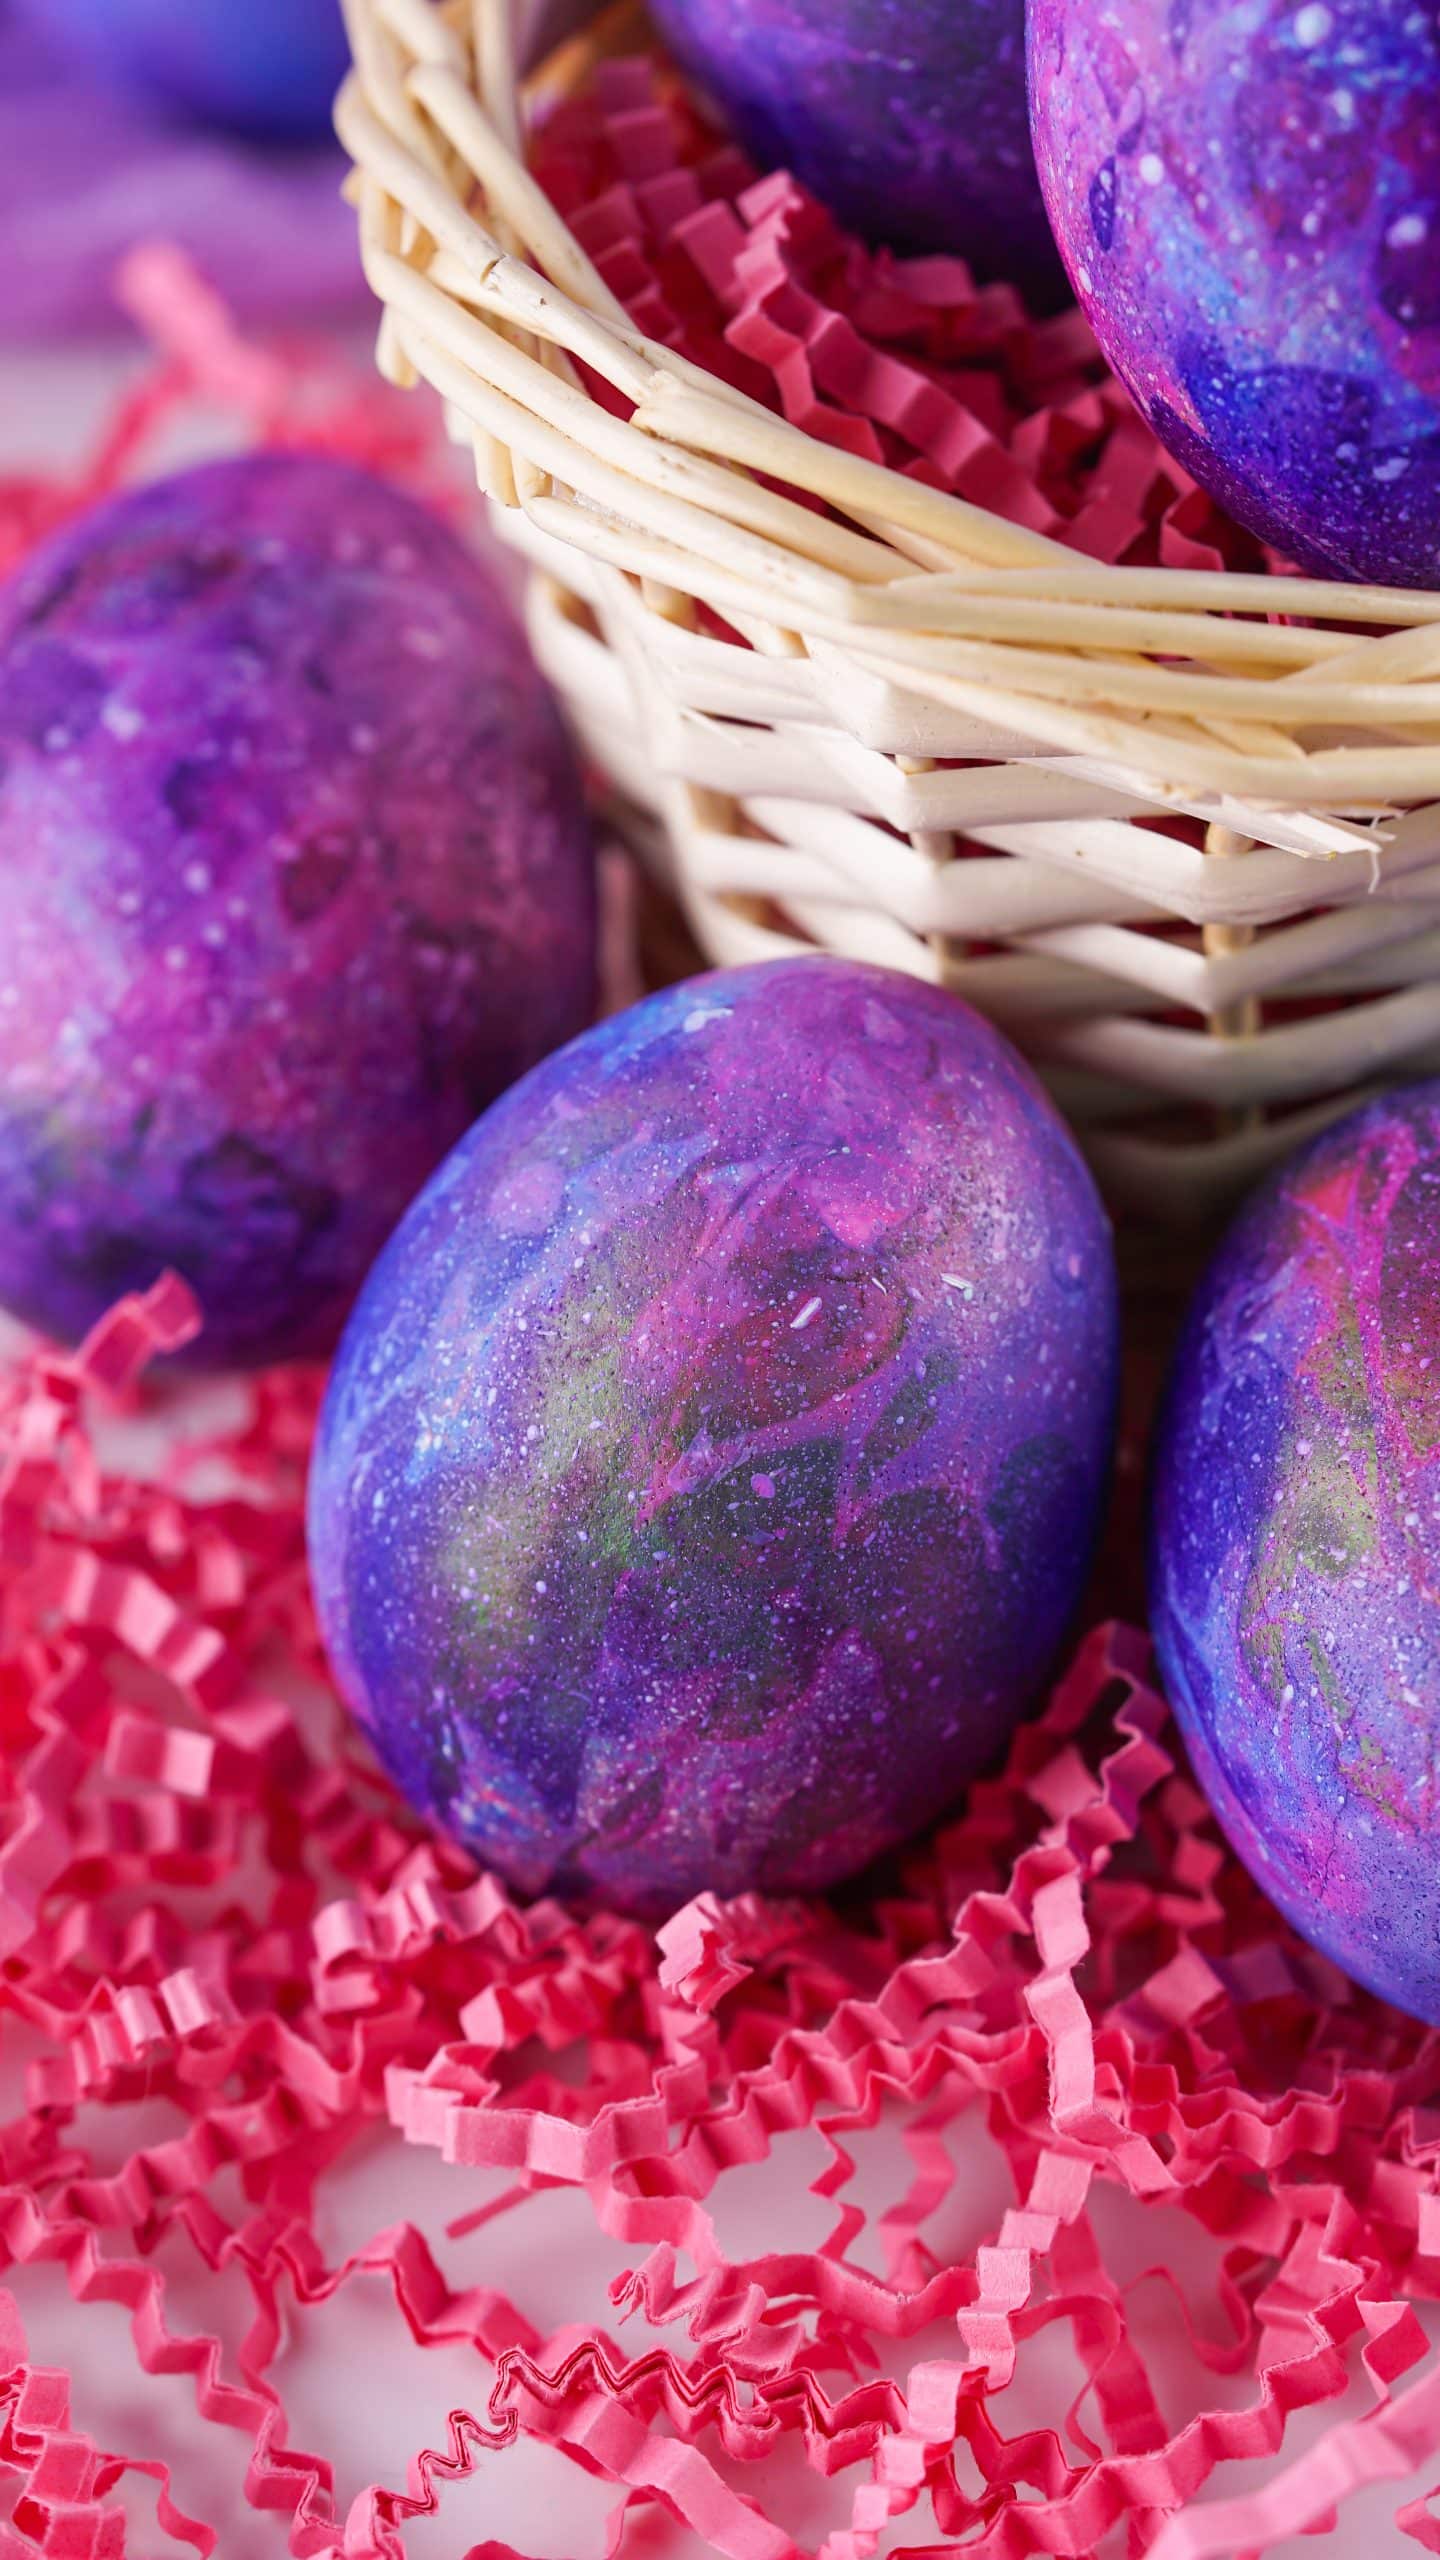
These galaxy Easter eggs are swirled with blue, purple, and pink coloring set behind a spray of white stars.
The effect is really- well- out of this world!
Materials
To make these you’ll need:
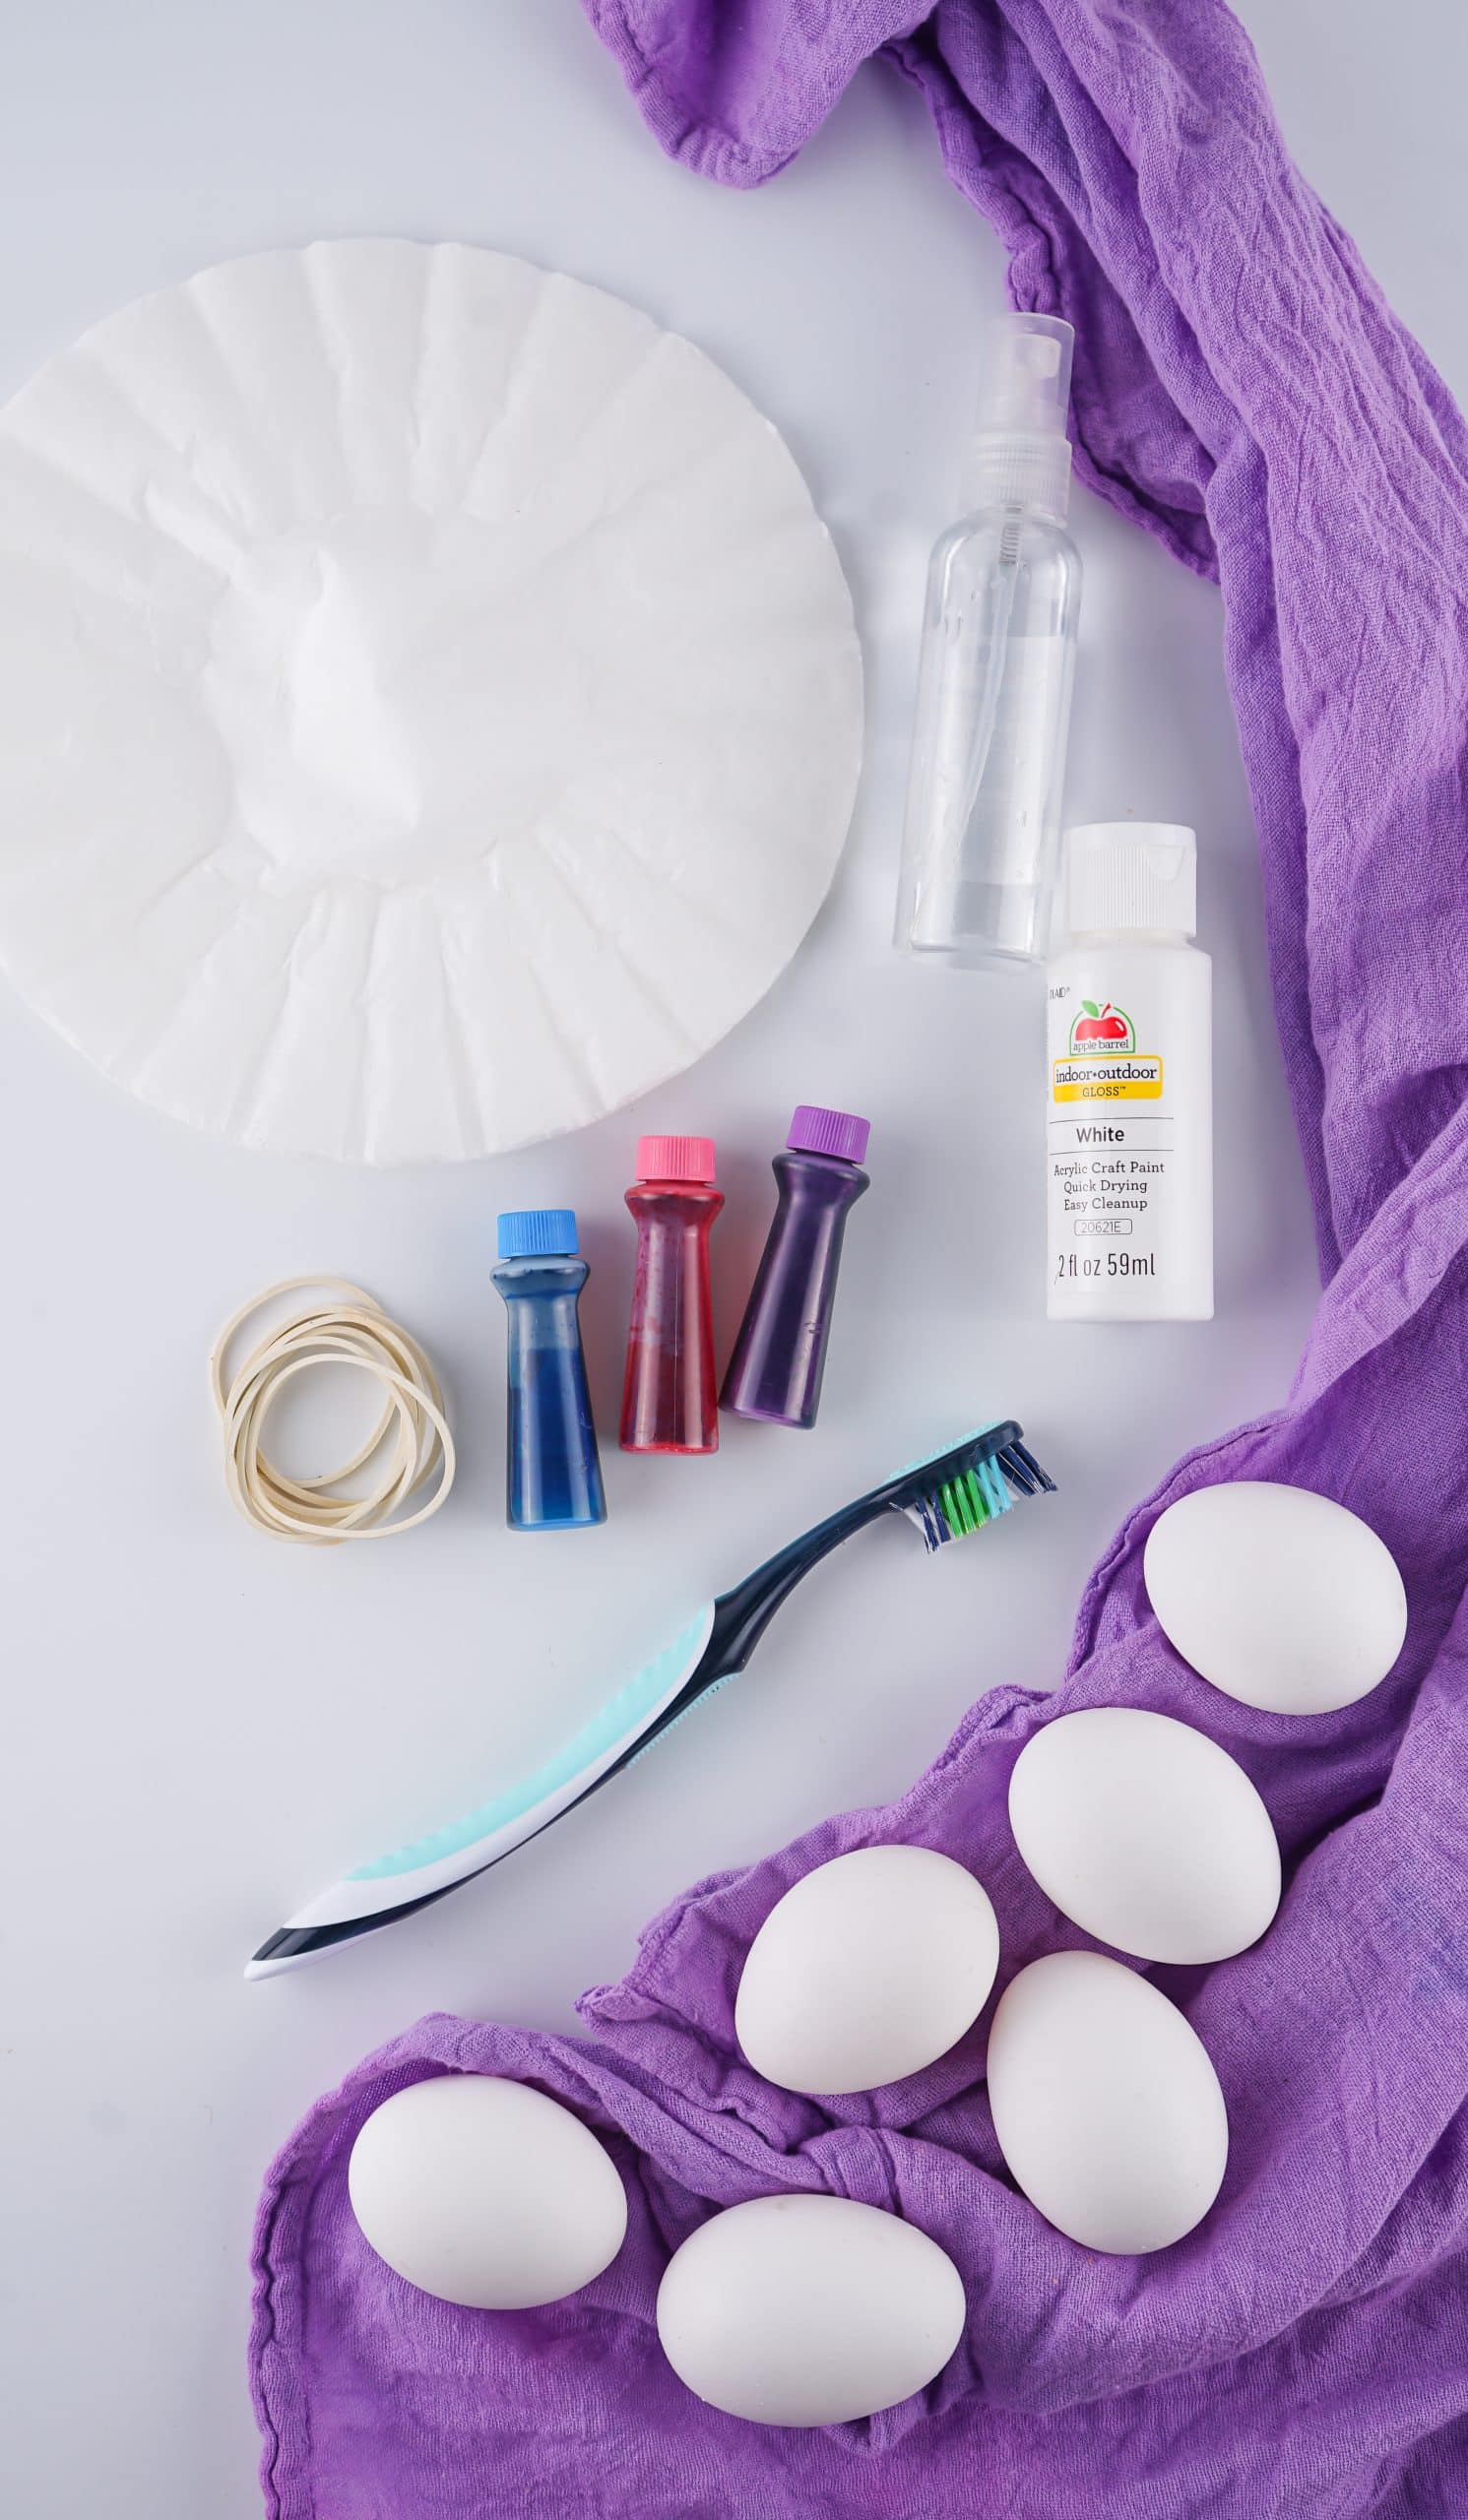
- Eggs- Hard boiled eggs using any method of your choosing. Let them cool.
- Food dye- liquid food dye in blue, purple, and pink.
- Coffee Filters
- White Craft Paint – To make the stars
- Rubber bands– Small ones
- Spray bottle– To spray the eggs with vinegar
- Vinegar– White vinegar
- Toothbrush– A hard one is best
- Rubber Gloves – Optional but these will keep you from dyeing your hands.
How to Make
Making galaxy eggs is so much fun!
To do it, fill the small spray bottle with vinegar.
Set the bottle aside.
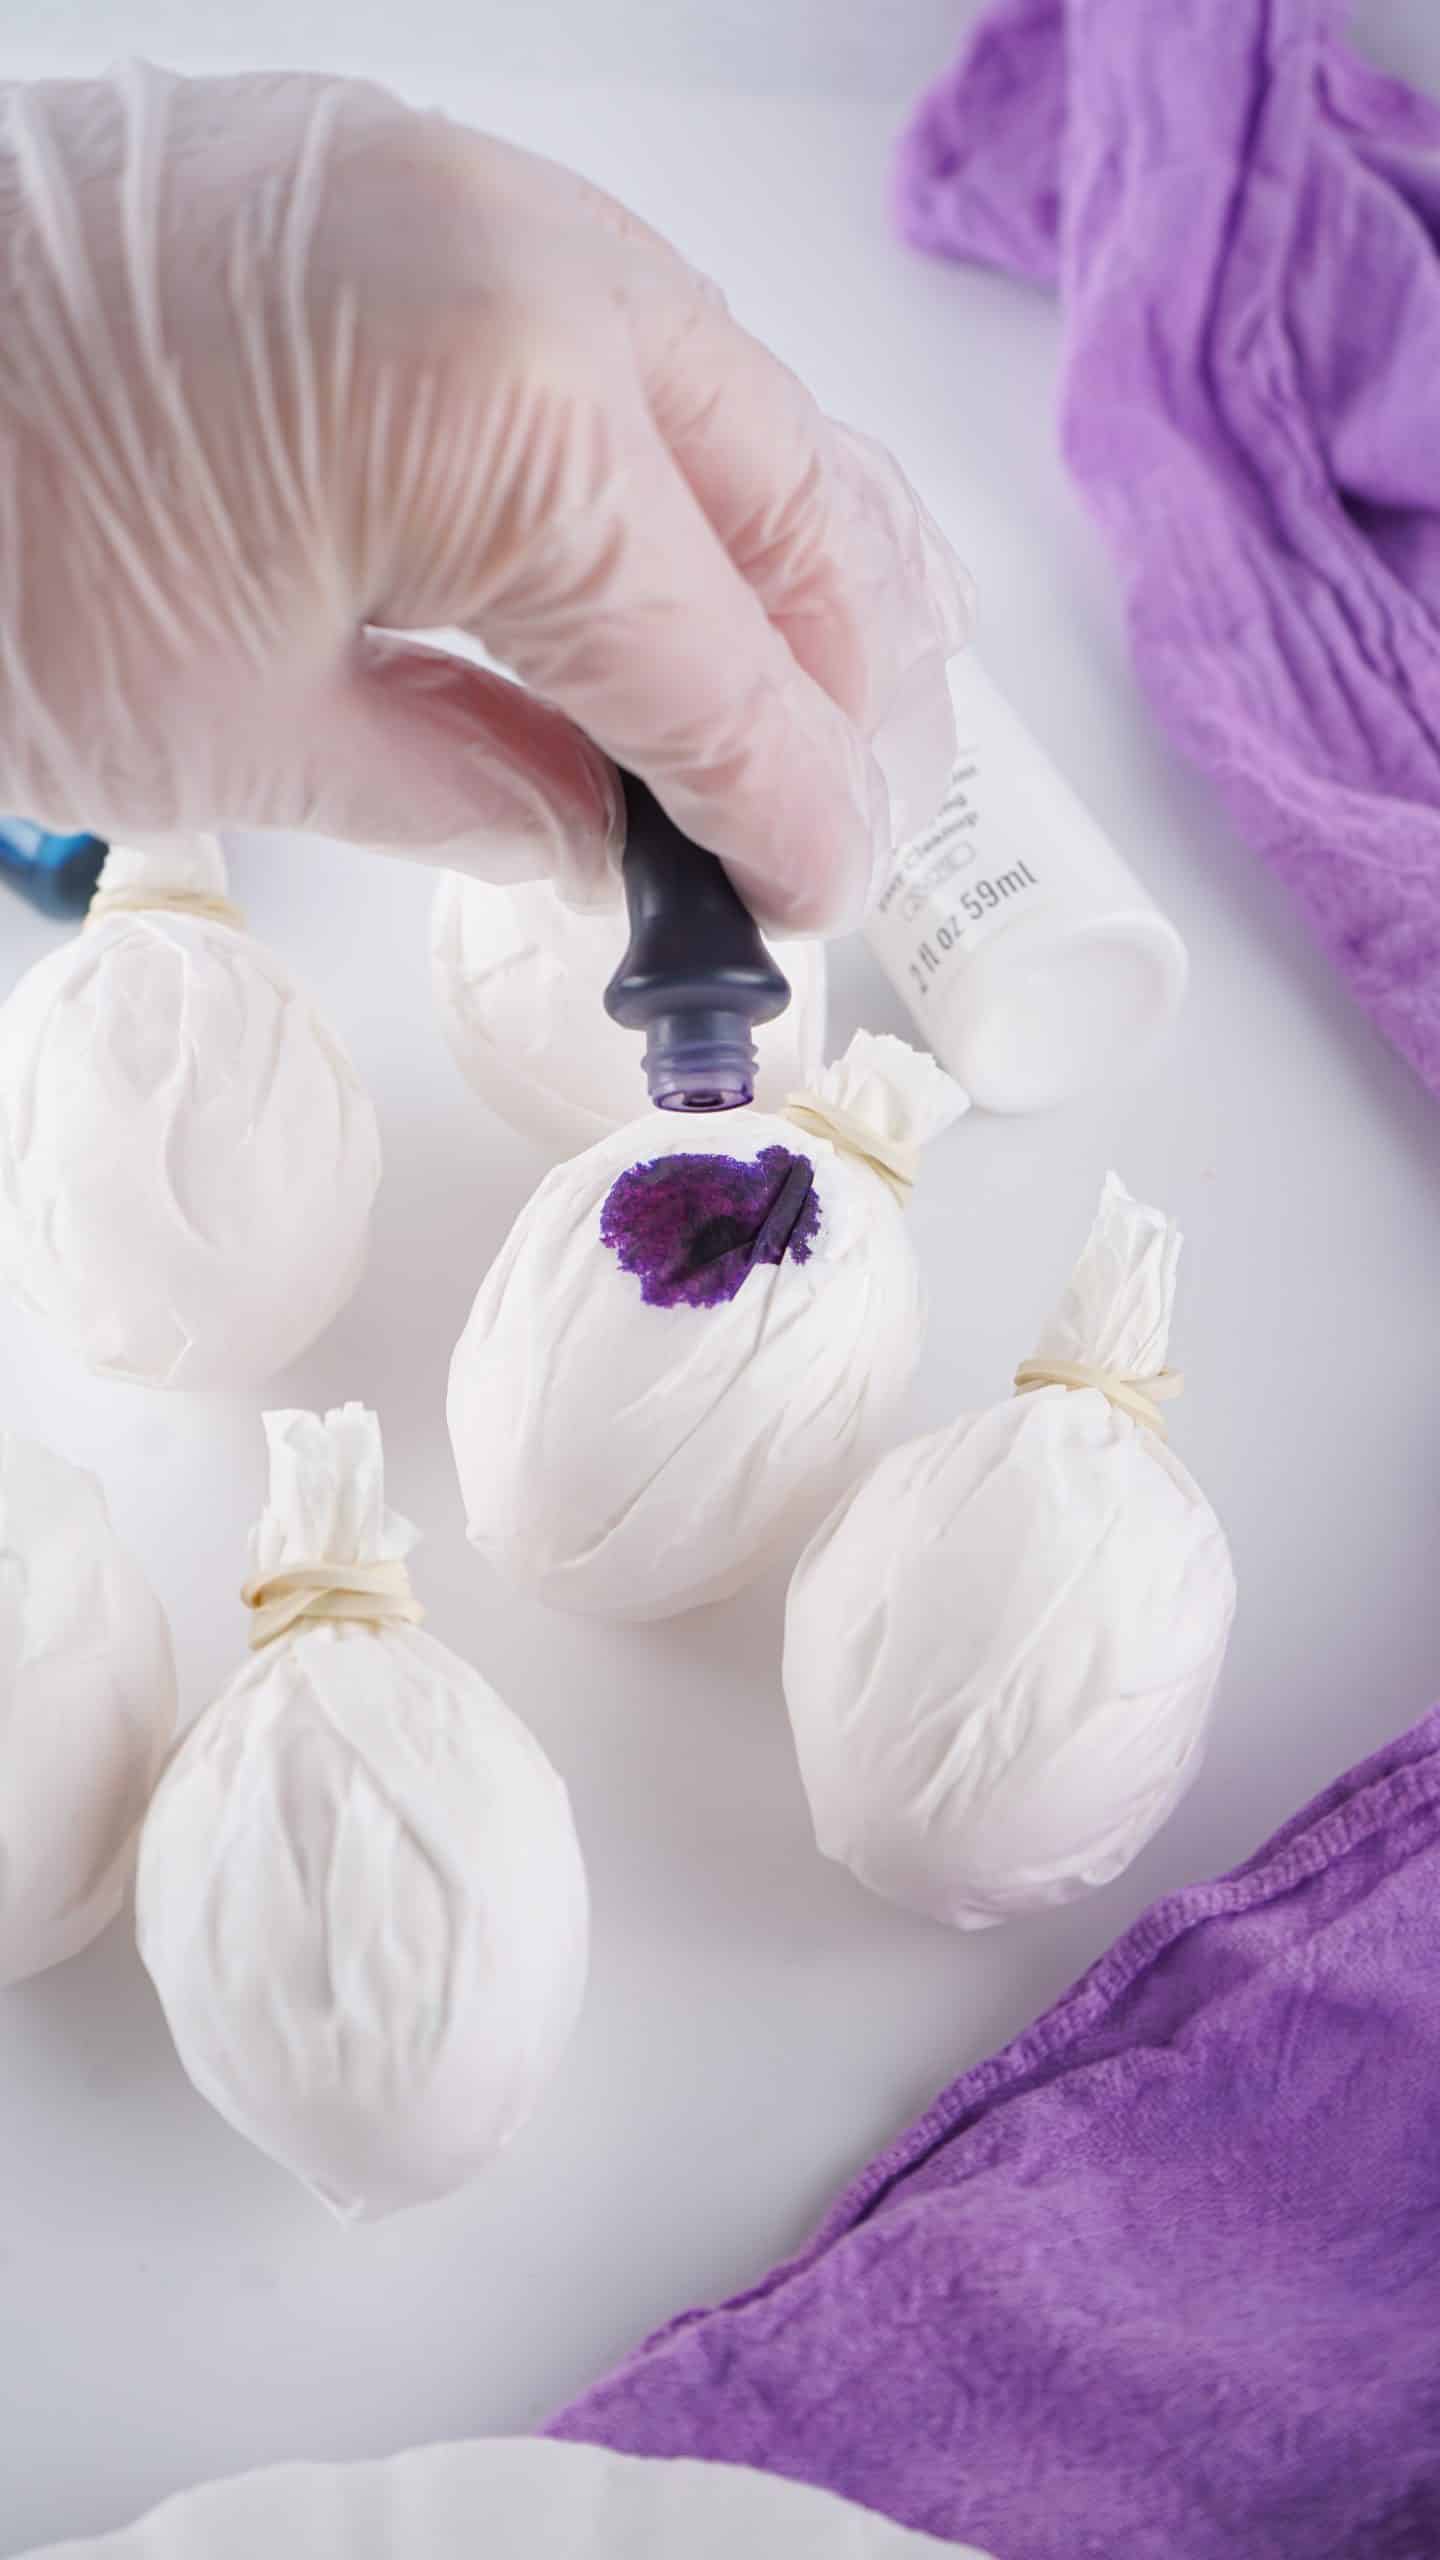
Wrap each egg, point end down, in a coffee filter, and use the rubber band to secure it at the top.
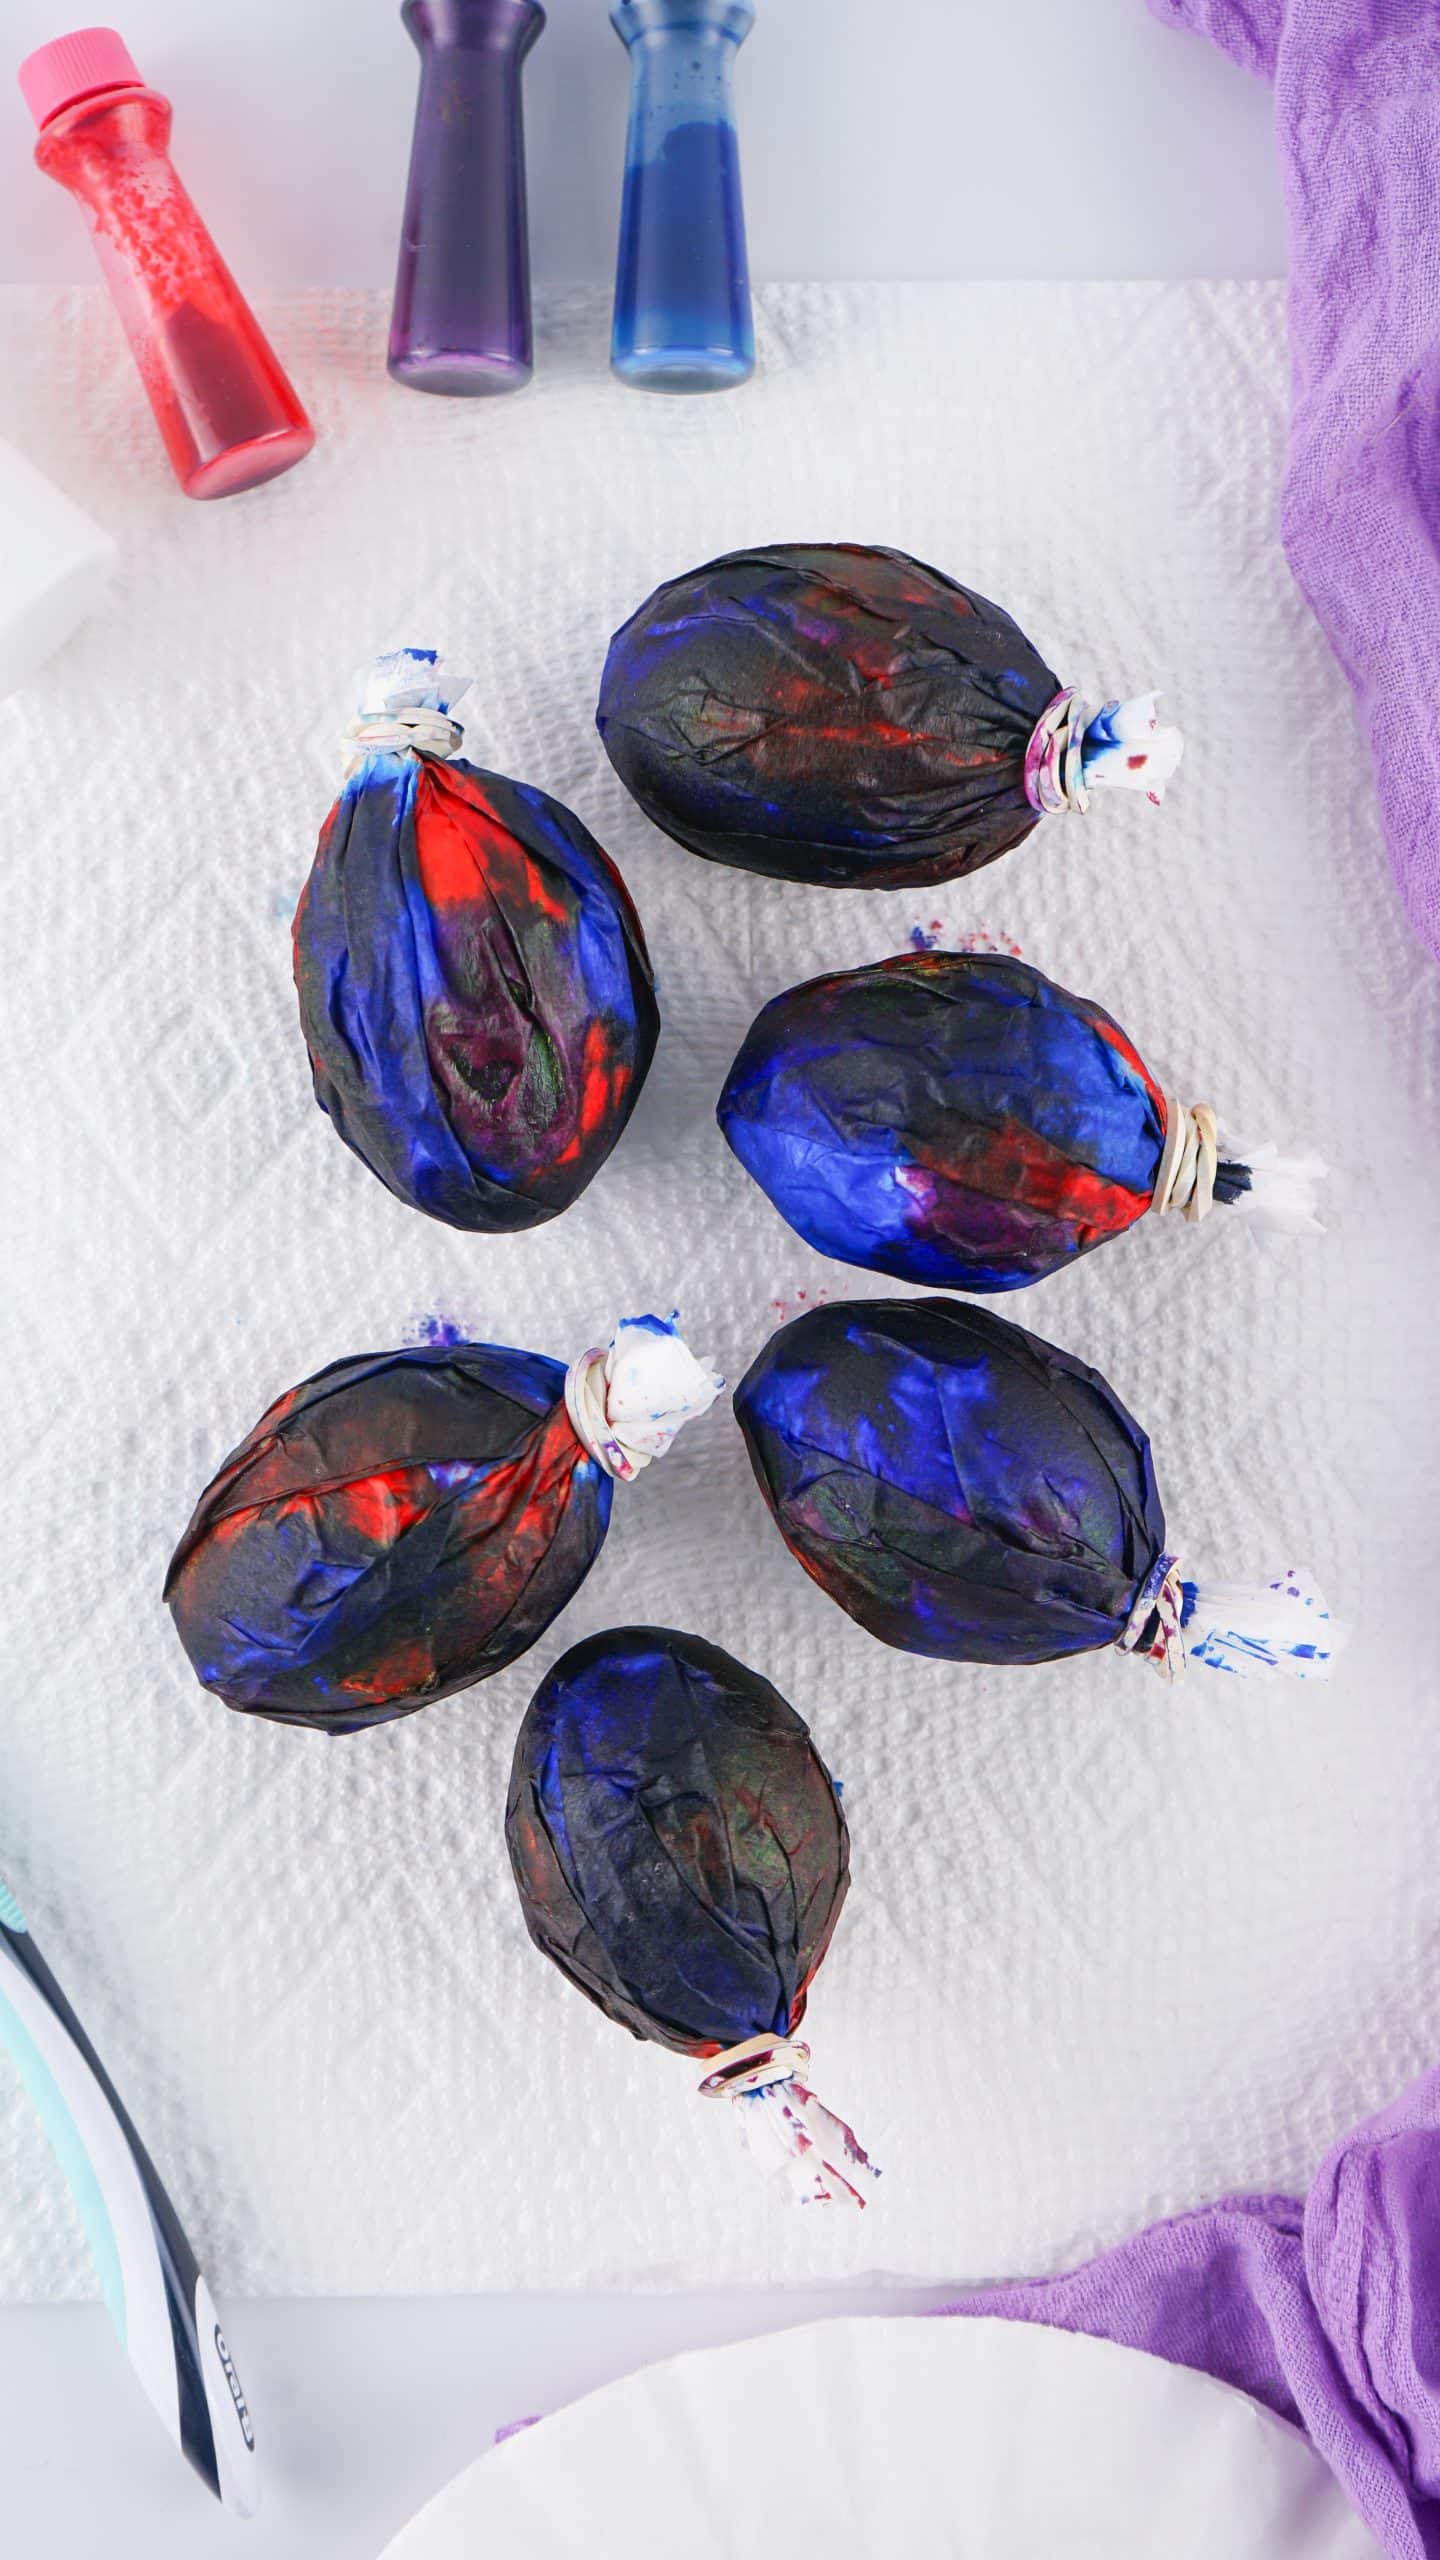
Using rubber gloves if desired, so the dye doesn’t get all over your hands, put about three drops of each color on each egg covered in the coffee filter so the dye spreads across the coffee filter.
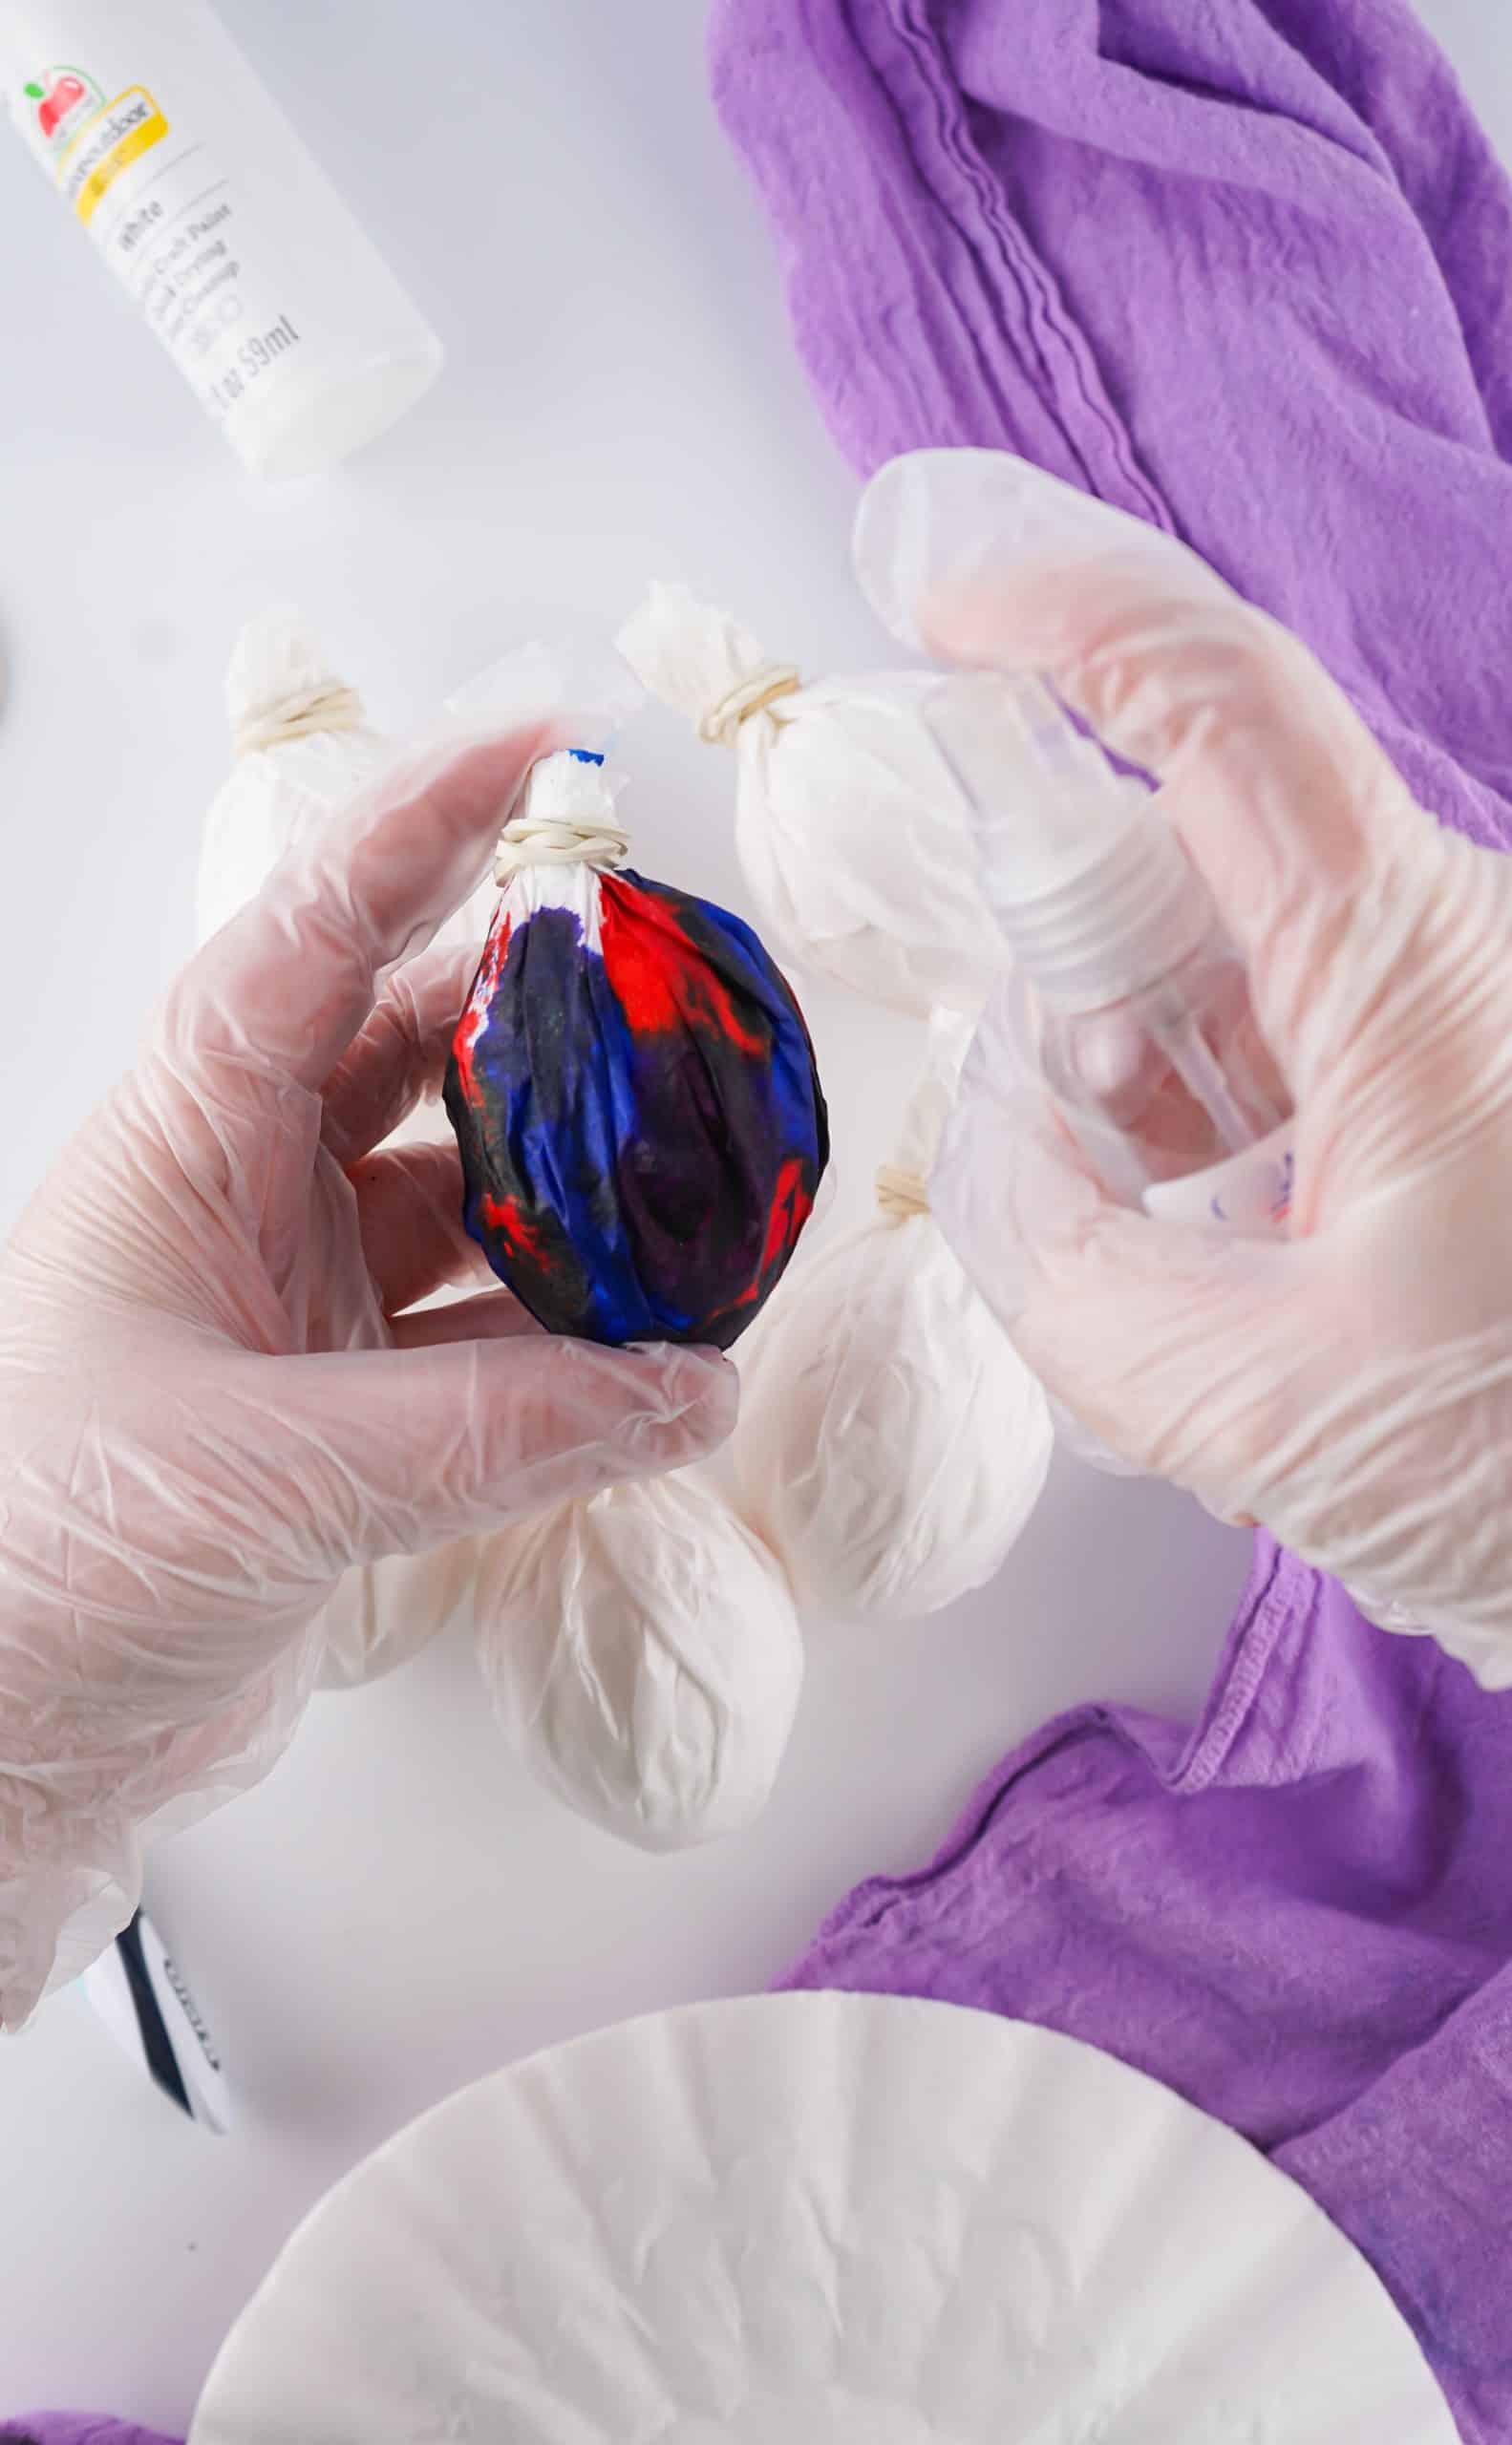
Spritz the eggs with the vinegar and then leave them to sit for 5 minutes.
Unwrap the eggs and then use the dye soaked filters to pat any white spots remaining on the eggs.
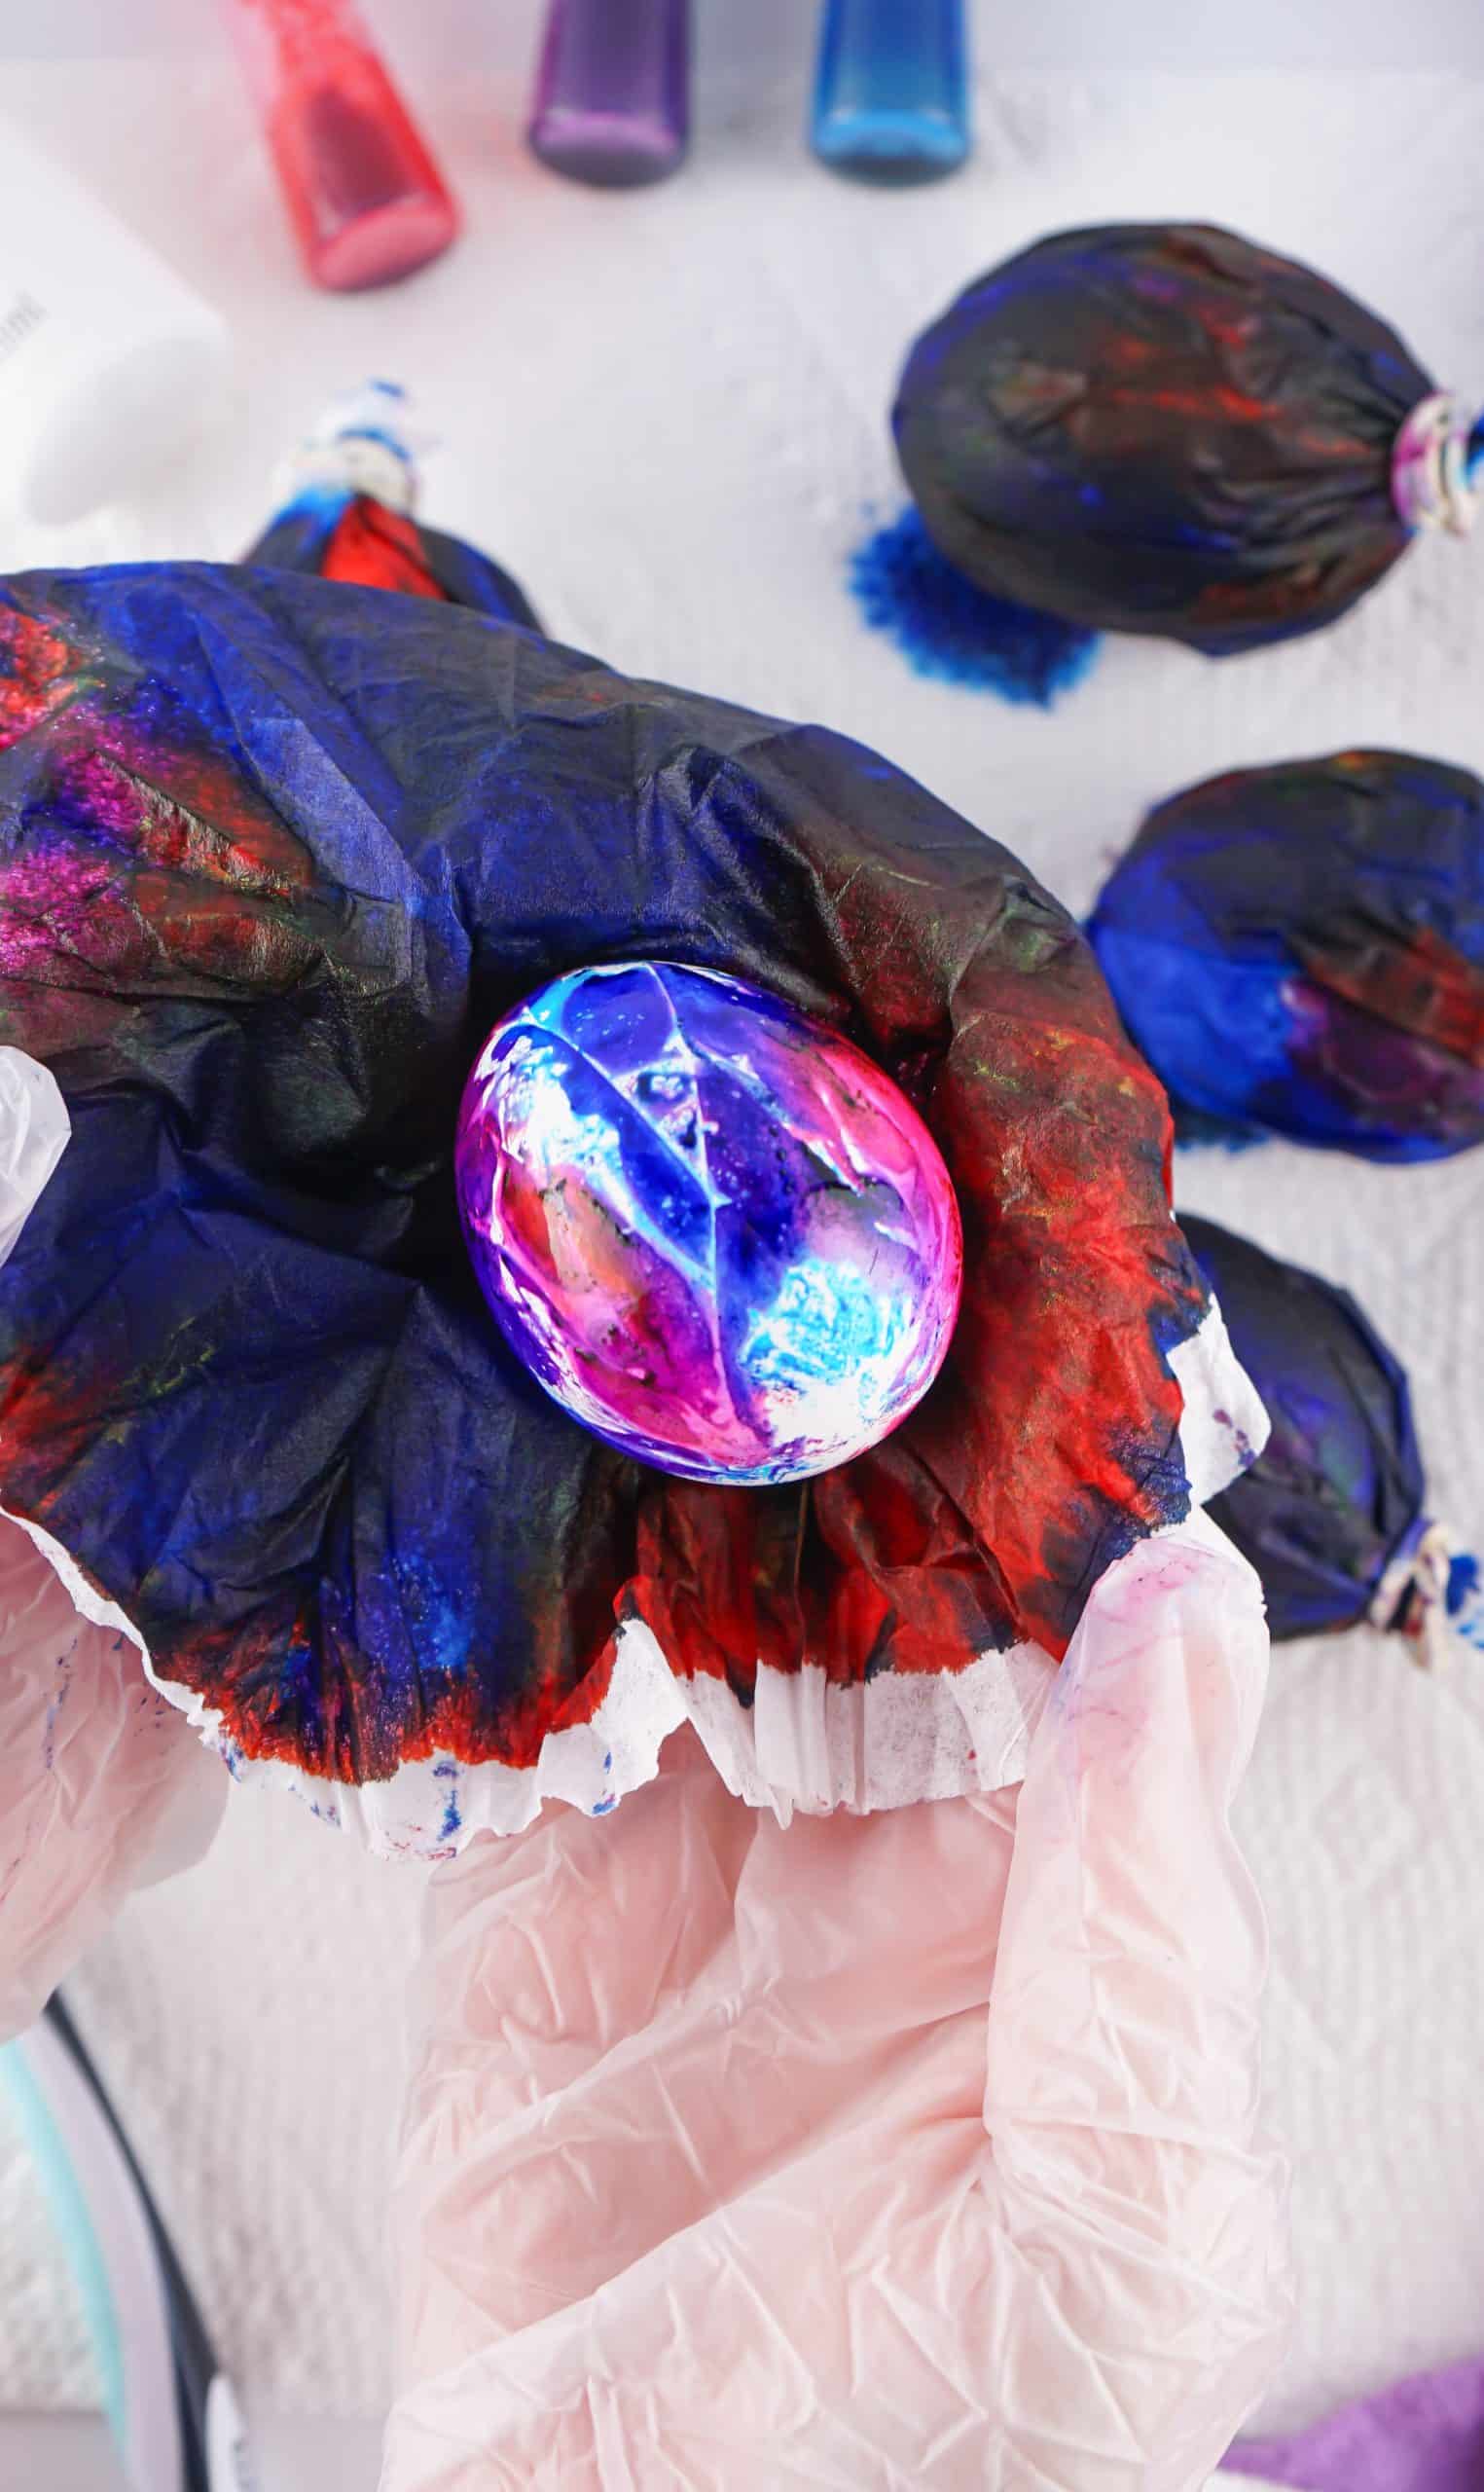
Let the eggs sit for another 5 minutes to dry a bit.
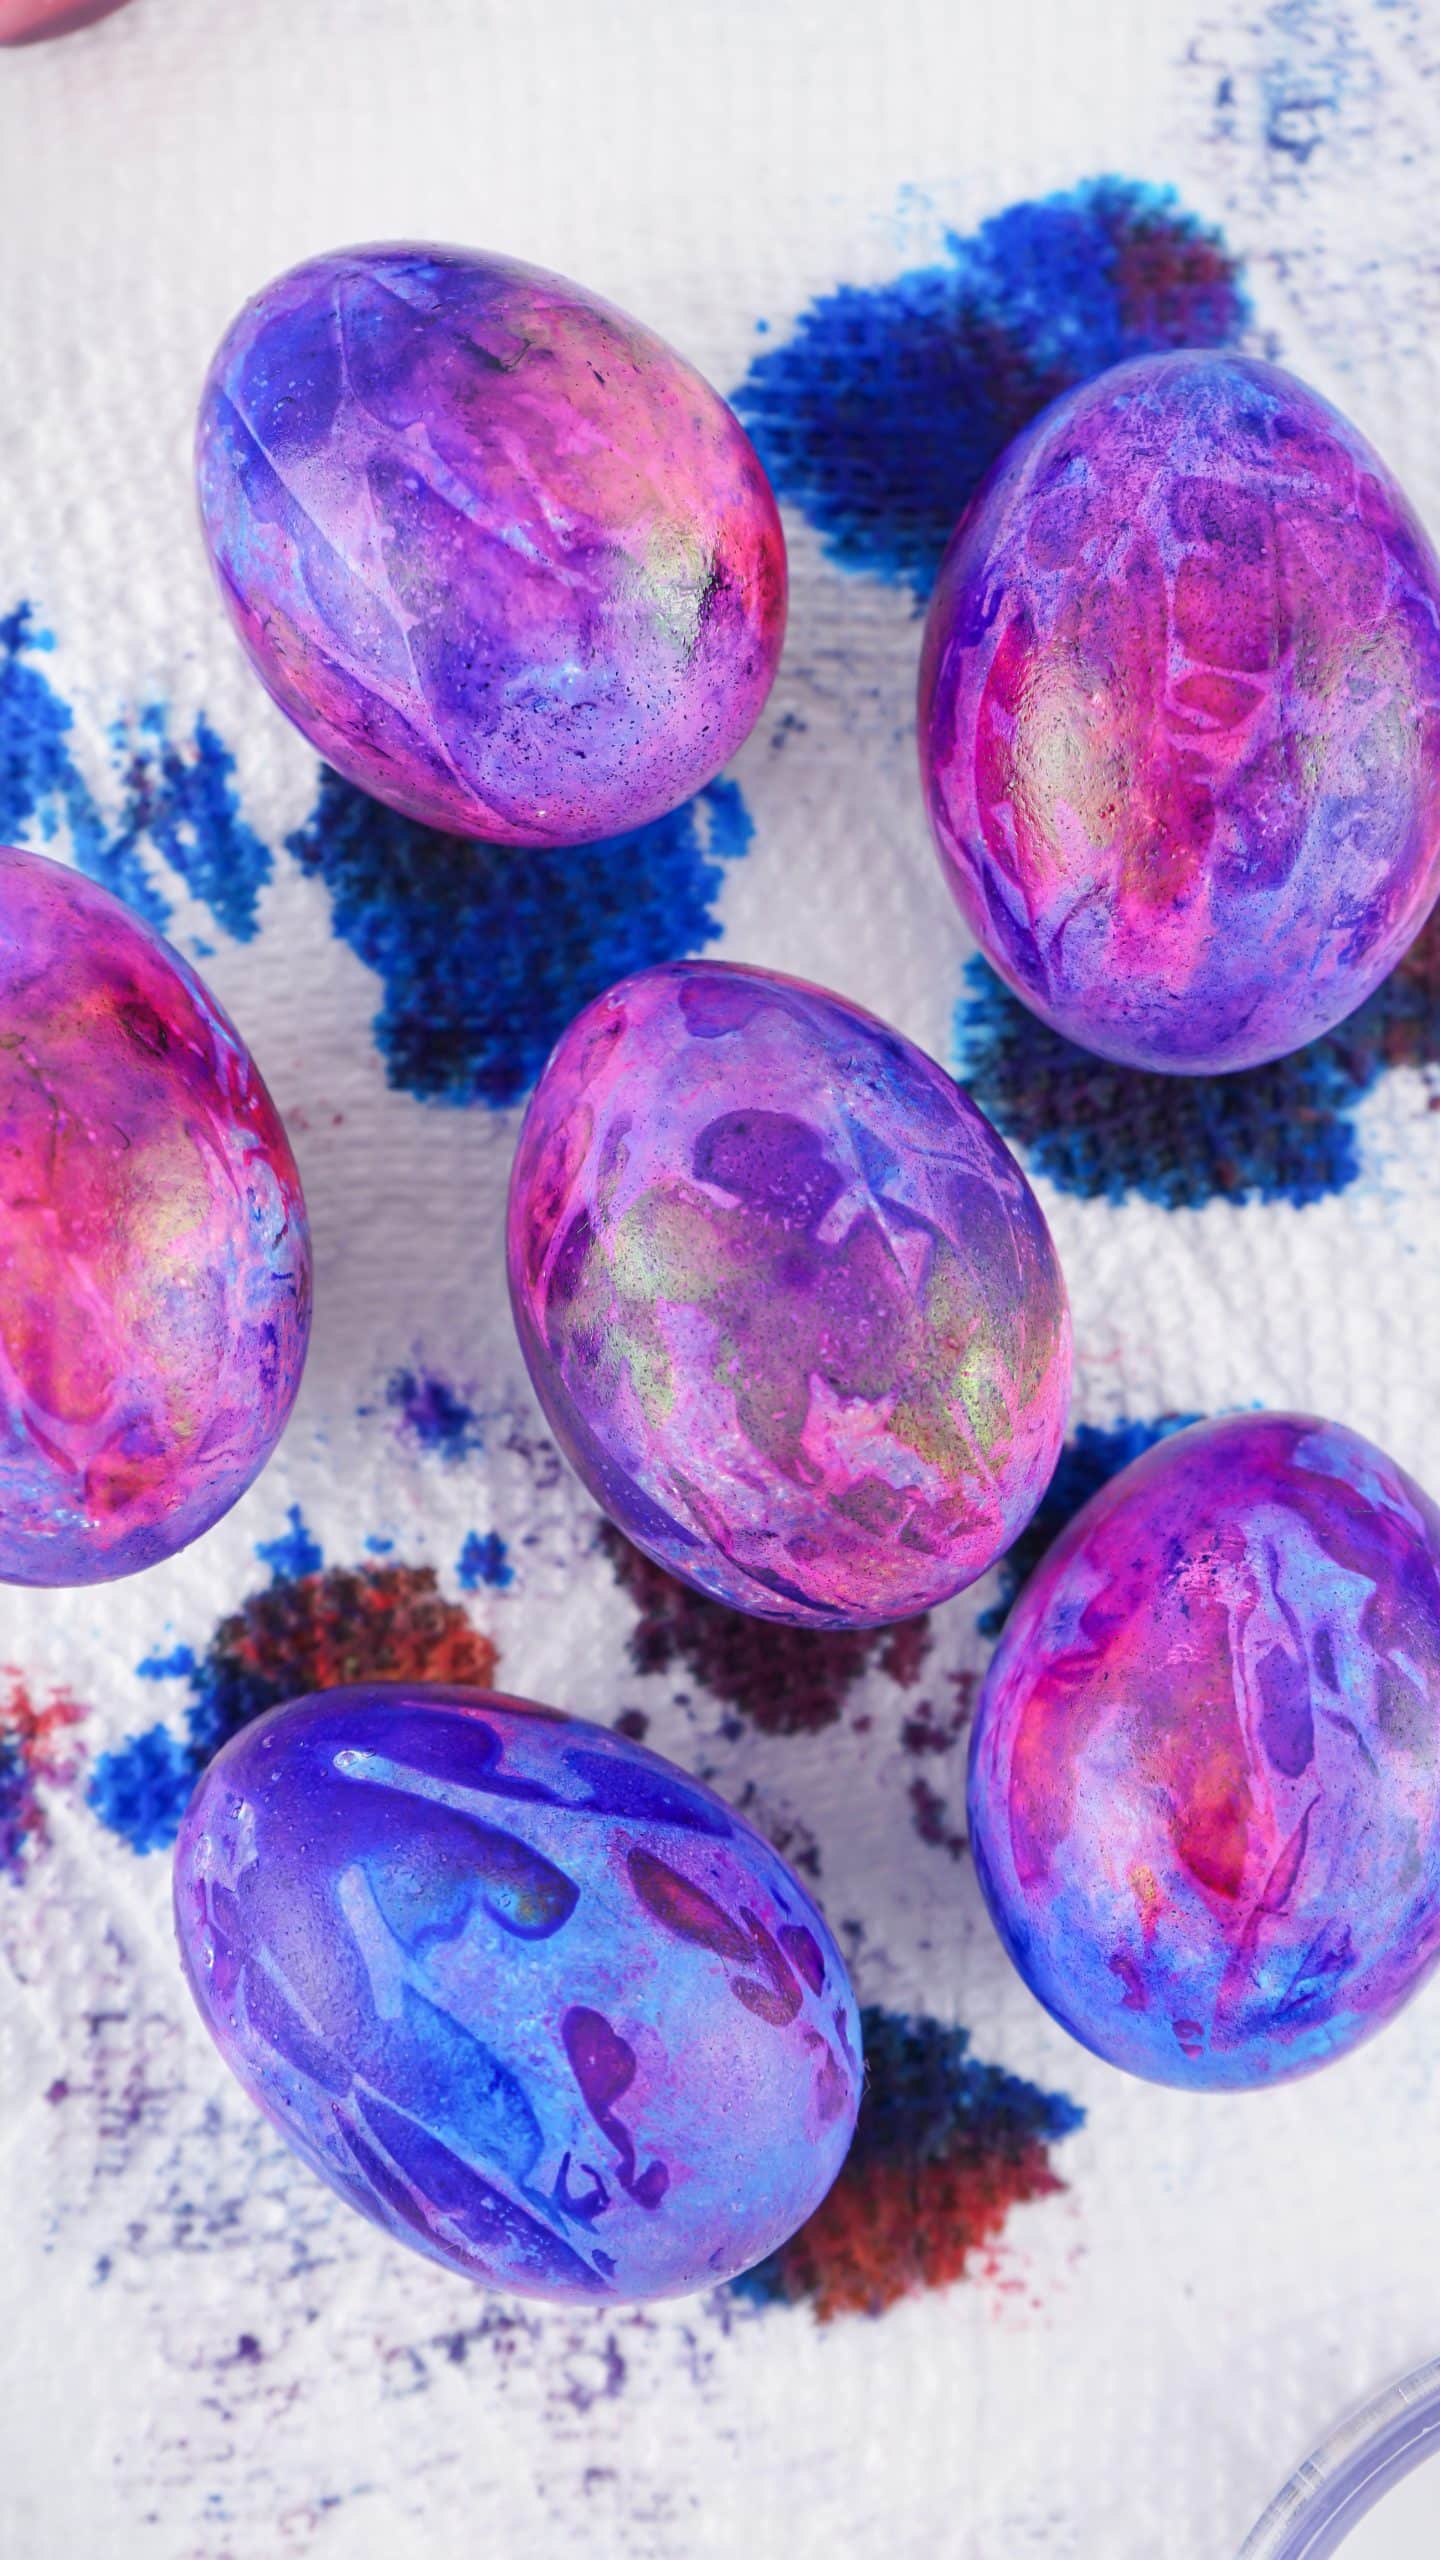
Put the paint in a small dish and dab the bristles of the toothbrush in the pain and use your thumb or finger to flick the bristles so that they splatter the eggs.
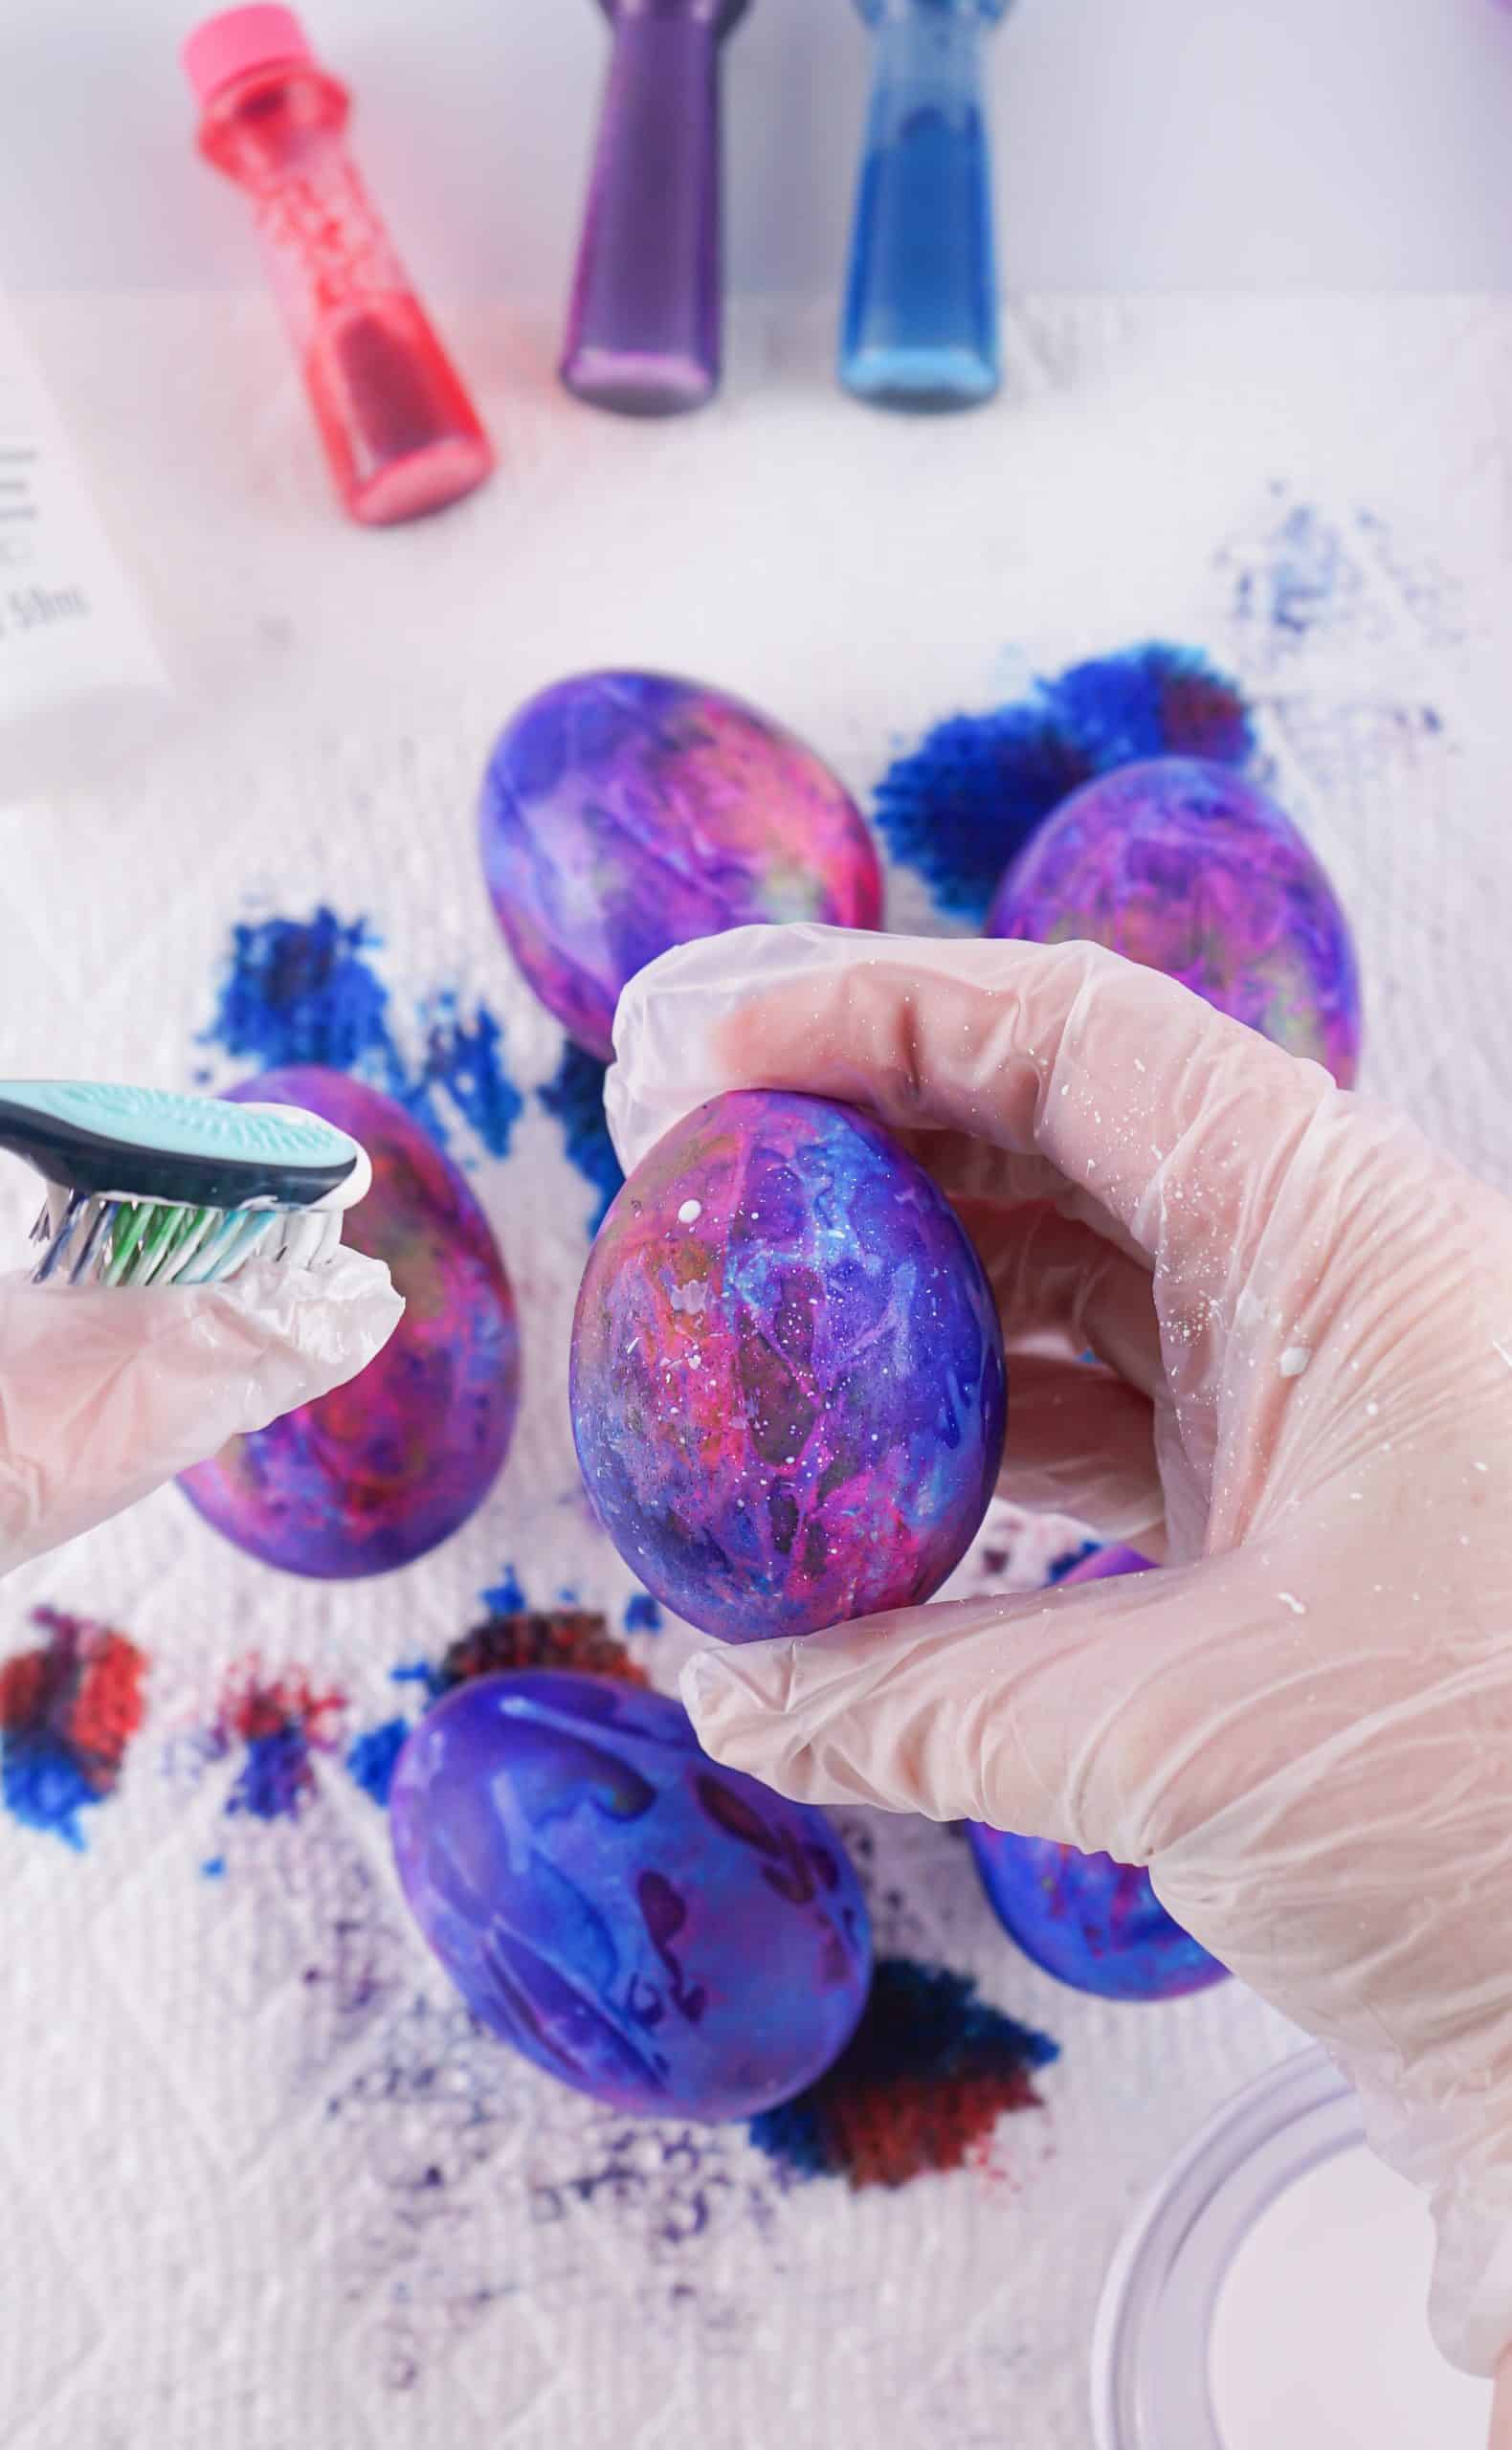
Let them sit to dry for about 15 minutes or overnight and enjoy!

Storing
If you plan to eat these Easter eggs, you need to refrigerate them within 2 hours.
Don’t save them for more than a week.

Tips and Tricks
- While the rubber gloves aren’t absolutely required, they do protect your hands, which will get quite messy.
- Make sure to let the eggs dry after dyeing them and before painting the stars on and refrigerating them.
- Use quick drying craft paint for the star spray so you can handle them sooner.

Other Easter Projects and Crafts
Galaxy eggs are a fun way to make impressive Easter eggs without a kit.
Make them and enjoy!
Looking for other Easter projects and crafts?
Try these:
- Chocolate Covered Strawberry Carrots
- Shaving Cream Colored Easter Eggs
- Mini Chick Cupcakes
- 3 Ingredient Edible Peeps Playdough
If you’ve tried these easy GALAXY EGGS, or any other recipe on my site, let me know in the comment section how it turned out, we love hearing from our readers! You can also follow along with me on PINTEREST, FACEBOOK, and INSTAGRAM to see more amazing recipes and whatever else we’ve got going on!

Galaxy Eggs
Ingredients
- Boiled Eggs
- Blue Purple, and Pink Liquid Food Dye
- Coffee Filters
- White Craft Paint
- Small Rubber Bands
- Small Spray Bottle
- ¼ Cup White Vinegar
- Old Toothbrush Hard is best
- Rubber Gloves optional
Instructions
- Place the vinegar in the small spray bottle.
- Wrap each egg, point end down, in a coffee filter, and use the rubber band to secure it at the top.
- Using rubber gloves if desired, so the dye doesn’t get all over your hands, put about three drops of each color on each egg covered in the coffee filter. The dye will spread across the filter and this is good!
- Spritz the eggs with the vinegar and then leave them to sit for 5 minutes.
- Unwrap the eggs and then use the dye soaked filters to pat any white spots remaining on the eggs. Let sit for another 5 minutes to dry a bit.
- Put the paint in a small dish and dab the bristles of the toothbrush in the pain and use your thumb or finger to flick the bristles so that they splatter the eggs. I usually went around the egg twice.
- Let them sit to dry for about 15 minutes or overnight and enjoy!
Notes
- While the rubber gloves aren't absolutely required, they do protect your hands, which will get quite messy.
- Make sure to let the eggs dry after dyeing them and before painting the stars on and refrigerating them.
- Use quick drying craft paint for the star spray so you can handle them sooner.
This post may contain affiliate links. As an amazon associate, I earn from qualifying purchases. See my full Disclosure Policy for details. As always, all opinions are my own.

