Fresh Strawberry Pie
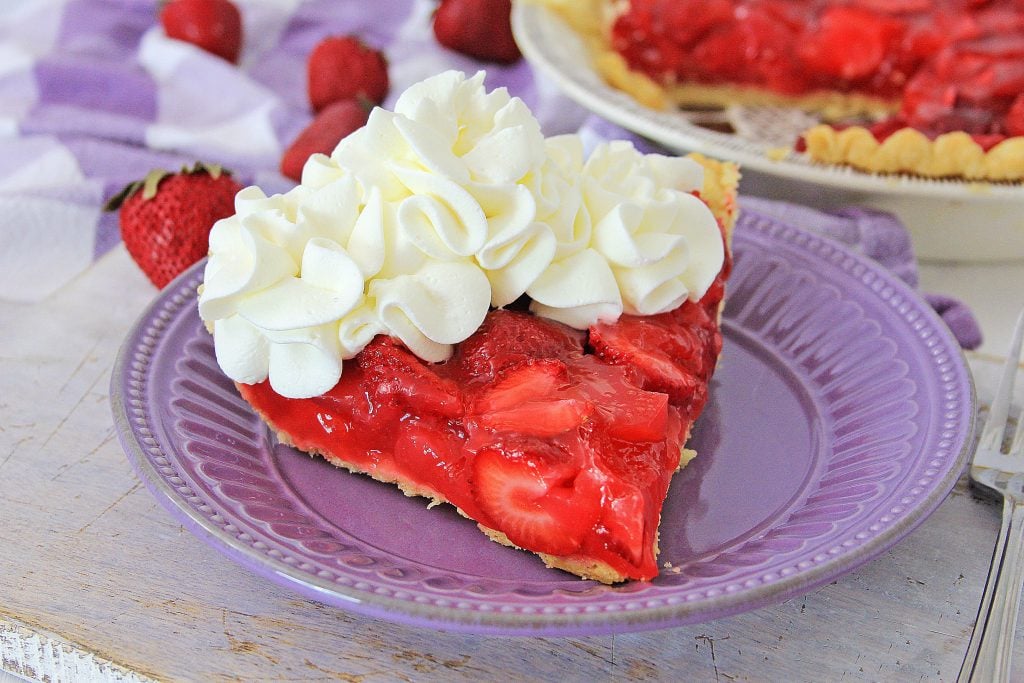
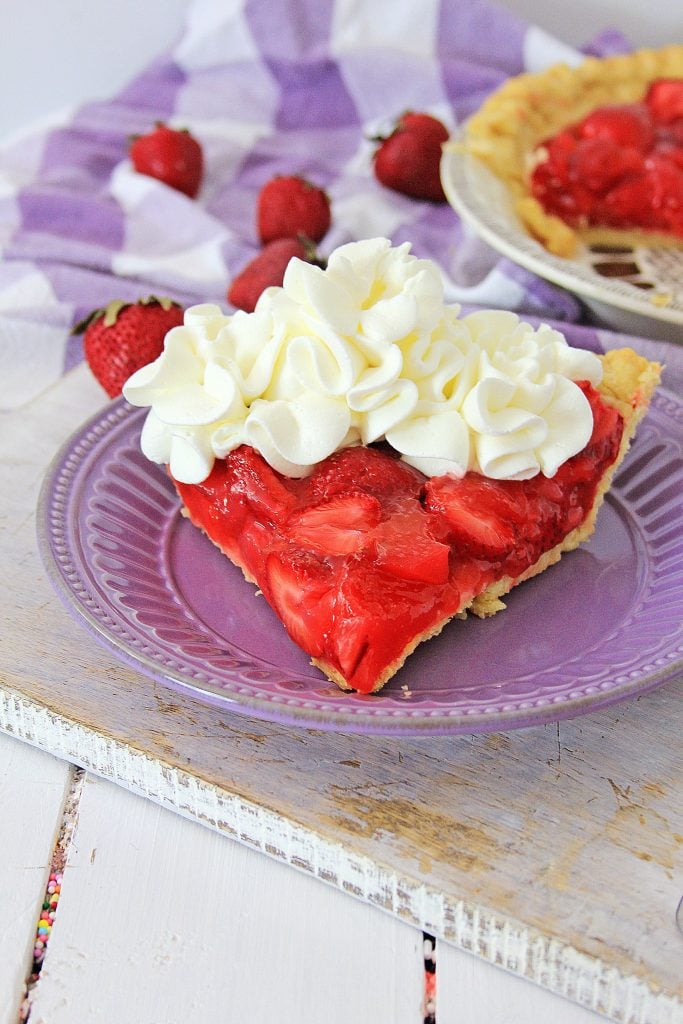
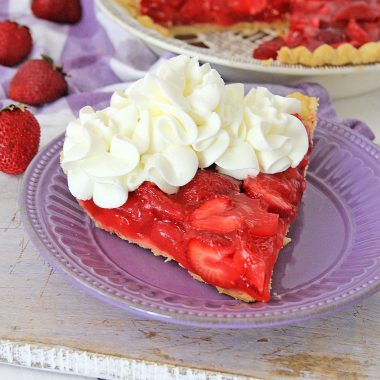
Fresh strawberry pie is the unofficial pie of summer. This delicious recipe features fluffy whipped cream, fresh berries in a thick, gooey filling on top of a tender, flaky crust. It’s as yummy as the Shoney’s classic recipe.
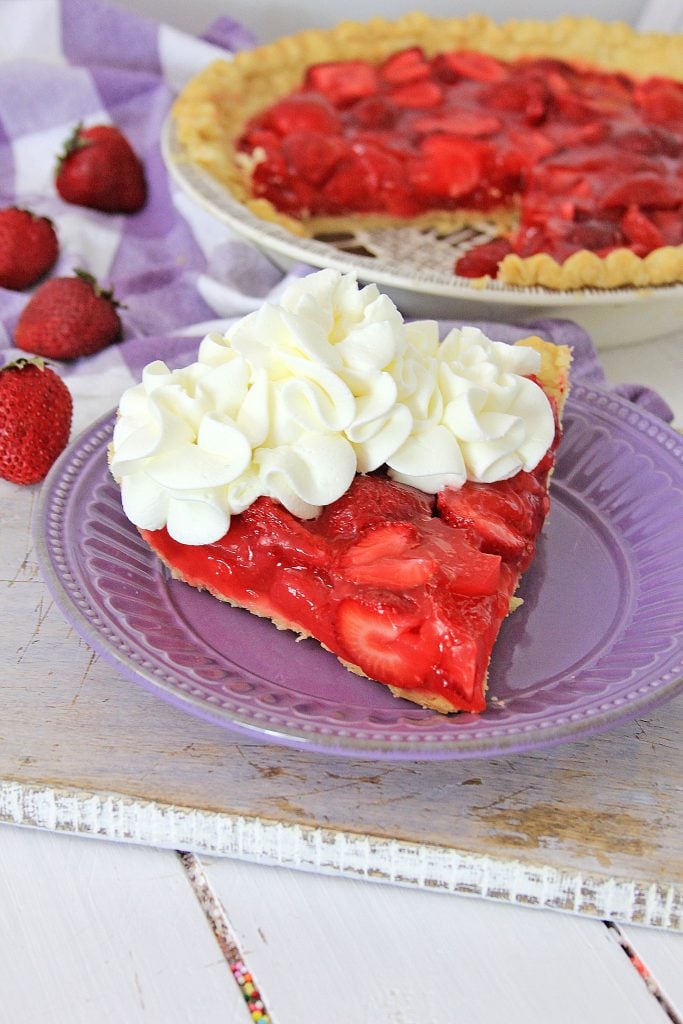
One of my all time favorite treats is the strawberry pie at Shoney’s.
Have you had it? It’s seriously amazing!
It’s piled high with fresh strawberries and whipped cream. And wow, the crust! It’s so good!
My fresh strawberry pie recipe creates a copycat version of Shoney’s and definitely gives Shoney’s recipe a run for its money!
How to Make
This recipe is a little more complicated than some since we are making everything from scratch.
Let’s break it down into parts:
- the pie crust
- the decorative pieces
- strawberry filling
- homemade whipped cream
The Pie Crust
To make the crust, whisk the flour, sugar and salt together in a large bowl.
Then add the Crisco, by cutting it into the flour mix with a pastry cutter, or blender.
Keep going until it forms small, pea sized clumps.
Add a couple of tablespoons of warm water (yes, that’s right, warm, not cold) and mix with your hands, just until the mixture begins to form a ball.
Add water a tablespoon at a time just until the ball forms and sticks together.
The Decorative Pieces
Strawberry Filling
The Whipped Cream
Whipping Cream- How To Tell When It’s Done
There’s a fine line when it comes to whipping cream.
Turning it from a liquid to a thick luscious fluffy topping is fairly easy.
However, one second too long and your cream instantly becomes butter, separating into a a butter ball and excess buttermilk.
Both are great, but totally not helpful in this case.
So how do you know it’s done? When enough whipping is enough?
When you turn off the mixer, and lift the whisk out of the bowl, a big dollop of whipped cream will remain on the whisk, and will be thick enough to stay on the whisk If it doesn’t stay on the whisk, turn the mixer back on, and mix another 30 seconds or so, until it’s a little thicker.
Don’t over mix it, or it will fall, flatten, and look like curdled butter.
It takes about 1 minute to get it whipped thick.
Some recipes say it takes 3 or 4 minutes, but that may include the part where it’s on low, mixing the ingredients.
You really have to look at the cream, when it begins to thicken, and stop the mixer when it form stiff peaks. It should be done.
Decorating the Pie
How long will this pie keep?
You can keep this pie for up to 3 days in the fridge.
If you plan to have leftover pie, don’t put whipped cream on the whole pie.
Make a fresh batch of whipped cream before serving.
Can I make this ahead of time?
Yes! You can make this pie the night before and refrigerate it overnight.
Just make the whipped cream right before you serve it and you should be good to go.
Tips and Tricks
- Don’t overwork the dough, but make sure it has enough water to stay together, and it will be a little elastic in texture.
- Keep the flour handy to sprinkle a little here and there to make rolling easy.
- If the crust should tear while you’re moving and fitting it to the plate. Just pinch it back together, and smooth it out with your fingers
- Don’t over bake it, so you’ll need to check on it often.
- While cooking the filling, make sure to keep stirring the whole time it is cooking.
- Place the metal bowl, and whisk attachment to the mixer in the freezer for about 20 minutes before whipping the whipped cream.
- Don’t over-whip the cream.
- If you have any leftover pie crust triangles, save them! Dust them with powdered sugar or cinnamon sugar and eat them like cookies. They will keep for 2 to 3 days.
Other Pies You’ll Love
This fresh strawberry pie recipe is my favorite summer pie. Make it and satisfy your sweet tooth or your Shoney’s cravings!
Looking for other fruity pies? Try these:
If you’ve tried this FRESH STRAWBERRY PIE recipe, or any other recipe on the site, let me know in the comment section how it turned out, we love hearing from our readers! You can also follow along with me on PINTEREST, FACEBOOK, and INSTAGRAM to see more amazing recipes and whatever else we’ve got going on.
Fresh Strawberry Pie
Equipment
- Stand mixer
- Rolling pin
- Pie dish
- Spatulas
- Pastry cutter
- Cookie sheets
- Parchment paper
- Wire racks
Ingredients
FOR THE CRUST:
- 1/2 cups of Crisco
- 3 cups of flour
- 1 teaspoon of sugar
- Pinch of salt
FOR THE FILLING:
- 32 ounces of fresh Strawberries - washed and drained
- 1 cup of water
- 1 cup of sugar
- 3 heaping Tablespoons of Strawberry Jello
- 1/2 teaspoon of lemon juice
- 2 1/2 Tablespoons of Corn Starch
FOR THE WHIPPED CREAM
- 1 1/2 cups of heavy cream
- 1/2 cup of powdered sugar
- 1 teaspoon of Vanilla
Instructions
- In a large bowl, place the flour, sugar, and just a pinch of salt, and stir altogether.
- Add the Crisco, and cut the flour mixture, and the Crisco together with a Pastry cutter, or blender, until it resembles small particles, about the size of a pea.
- Add a couple of Tablespoons of warm water (yes, that's right, warm, not cold) and keep adding the water a Tablespoon at a time, and mix with your hands, just until the mixture begins to form a ball. Don't add anymore water, after the ball is formed, and it sticks together. Don't overwork the dough, but make sure it has enough water to stay together, and it will be a little elastic in texture.
- Divide the dough in half, and on a floured surface, place the dough in the middle - I rolled my dough on my Marble counter top, but any smooth surface will work, if you flour it so the dough doesn't stick to it.
- Flour your rolling pin - generously, and keep the flour handy to sprinkle a little here and there to make rolling easy. Flour the top of the dough, lightly, and with the rolling pin, roll the dough into a large piece, round or square, until it's about 1/4 inch thick.
- Hold your pie plate over the top of the dough, just to make sure the dough is bigger all the way around the pie plate. If it's not, roll it out a little more.
- Fold the dough in half, and in half again, and place it in the pie plate. Unfold it, and move it about the plate, until you have it in place to form it to the plate.
- Make sure the dough is smooth in the pie plate, and don't be worried, if it should tear while you're moving and fitting it to the plate. Just pinch it back together, and smooth it out with your fingers.
- This is a real 'hands on' part of the dough process. If you need to, you can always put another piece of dough where there is a tear, and repair the tear; just work it with your fingers until it's smooth, and there are no holes in the dough. When you have the dough in the pie plate, cut off any excess pieces around the edges, but, be careful to leave enough to seal the edges around the top of the pie plate. You'll want to crimp the dough around the edge of the pie plate, with your fingers. Use the side of your little finger, and pinch the dough to form a little ridge, and press your little finger into the ridge, making a slight indentation.
- Pierce the dough with a sharp knife in several spots around the pie plate, but don't cut the dough all the way through to the bottom, or your filling will run out the bottom. This is to allow any air in the dough to escape as it's baking. You can watch it as it bakes, and if a big bubble appears in your crust, just touch it with the sharp knife, and that should be enough to allow any air to escape the bubble.
- Place the crust in the oven at 350 degrees for about 25 minutes, or until it is golden brown. Don't over bake it, so you'll need to check on it often. When baked, place on a wire rack to cool.
To Make Decorative Pastry Pieces
- Place about 1 teaspoon of red food coloring gel in the middle of the remaining dough, and work it through the dough with your hands, until it's all one light color of reddish pink.
- Roll the dough out to about 1/4 inch thick, and then cut the dough in strips, and then in large squares, about 3 inches by 3 inches.
- Lay the squares on a cookie sheet, and cut the squares diagonally, and move the triangles apart just slightly to bake.
- Bake at 350 for about 25 minutes, until just beginning to brown. Remove to a wire rack to cool. These little triangles are to place in the whipped cream to decorate the slices of pie.
To Make The Strawberry Filling
- Wash the Strawberries, by running cold water over them, or soaking them for a few seconds, and rinsing them off a couple of times. Place them on paper towels, and let them dry.
- Remove the stems from all but about 8 or 9 large berries, and leave the stems on the 8 or 9 large berries, and use these to decorate the slices of pie.
- Slice the remaining berries in half, or in 4 or 5 slices if preferred.
- In a heavy sauce pan, place the water, sugar, Strawberry Jello, lemon juice and corn starch, and bring to a boil, stirring constantly. Mixture will look cloudy, and then will begin to become clear.
- When you can see your spoon through the mixture, if it looks like clear bright red Jello, it's done, remove from heat. Allow to cool for a few minutes, and place in the refrigerator on a hot mat, to cool faster.
- When Jello mixture is cool to the touch, add the sliced Strawberries to the mixture, and stir well, to make sure all berries are coated in the mixture.
- Pour the filling into the baked pie crust, smooth the filling in the crust, and place in the refrigerator, in a pie keeper to protect the uncovered pie, and allow it to chill, and set, or thicken.
- Place washed un-stemmed berries for decorating in the refrigerator.
- Before serving the pie - make the whipped cream. I always recommend making the whipped cream a few minutes before serving.
- Place the metal bowl, and whisk attachment to the mixer in the freezer for about 20 minutes before whipping the whipped cream.
- Remove from freezer, and place the heavy cream, powdered sugar and Vanilla in the mixing bowl, Whip on low until blended, and starting to become a little thick.
- Turn mixer up to high speed, and mix just until cream is whipped, and stiff peaks begin to form.
To Decorate
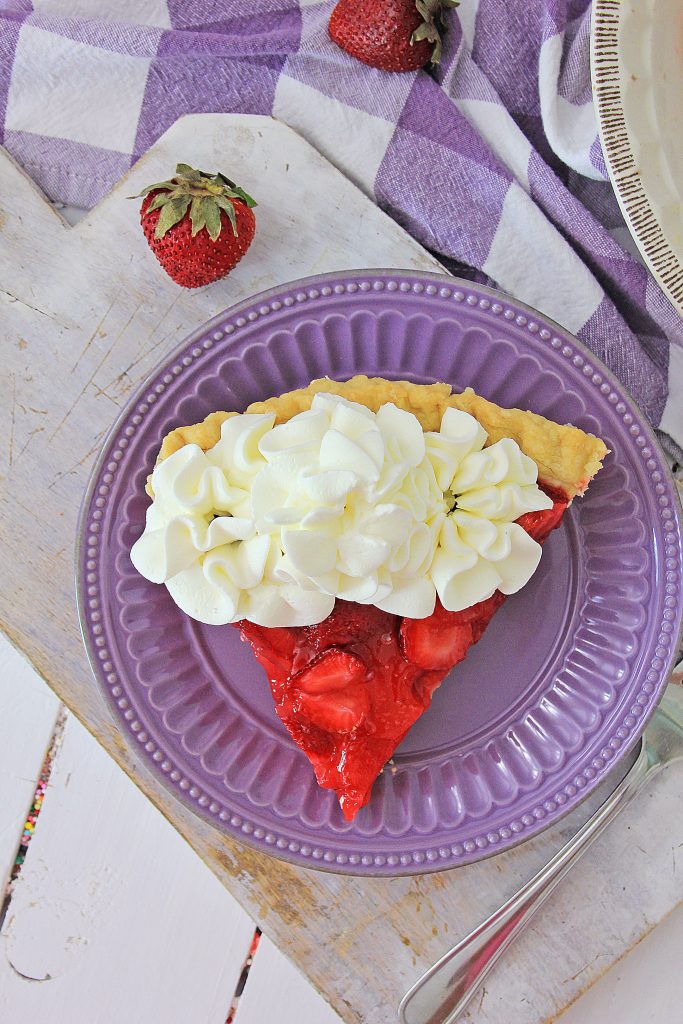
- Remove the pie from the refrigerator, and place a frosting tip in a pastry bag, and place the whipped cream in the bag. Cut the slices in about 2 to 3 inch wide pieces, and pipe the whipped cream on top of the slices, just at the top, or you can pipe the whole piece.
- Add one of the whole stemmed strawberries, and one or two of the pie crust triangles to the whipped cream, to decorate each piece. Serve, and Enjoy!
Notes
Nutrition



I have been making this pie for ages and it is the best I have ever had, however I use almond favoring instead of lemon and I also soften about 3 Tbs. of cream cheese and mix with powdered sugar to taste and spread it in the bottom of the cooed pie crust. It is delicious and keeps the crust from getting soggy.
Highly reccomend this recipe.
Thank you, Dianne for taking the time to come back and leave your feedback. Next time I make it I’ll have to try your version- that cream cheese base sounds like a delicious addition!