Thai Iced Tea
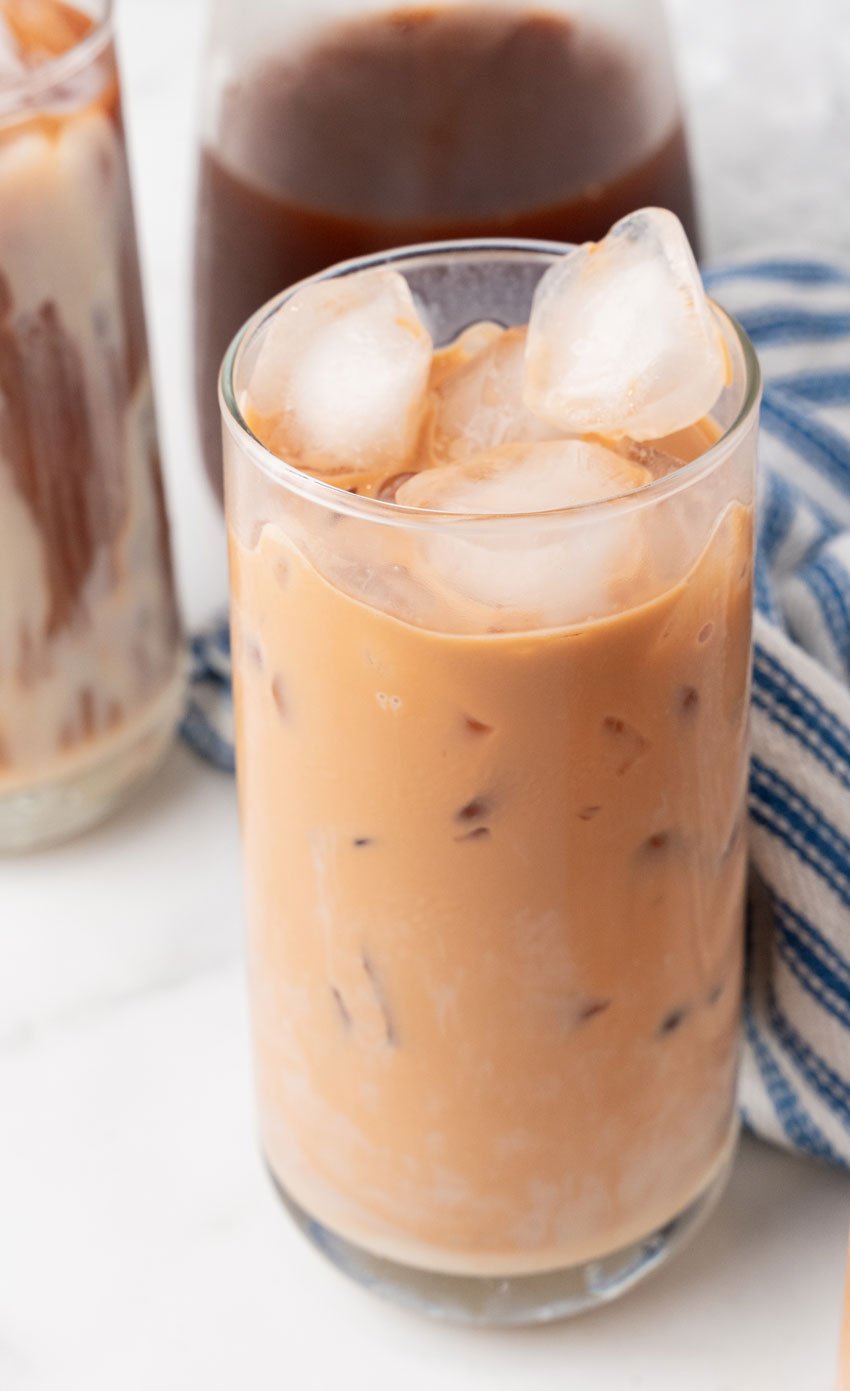
This Thai iced tea recipe tastes just like the iced tea you’d get at your favorite Thai restaurant! With only a few ingredients and a super simple prep, you’ll be treating yourself to this refreshing drink all the time.
This post may contain affiliate links. As an amazon associate, I earn from qualifying purchases. See my full Disclosure Policy for details.
Thai food is one of my favorites!
I love going out for a big helping of pad Thai or maybe some drunken noodles.
And of course, I love washing it all down with a big glass of sweet, refreshing Thai iced tea.
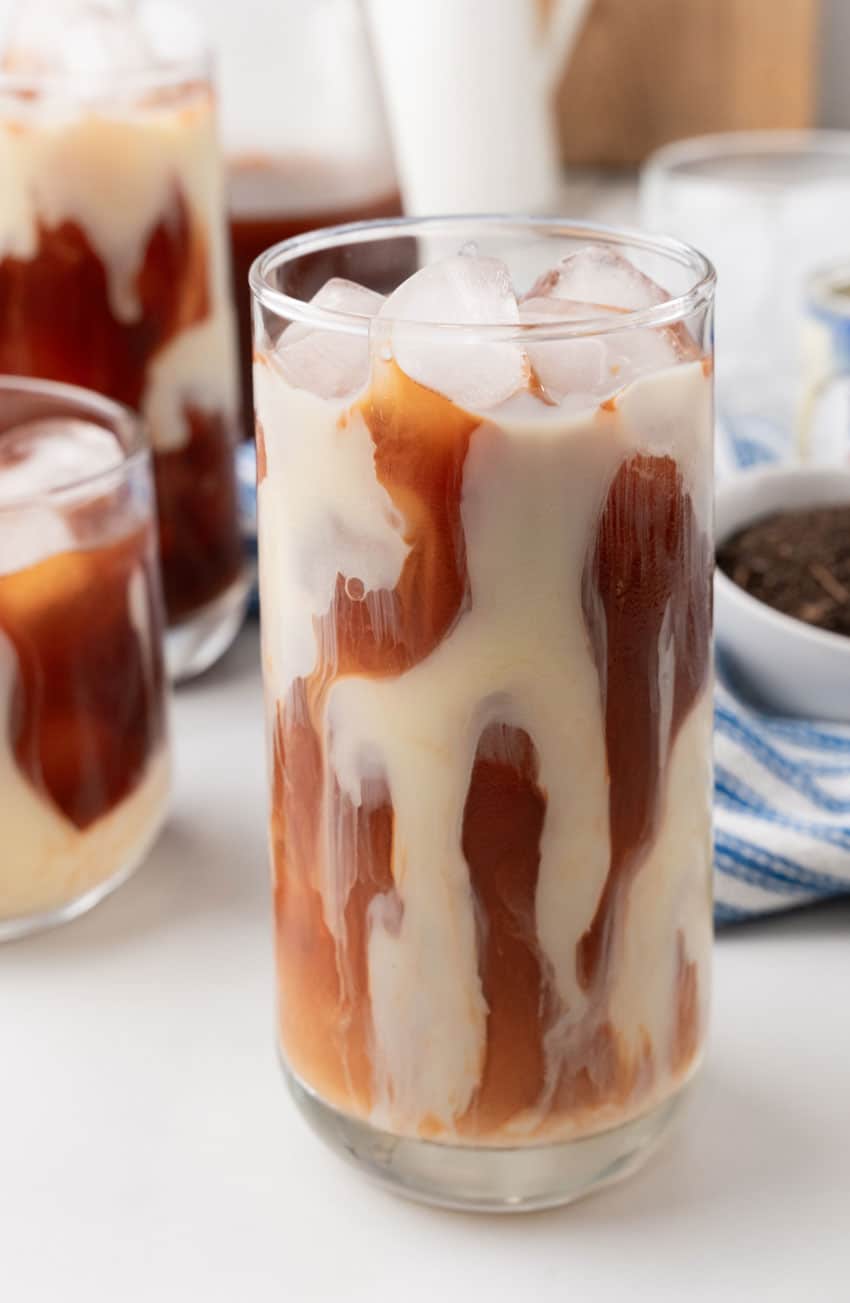
What is Thai iced tea?
Thai iced tea is made from a special blend of black tea that’s spiced with other ingredients like star anise, cardamom, and tamarind.
The tea gets sweetened with sugar and sweetened condensed milk and served with ice for a refreshing treat.
Ingredients
To make this you’ll need:
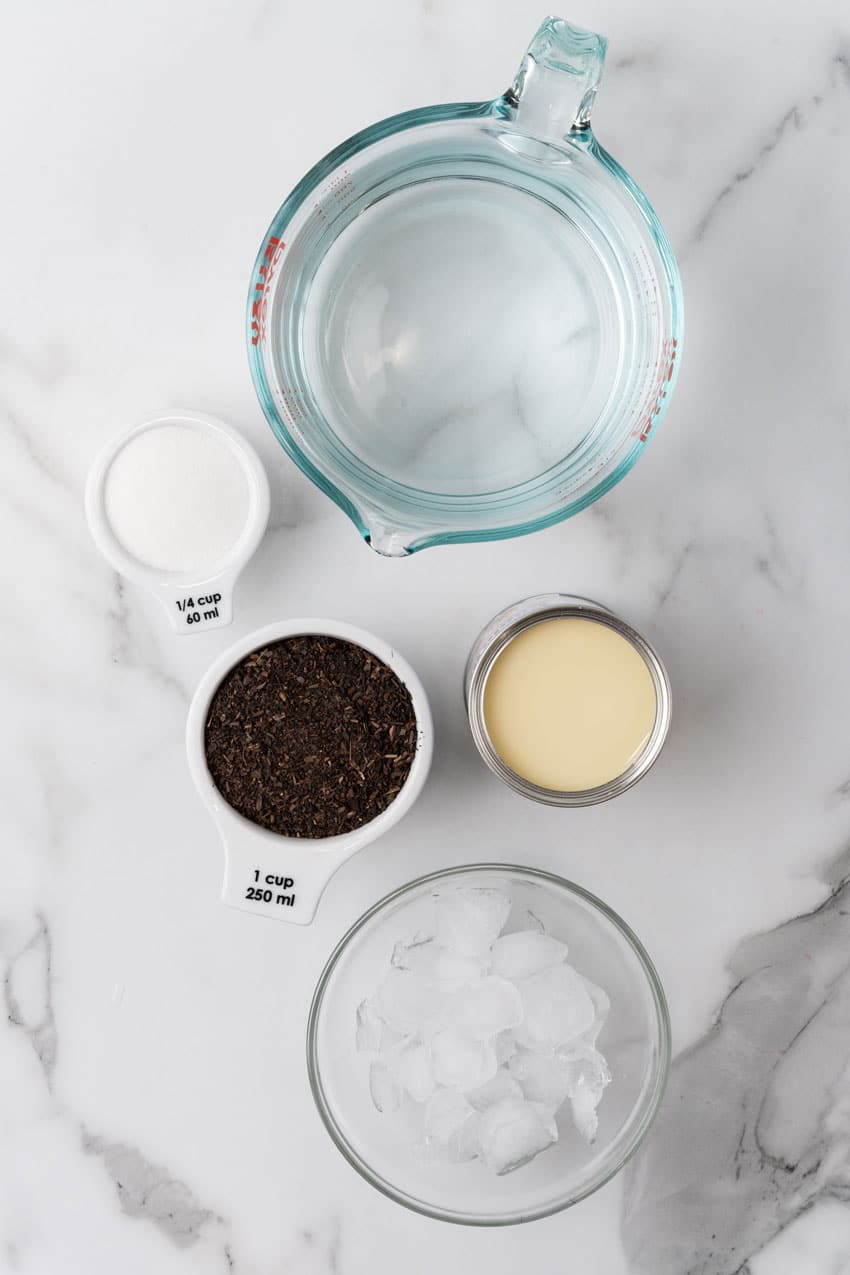
- Water
- Sugar– Granulated
- Thai tea blend– You can buy them online here.
- Ice
- Sweetened condensed milk– A whole can
How to Make
Making homemade Thai iced tea is very easy!

Just bring the water and sugar to a boil in a large pot over high heat until the sugar is completely dissolved.

Remove from the heat and stir in the tea.
Let the tea steep for 10 minutes and then use a kitchen cloth to strain the tea into a large container.
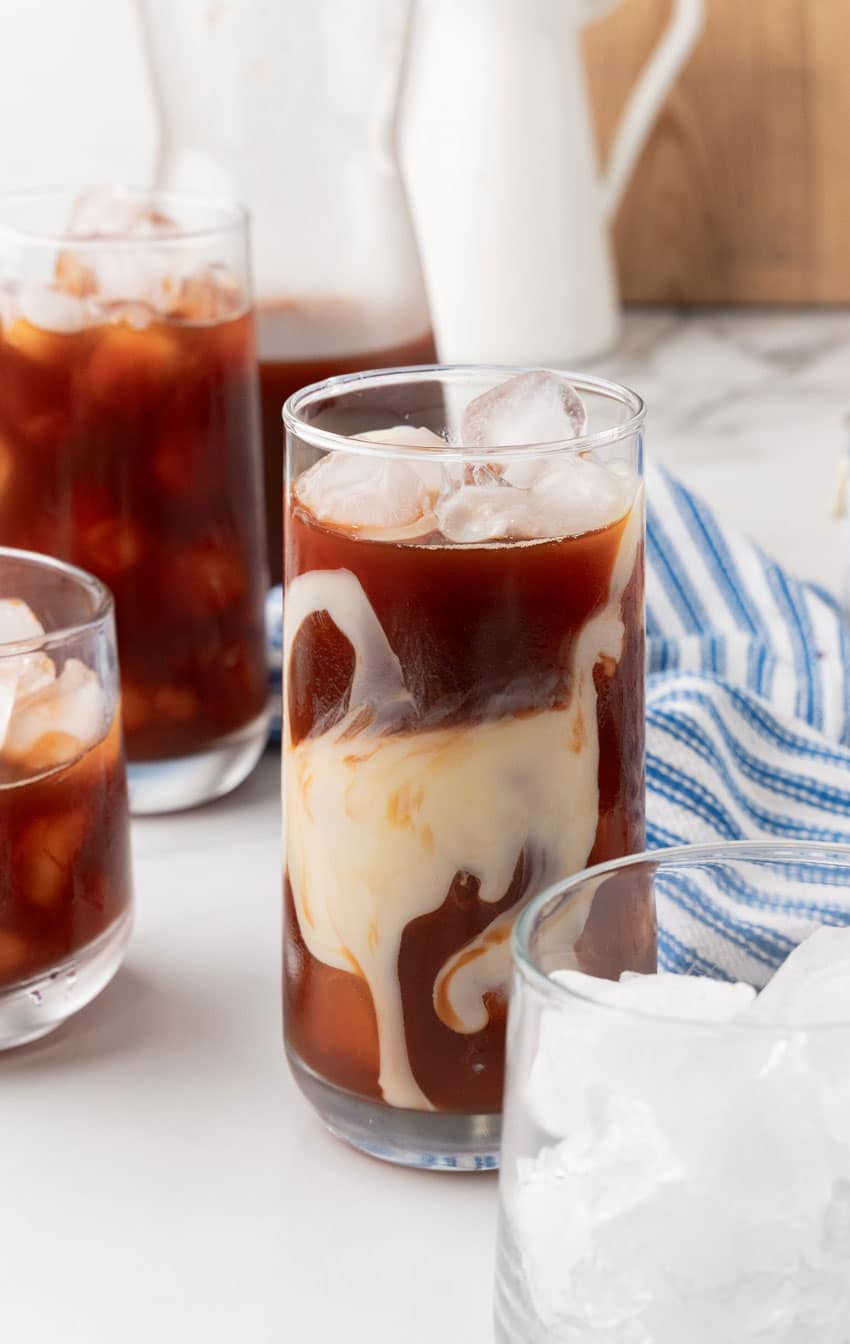
Then let the tea cool on the counter for a bit before putting it in the fridge to chill completely.
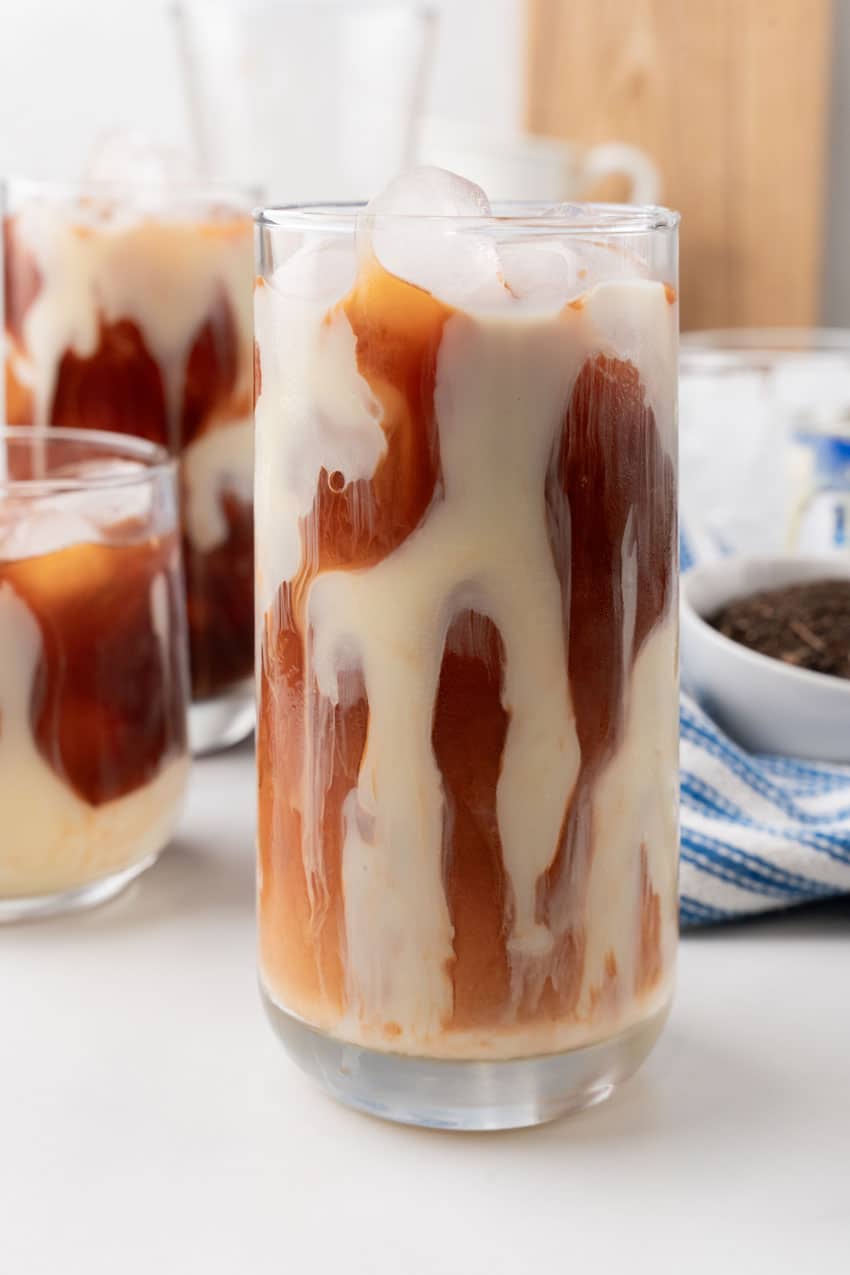
Once the tea is cool, fill a glass with ice and pour one cup of tea over the ice.

Add the sweetened condensed milk on top and stir.
Enjoy!
Storing
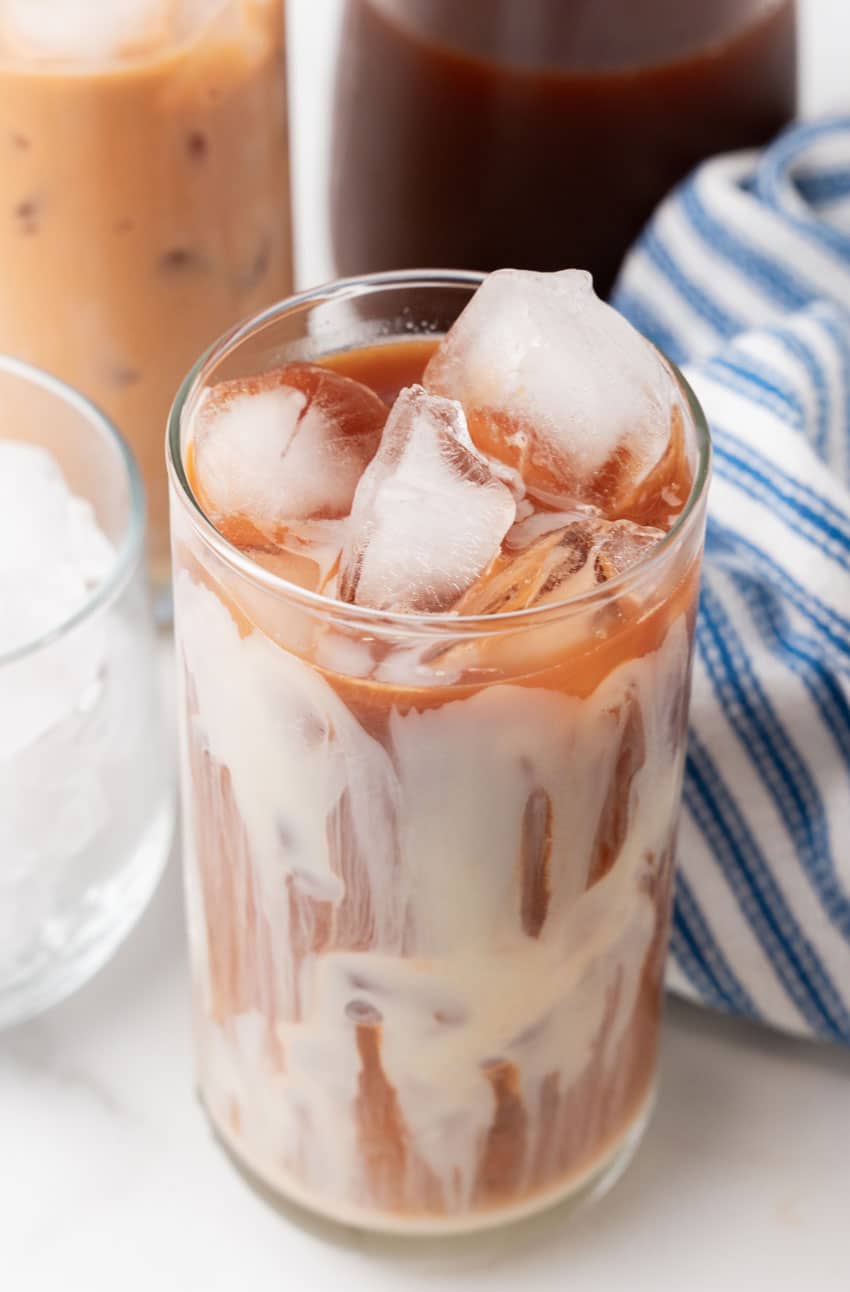
Store the brewed Thai tea in the fridge in an airtight container for up to a week.
Do not add the sweetened condensed milk to the tea in the fridge so it will last longer.
Tips and Tricks
- Most Thai tea is brewed fairly strongly so you do want to let it steep at least 10 minutes. You could always steep it longer if you prefer very strong tea.
- You could substitute a sugar free sweetener if you prefer but it might not taste the same as what you are used to in a restaurant/
- Give the tea a chance to cool before serving.

Other Thai Recipes
Thai iced tea really rounds out the experience of having a homemade takeout night.
Make it and enjoy!
Looking for other Thai recipes?
Try these:
If you’ve tried this THAI ICED TEA, or any other recipe on my site, let me know in the comment section how it turned out, we love hearing from our readers! You can also follow along with me on PINTEREST, FACEBOOK, and INSTAGRAM to see more amazing recipes and whatever else we’ve got going on!

Thai Iced Tea
Ingredients
- 6 cups water
- ¼ cup sugar
- 1 cup thai tea blend
- 3-4 cups ice
- One container sweetened condensed milk
Instructions
- In a large pot over high heat bring the water and sugar to a boil until the sugar is completely dissolved6 cups water, ¼ cup sugar
- Remove from heat, and add the tea and stir. Allow to steep for 10 minutes, then use a kitchen cloth to strain the tea into a large container.1 cup thai tea blend
- Allow the tea to cool down then place in the fridge to chill completely.
- When ready to serve, fill a glass with ice, then pour one cup of cold tea over the ice. Add the sweetened condensed milk on top and stir.3-4 cups ice, One container sweetened condensed milk
Notes
- Most Thai tea is brewed fairly strongly so you do want to let it steep at least 10 minutes. You could always steep it longer if you prefer very strong tea.
- You could substitute a sugar free sweetener if you prefer but it might not taste the same as what you are used to in a restaurant/
- Give the tea a chance to cool before serving.
Nutrition
This post may contain affiliate links. As an amazon associate, I earn from qualifying purchases. See my full Disclosure Policy for details. As always, all opinions are my own.
Leave a Reply
6 Comments








Tater tots were one of my favorites as a kid! Your totchos look delicious! Happy Fiesta Friday Meaghan 🙂
When you follow these directions the tots are not cooked all the way and it looks like a cheese crust on top. Not like the delicious dish in the photos. This recipe has the elements correct, but the direction is abysmal.
Sorry your tots weren’t cooked through. The photos and directions are my own, and I’ve never had them come out undercooked.
This is a great idea, but did not work as written. I used a 12 inch skillet. I had a 2lb. bag of tater tots and they barely covered the bottom, leaving very few to scatter on top. I’m not sure how a 1lb. bag would work at all. The general cooking directions for tater tots indicate a higher temperature (450), and longer cooking time (closer to 30 minutes). As written–this recipe would not result in thoroughly cooked tots. Also, working with frozen tots to create a well for the eggs is awkward.
I used the 2lb bag and decided to use the temp on the bag as my guide for baking. I placed the tots in the pan in a single layer, with the few remaining scattered on top. I then placed the pan of just the tots in the oven as it preheated. Meanwhile, I prepped my bacon.
When oven indicated it was heated to the required temp, I pulled out the warmed up, but not cooked, tots, seasoned them with paprika, onion powder, garlic powder, salt & pepper–then added bacon and cheese. With the tots being warmed up, I was easily able to smoosh down six wells in which to add the eggs. I salt & peppered each egg and then popped the skillet back into the oven. I simply kept an eye on the eggs until they looked done. It took about 20 minutes. The eggs were cooked similar to a soft boil. We thought they were delicious, but if you wanted runny yolks, you’d have to pull them sooner.
This is a great recipe in that it leaves a lot of room for tweaking. You could saute peppers & onions with the crumbled bacon before adding to the potatoes. You could play around with different spices. You could use sausage instead of bacon. One of my kids suggested sausage, seasoned with mexican flavors to make it true totchos.