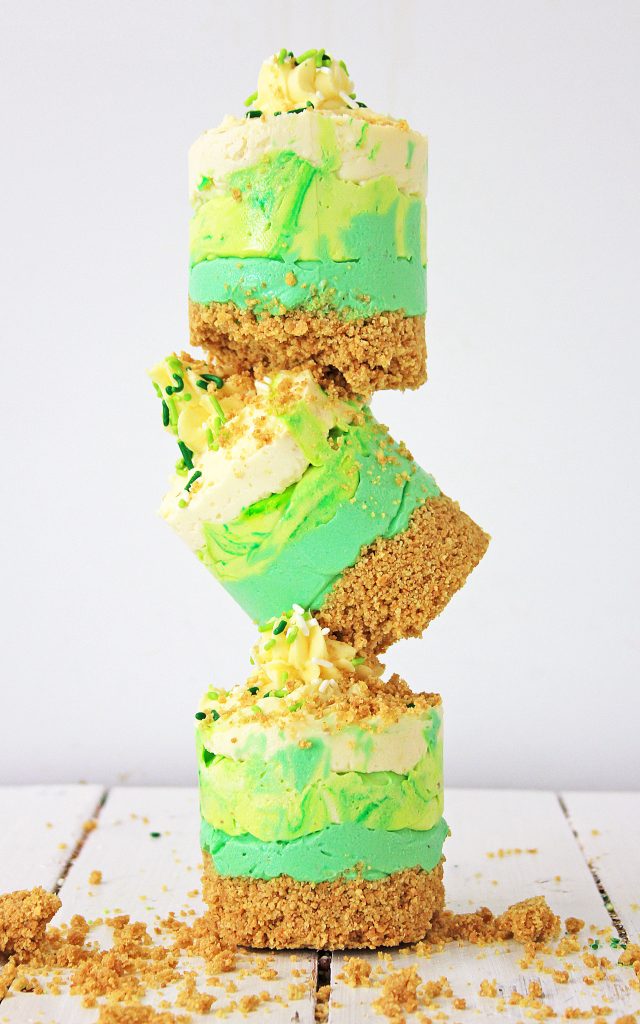
Saint Patrick’s Day Mini Cheesecakes
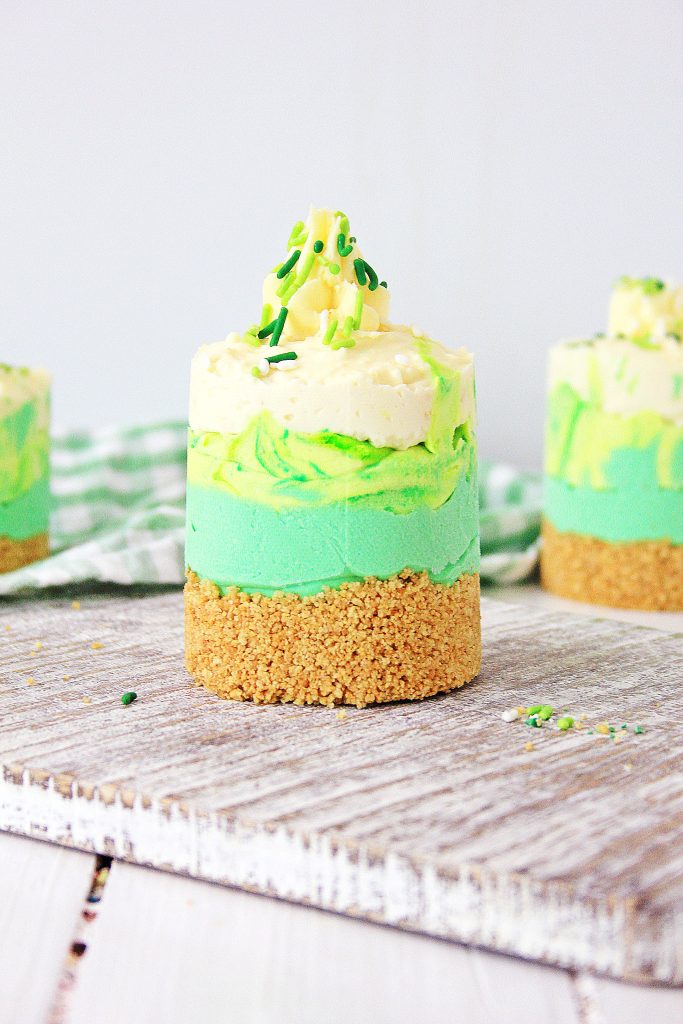
Saint Patrick’s Day mini cheesecakes are a festive green dessert for all the non mint lovers. With layers of creamy no bake cheesecake and rich buttercream frosting, this is a green dessert everyone will enjoy!
Mint. Do you love it or hate it? We get it in spades during the holiday season with all things peppermint, and then it comes back again thanks to the Shamrock Shake.
That mint flavored treat sets the tone that every St. Patrick’s Day dessert should be mint flavored like these cupcakes.
But what happens if you’ve just had enough and you’re ready to send mint packing until next holiday season?
You make these adorable non mint St. Patrick’s Day mini cheesecakes. It’s the only answer.
How to Make St. Patrick’s Day Cheesecakes
To make these St. Patrick’s Day mini cheesecakes start by preparing the base to make cheesecake molds. To do this, cut the copper mats in 3 inch high strips and fold them together to create 3 inch circle.
Cut the strip and tape the ends of the strip together. Now, place the copper circles on a piece of parchment paper, on a cookie sheet. At this point it’s time to make the crust.
To make it, mix the graham cracker crumbs, melted butter and sugar together and spoon equal amounts in each copper circle. Flatten the crusts with a wooden spoon. Now pop the cookie sheet in the freezer while you make the cheesecake layers.
In order to make the cheesecake layers, use a stand mixer to beat the softened cream cheese until it’s smooth and creamy. Then stop the mixer and scrape down the bowl before you mix again. Now, add in the vanilla and lemon juice and mix.
In a separate bowl, mix the 3 ounce package of cheesecake flavored pudding with half and half until it’s smooth and thick. Then add it to the stand mixer with the cream cheese and beat it together. Then mix in the powdered sugar.
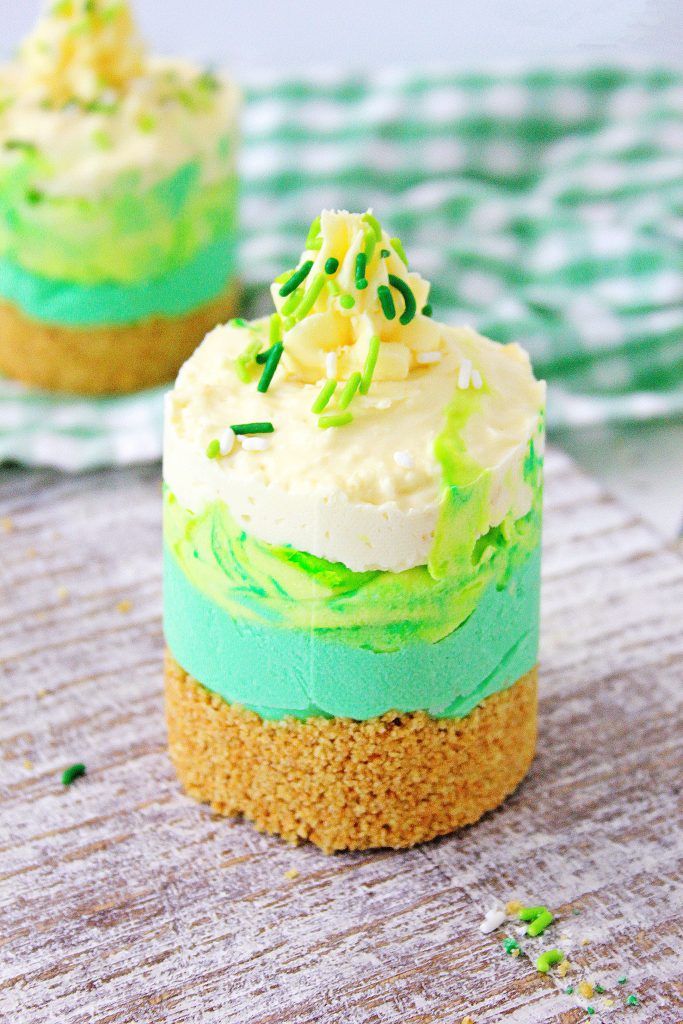
Now divide the cheesecake batter between 3 bowls. In the first bowl stir in a drop of aqua green food coloring. In the second bowl add a drop or two of neon lime food coloring and stir until it’s blended together.
After the batter is lime colored, add a drop of aqua food coloring and just swirl it together without completely blending the layer. Leave the last bowl plain white.
Assembling the Festive Layered Cheesecakes
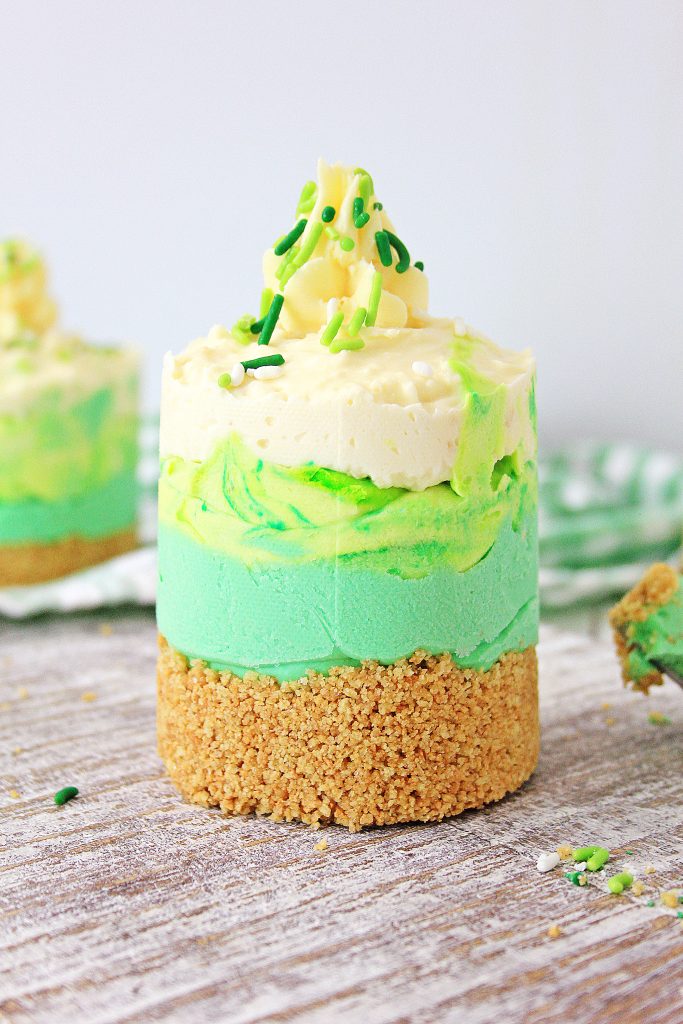
To put the cheesecakes together, take the cookie sheet with the graham cracker crusts out of the fridge. Then spoon equal amounts of the aqua batter in each circle.
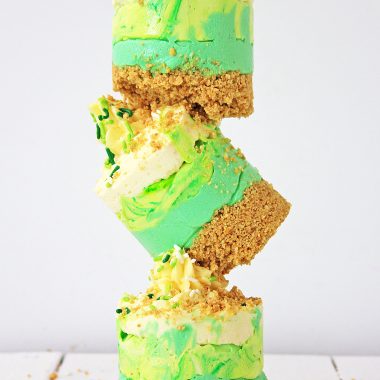
Put the tray of partially filled crusts back in the freezer for at least half an hour so they set. Then repeat this process with the swirled layer and then the white layer, letting the cakes rest in the freezer in between each layer.
After you put on the white layer, smooth the top of the white layer and put the tray in the freezer until you are ready to serve them.
When you are ready to serve the St. Patrick’s Day mini cheesecakes, remove them from the freezer. Then take off the copper molds from each cheesecake. Finish each by piping a dollop of buttercream on top and sprinkling with your favorite festive assortment of sprinkles.
Tips and Tricks
Follow these tips and tricks to make sure your layered mini cheesecakes turn out perfectly:
- Make sure the ingredients are fully mixed together before you separate them into smaller bowls. Scraping down the sides a few times during the mixing process helps.
- Want to do a mint cheesecake? You absolutely can, just sub mint extract for the vanilla.
- Let the layers completely set so the layers stay in tact.
- You may have to adjust the amount of food coloring you need to achieve the desired colors depending on what brand of food coloring you use. Use as much as you need to get your desired color.
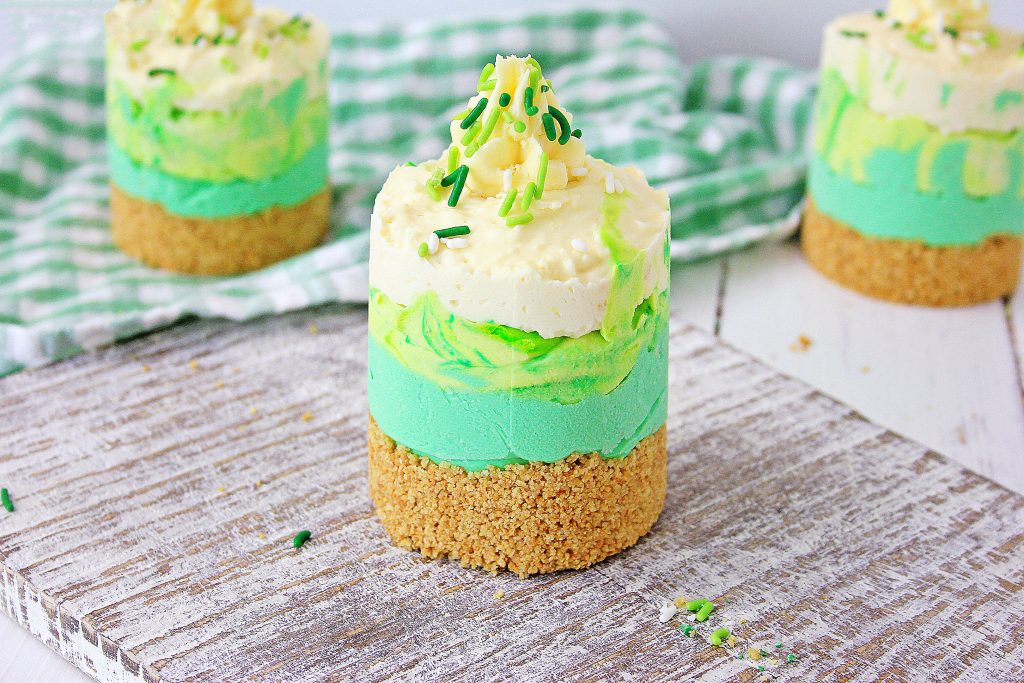
These little cheesecakes are just the thing to wow your guests, or family for a special dessert. They’re the perfect end to a great meal, or Guinness & bacon Irish cheddar cheeseburgers, or other St. Paddy’s day favorites.
No matter when you serve them,or whatever festive meal they’re following- they’re sure to make everyone smile. Keep this recipe in your holiday favorites, as it’s sure to become your go-to for St. Patrick’s Day!
Other Saint Patrick’s Day Desserts
These adorable Saint Patrick’s Day mini cheesecakes are a festive sweet treat. Serve them this St. Patrick’s Day to get into the Irish spirit.
Looking for other St. Patrick’s Day desserts? Try these:
- Irish Cream Bundt Cake with Bailey’s Glaze & Chocolate Ganache
- Irish Potato Candy
- Bailey’s Irish Cream Chocolate Truffles
If you’ve tried these SAINT PATRICK’S DAY MINI LAYERED CHEESECAKES, or any other recipe on the site, let me know in the comment section how it turned out, we love hearing from our readers! You can also follow along with me on PINTEREST, FACEBOOK, and INSTAGRAM to see more amazing recipes and whatever else we’ve got going on!
Saint Patrick's Day Mini Layered Cheesecakes
Equipment
- Stand mixer
- Parchment paper
- Bowls
- Spoons
- Whisk
- Spatulas
- Cookie sheet
- Frosting tip for piping
- Pastry bag - to pipe frosting
- Sheets of Copper mats (or Pastry rings)
Ingredients
FOR THE CRUST:
- 1 sleeve of Graham crackers - crushed in the blender
- 1/2 stick of butter - melted
- 1 heaping Tablespoon of sugar
FOR THE CHEESECAKE:
- 4 - 8 ounce packages of cream cheese - softened
- 1 cup of powdered sugar
- 1 Tablespoon of Vanilla
- 1 teaspoon of lemon juice
- 3 ounce package of Cheesecake flavored Instant pudding mix
- 1 cup of half n half - plus 2 Tablespoons - see instructions
- 1 can of Buttercream Frosting - for topping
- Green sprinkles - for topping
Instructions
- Measure the Copper mats, and cut them in 3 inch high strips. Fold the strips to meet ends, until you have about a 3 inch, in diameter (across) circle. Cut the strip where needed, and leave enough extra to tape the ends of the strip together. Tape the ends of the strip with duct tape, and make sure it's taped securely along the edges. Place the copper circles on a piece of parchment paper, on a cookie sheet. Mix the Graham cracker crumbs, melted butter and sugar together in a separate bowl, and place an equal amount in each copper circle. Tap the crumbs down with the end of a wooden spoon, until they're even and compact in the bottom of the copper circle. Place in the freezer.
- In the mixing bowl of a stand mixer, mix the softened cream cheese until smooth and creamy. Stop the mixer and scrape down the bowl, and mix again. Add the Vanilla, and lemon juice, and mix. In a separate bowl, add the 3 ounce package of Instant cheesecake flavored pudding, and a cup of half n half, and mix with a whisk until the pudding is smooth, and no longer grainy. Add the additional 2 Tablespoons as needed, to make the pudding smooth. When pudding is smooth and thick, add it to the mixing bowl, and blend until completely smooth with the cream cheese. Add the powdered sugar a little at a time, and blend well after each addition. Scrape down the mixing bowl, and blend again. Divide the cheesecake batter evenly between 3 small bowls. In one bowl, add a drop of Aqua green food coloring gel, and stir. In the next bowl, add a drop of Neon Lime colored food coloring gel, and stir. You may need to add two drops of the Neon Lime food coloring gel to get the bright color. Add a drop of the Aqua green food coloring gel into the Lime, and with a knife, swirl the aqua through the lime, but DO NOT STIR. Swirl the Aqua to give this layer the gorgeous colors. In the next bowl, nothing is added, as the top layer is the white cheesecake. For the colors, we used Great Value food coloring Gel from Walmart. If you can't find the aqua food coloring gel, you can mix blue and a small amount of yellow to make an aqua green color.
- Remove the Graham cracker crumbs from the freezer, and add an equal amount of the Aqua colored cheesecake on top of the Graham cracker crumbs, and place back in the freezer. Wait 30 minutes, and take the cheesecakes out of the freezer, and add an equal amount of Lime/swirled Aqua cheesecake on top of the Aqua. Place the cheesecakes back in the freezer for 30 minutes, and then take them out and add an equal amount of the white cheesecake on top of the Lime/aqua swirled layer. Smooth the tops, and place back in the freezer until time to serve. When ready to serve, remove the tape from the copper circles, and remove the copper circles from the cheesecakes, leaving the cheesecakes on the parchment lined cookie sheet. Pipe a swirl of Frosting on top of the cheesecakes, and sprinkle the green sprinkles on the Frosting. Serve and Enjoy!

")
