No Churn Raspberry Cheesecake Ice Cream
With a simple no churn recipe, you can have ice cream on hand in a a flash. This No Churn Raspberry Cheesecake Ice Cream is everything you want in a delicious dessert- a rich sweetened creamy base, liberally swirled with a fresh homemade raspberry syrup swirl.
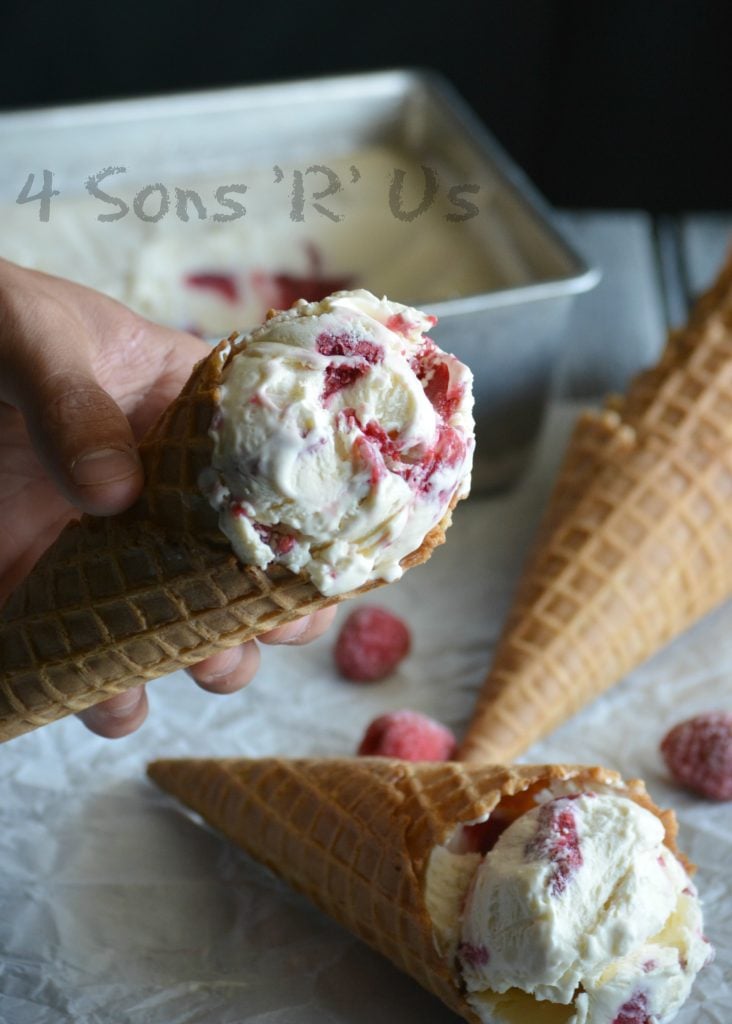
Ice cream is the cure for pretty much anything that ails us in this household.
I mean who doesn’t love a big old bowl of cold, rich, creamy goodness?
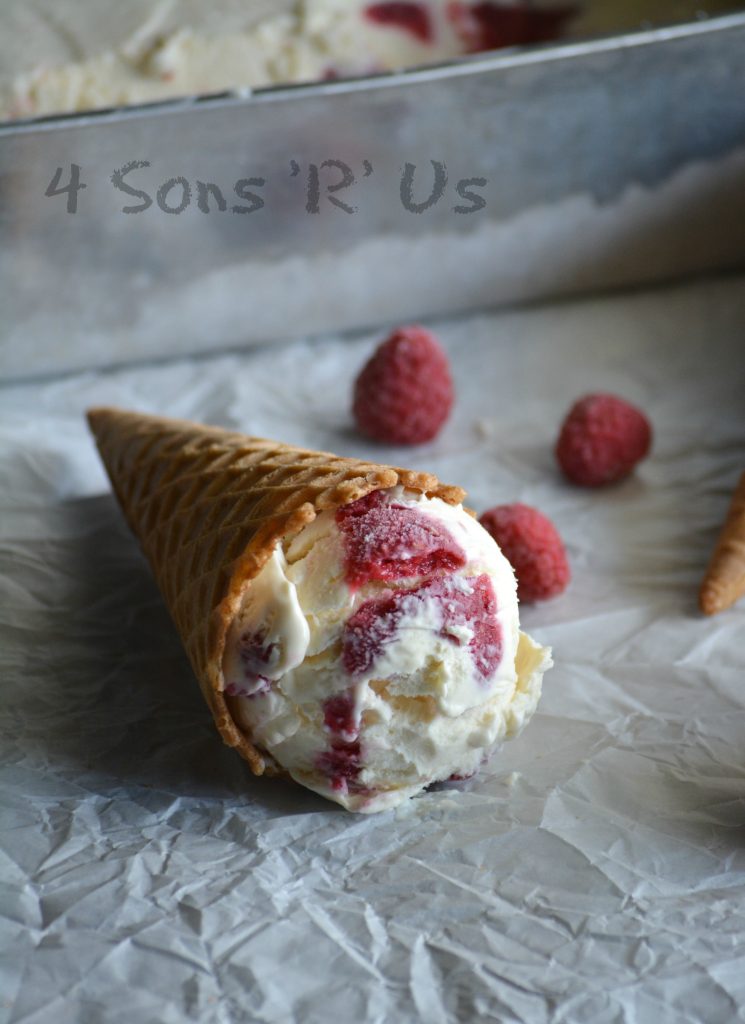
For so long I thought I’d have to buy an expensive ice cream making machine, or go with a recipe that required 50 million steps.
Luckily, a friend introduced me to the world of ‘no churn’ ice cream recipes.
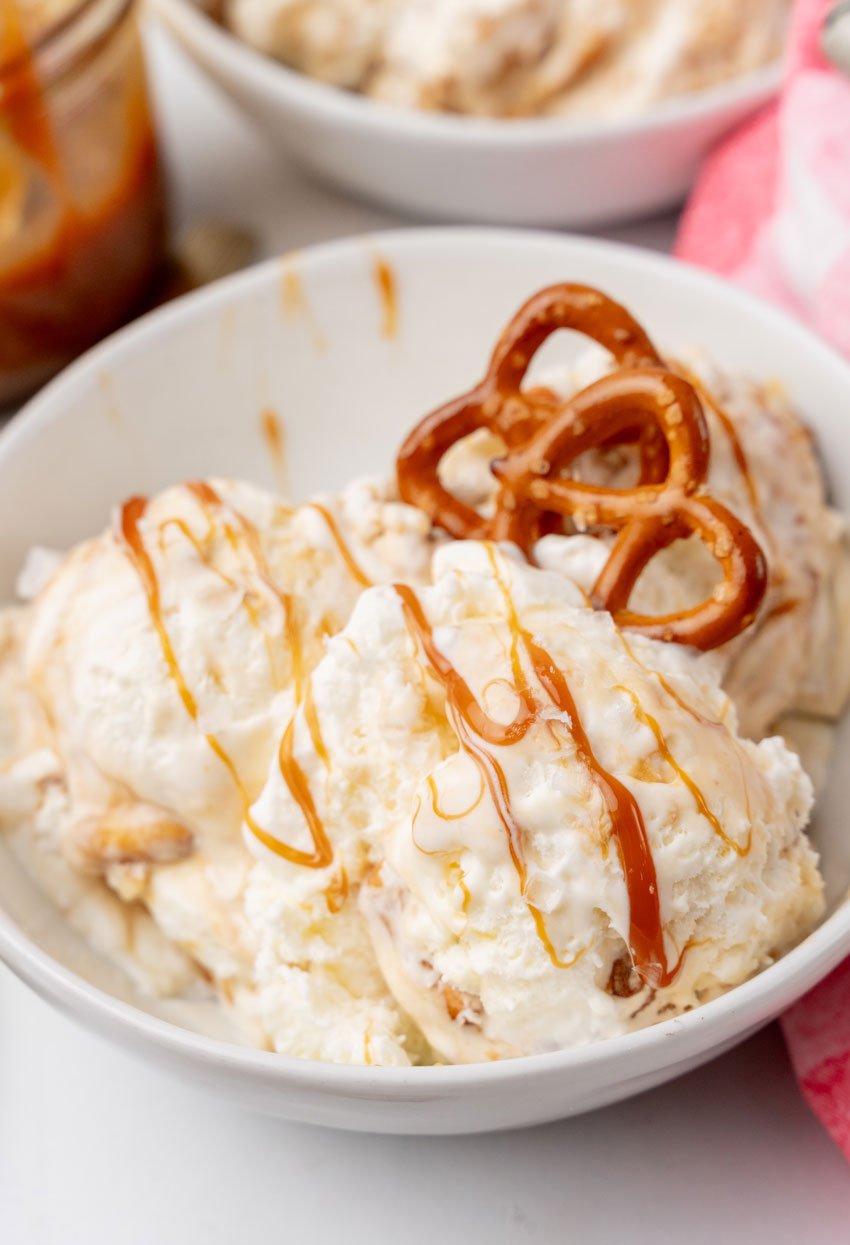
And today, we’ve got many that we enjoy, like these: Salted Caramel Pretzel Ice Cream, Blueberry Muffin Ice Cream, & Peaches and Cream No Churn Ice Cream.
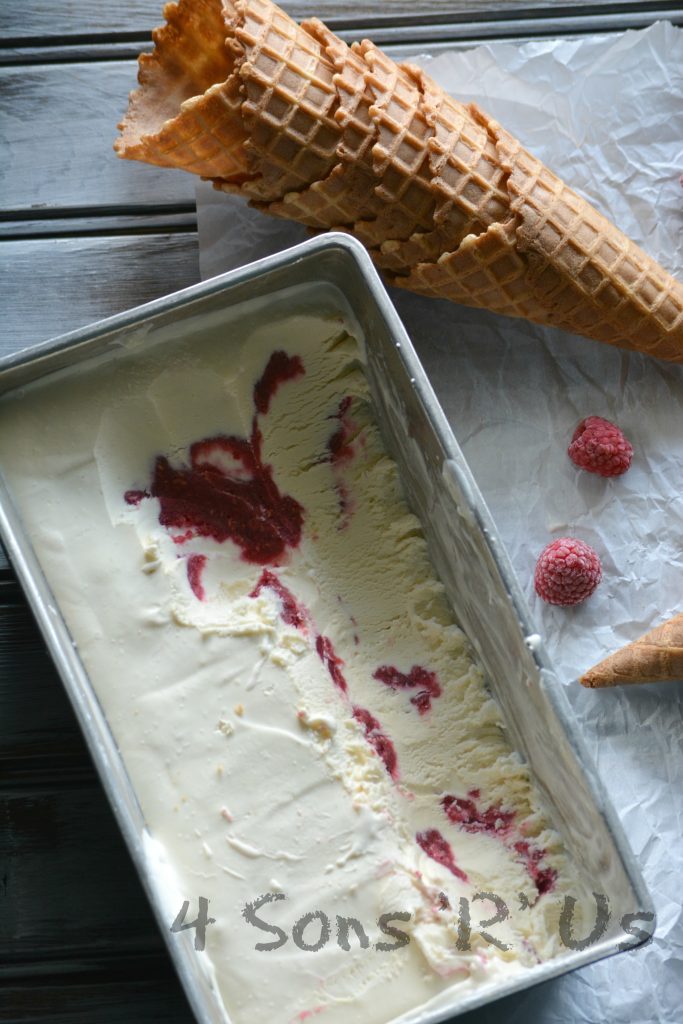
Luckily, one of our friends also turned us onto this scrumptious version, No Churn Raspberry Cheesecake Ice Cream.
It’s easy to make. It’s got simple ingredients. It embraces Spring and Summer flavors. And my most favorite of all, it doesn’t require anything extra. Not extra machinery or extravagant ingredients.
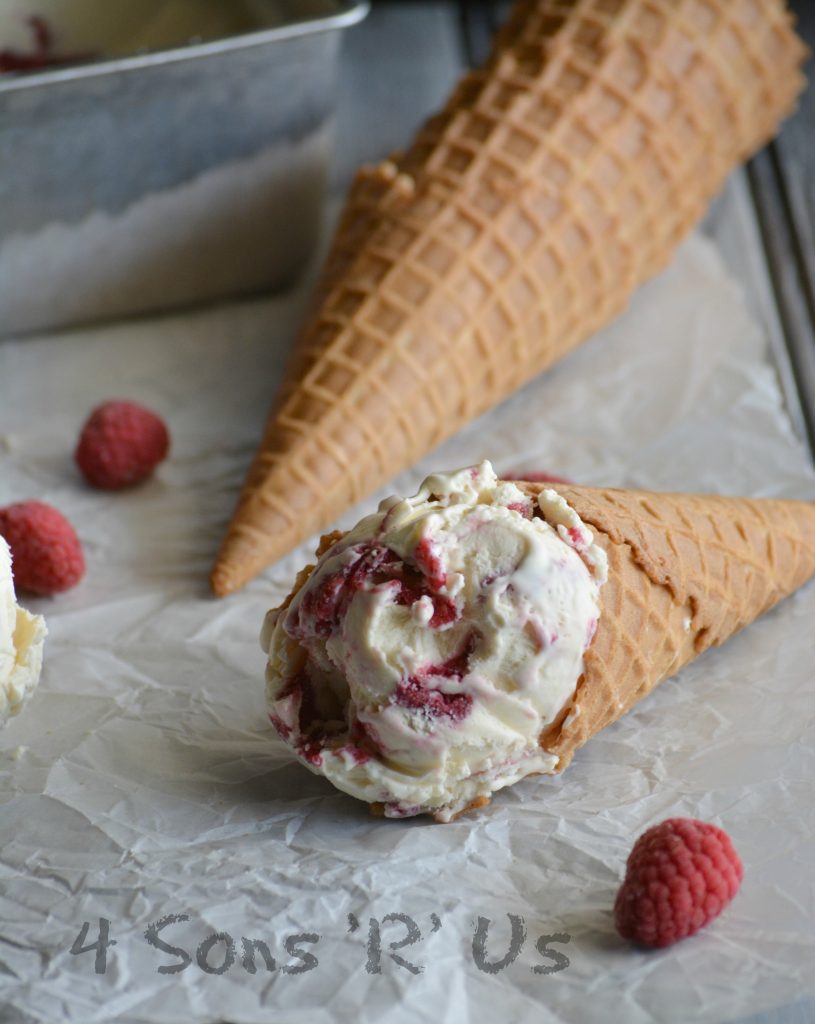
Ok so let’s break it down, here’s what you actually need: fresh raspberries, sugar, and cornstarch. Those will make an extremely yummy syrup to swirl throughout your homemade ice cream.
For a creamy No Churn ice cream base, you’ll need sweetened condensed milk, heavy whipping cream, cream cheese, and a hint of vanilla extract for added flavor.
Can you picture it? Because I can already taste it, and I’m so looking forward to having yet another batch!
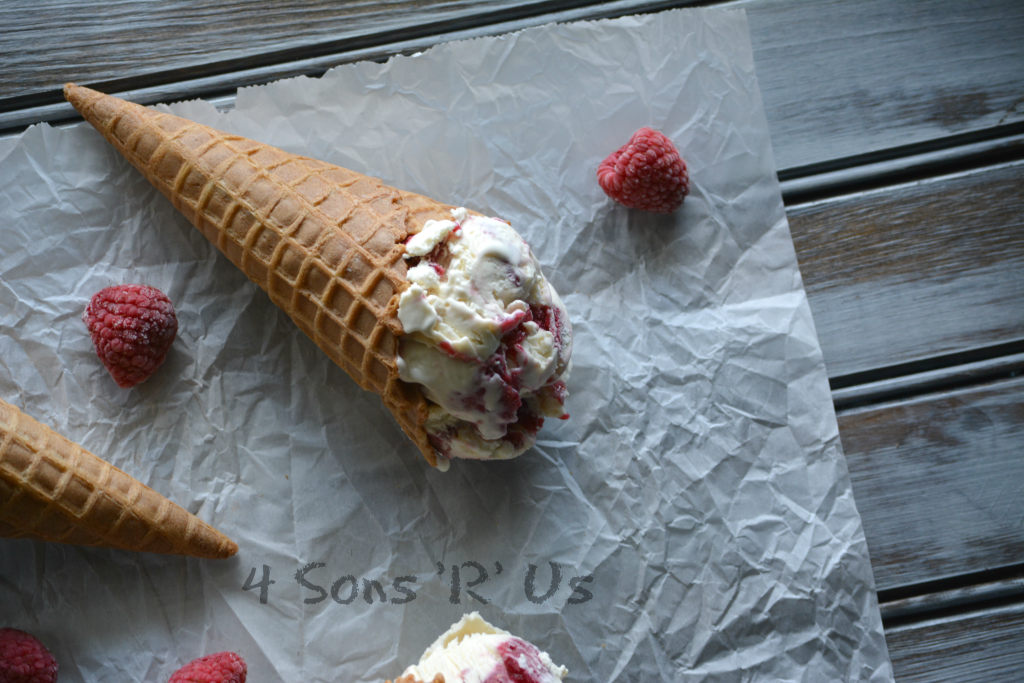
Rich & creamy, a deliciously indulgent dessert- this No Churn Raspberry Cheesecake Ice Cream features a smooth sweet cream base with cream cheese, and veins of rich raspberry syrup running throughout.
Each scoop’s a bit of Spring & Summer cheesecake sweetness, just begging to be savored and enjoyed.
If you’ve tried this NO CHURN RASPBERRY CHEESECAKE ICE CREAM, or any other recipe on my site, let me know in the comment section how it turned out, we love hearing from our readers! You can also follow along with me on PINTEREST, FACEBOOK, and INSTAGRAM to see more amazing recipes and whatever else we’ve got going on!
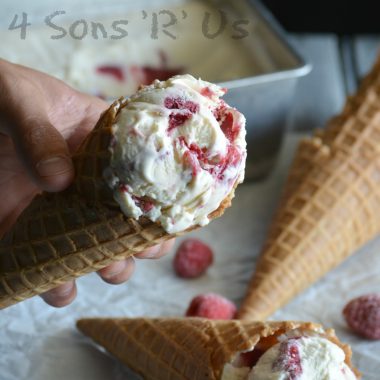
No Churn Raspberry Cheesecake Ice Cream
Ingredients
- 1 1/2 cups fresh raspberries, washed & drained
- 1/4 cup sugar
- 1 tsp cornstarch
- 8 oz cream cheese, softened
- 2/3 cup sweetened condensed milk
- 1 tsp vanilla extract
- 1 1/2 cups heavy whipping cream
Instructions
- Place a medium sized skillet over medium heat. Add the raspberries, stir in the sugar, and cook until the berries release their juices.
- Whisk in the cornflour and continue cooking for 2 minutes, or until thickened. Remove the mixture, place in the freezer, and leave it there for 2 hours.
- In the bowl of a stand mixer, beat the cream cheese until smooth and creamy. Slowly stir in the cream, condensed milk, and vanilla. Whip together until evenly combined & soft peaks form.
- Pour 1/3 of the cream mixture into the bottom of the metal pan. Pour 1/2 of the syrup evenly out over top. Repeat with remaining cream and raspberry syrup, ending with a layer of cream. Use a butter knife to make swirls throughout the ice cream for you..
- Cover and freeze for at least 6 hours or overnight. Remove from freezer 20 minutes prior to serving.
Notes

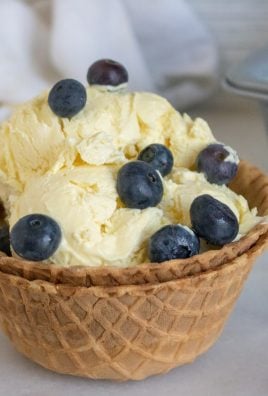
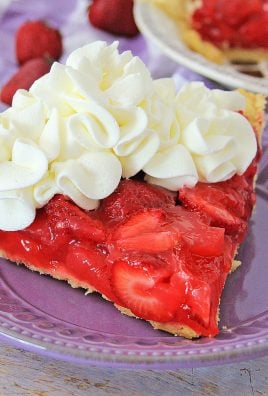
Cool and refreshing for the summer upcoming!!! Glad you brought this to Fiesta Friday!
When do you add the whipping cream? It is listed in the ingredients but is not anywhere in the instructions.
Thanks for pointing out that goof, Amy! I’ve updated the recipe card to fix it, but you add it to the mixer with the condensed milk and vanilla.
Corn flour and Corn starch are two very different things, I am assuming you used cornstarch and not corn flour?
Yes, sorry about that & thanks for bringing it to my attention. I updated the recipe to reflect the correction!
I made this ice cream dish for my husband and he really enjoyed it. I especially enjoyed the raspberry sauce (which I ran through a sieve) layered within the ice cream. The ice cream is really sweet; however, I guess that’s to be expected. : ) Thanks for the recipe.