Mummy On A Stick
Cute, slightly spooky snacks are all the rage when October rolls around- and these adorable Mummy On A Stick cakes are fun for everyone of all ages. Whether you need a quick classroom snack, or a festive dessert- you’ll want to add these treats to your dessert table Halloween spread.
This post may contain affiliate links. As an amazon associate, I earn from qualifying purchases. See my full Disclosure Policy for details.
I love making little holiday themed treats for the sons for snack, and today they came home from school to mummies on a stick.
They enjoyed the sugar rush, and they couldn’t have been any easier to make. I love how they turned out!
Aren’t these just adorable?
I can’t help but enjoy it even more when the cute treats are made with everyday products. These are made with frosted twinkes.
Who doesn’t love a twinkie?! Put it on a stick, add a frosting coating and a few embellishments and BAM- a super cute Halloween treat!
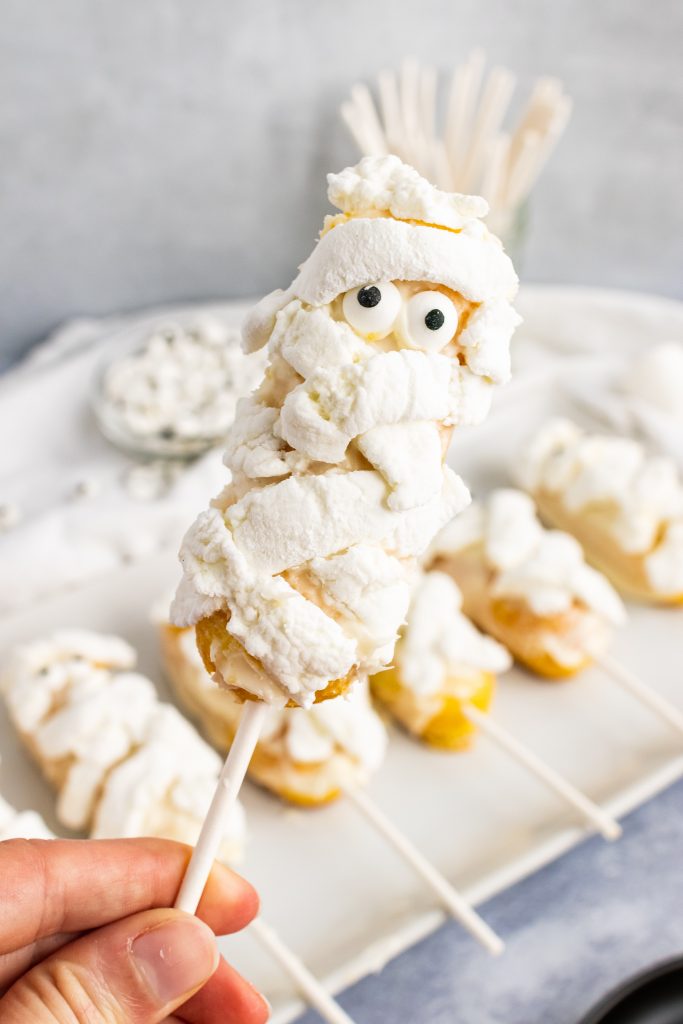
I can’t get over it. I mean, how fun are these? Halloween. TWINKIE. MUMMY. POPS.
The youngest son was thrilled. He got even more excited when he found out he’d be making his own.
It’s not too late to whip up a few for your own little monster or monsters. They’re super simple to do!
Ingredients Needed
To make these, you’ll only need a handful of ingredients:
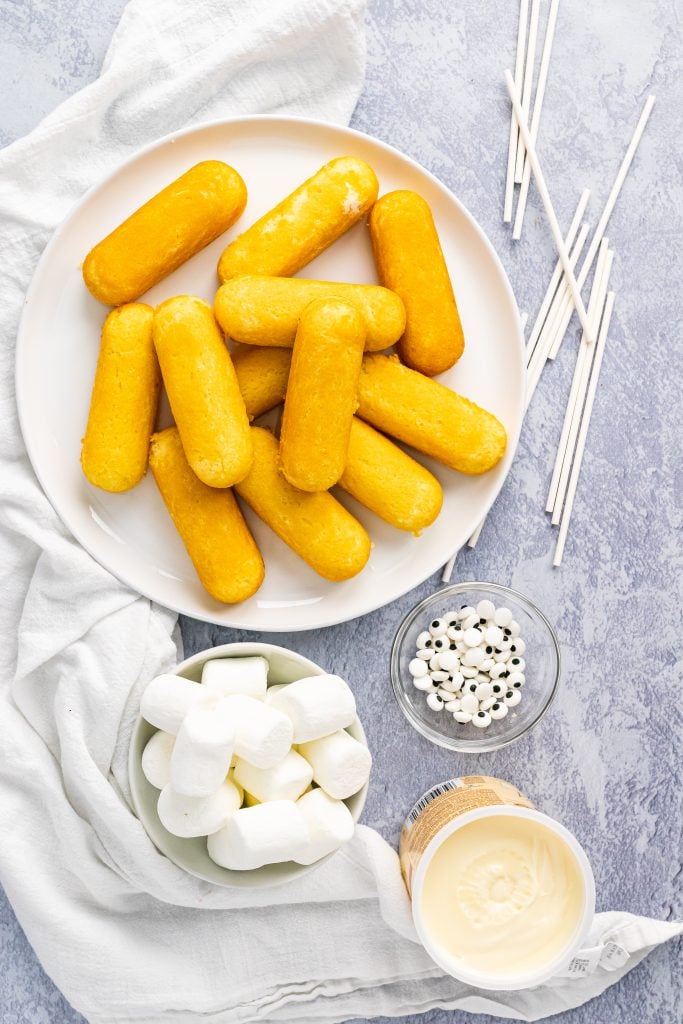
- Twinkies – Recently I’ve noticed a lot of specialty flavored editions, but for this treat you’ll want the original vanilla cream filled variety.
- Frosting – You want a vanilla frosting for this, and can use homemade or store bought for this edible ‘glue’.
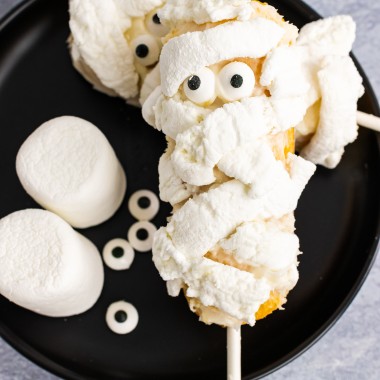
- Marshmallows – Get the white, jumbo sized marshmallows. These bigger ones are easier to cut into bandage-like strips.
- Edible Eyes – I used Wilton brand candy eyeballs
- Cake Pop Sticks – If you can’t find these, lollipop sticks will also work or even cut paper straws. I find mine on Amazon or at local craft stores.
How To Make
Making these adorably spooky snacks are easy, which is just another reason I love using them for a fun kids craft and snack time all in one.
Start by deciding how many treats you want to make, then unwrap that number of snack cakes. Discard the wrappers, transfer the cakes to a freezer safe dish, and chill them in the freezer for 30 minutes to firm up.
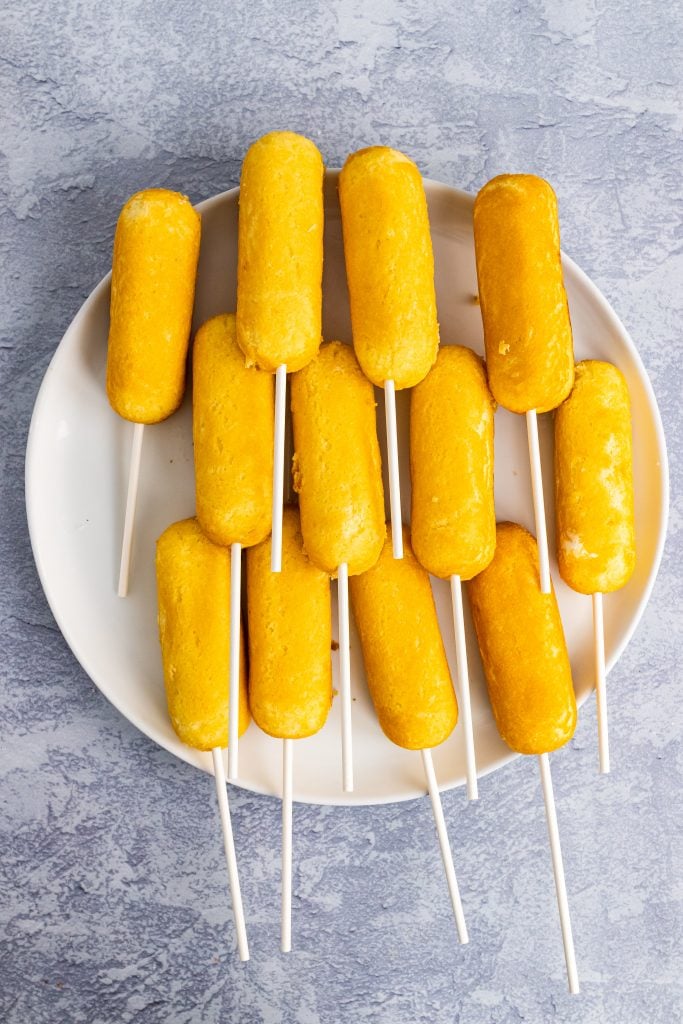
Remove the snack cakes from the freezer, and gently push a white stick into the center bottom of each cake. It only needs to go in about 1/2 way, just so that even when decorated the cake will stay vertically on the stick.
Repeat until all the chilled snack cakes have been turned into ‘pops’, returning them to the dish as needed.
Now it’s time to frost the prepared twinkies.
There are really two ways to do this, and they pretty much depend on if you’re doing this at home or for a class activity.
At Home Method
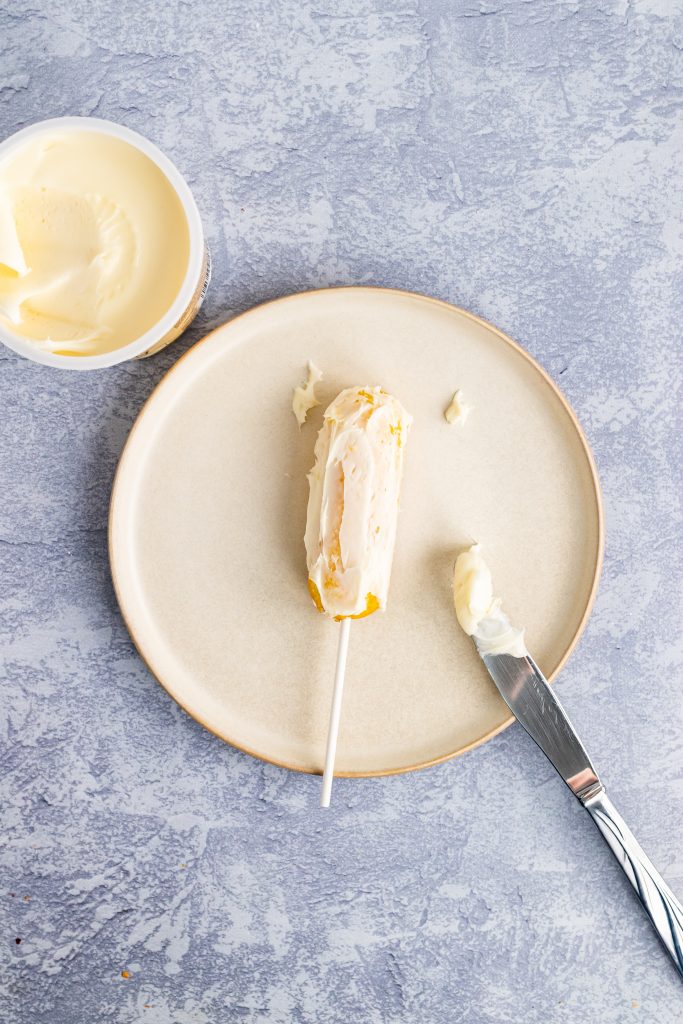
If you’re doing this for a fun spooky snack at home with the kids, simple frost the twinkies using a butter knife or small spatula.
You want to coat the top and sides evenly in icing, but leave the underside clean. You can frost as liberally or judiciously as your heart desires.
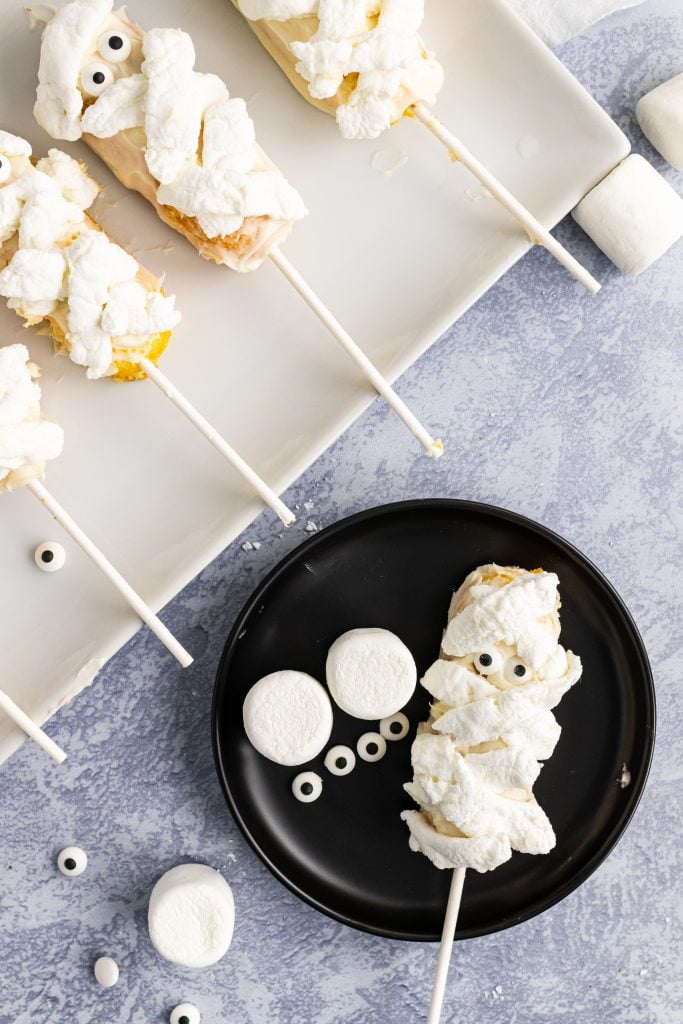
Set the frosted twinkies aside on a waiting plate or platter.
Class Activity Method
If you’re making these mummy on a stick snacks as a classroom activity, we recommend doing things a little bit differently to both ration supplies and also to prevent major messes.
Give each student a large paper plate with the prepared twinkie set in the center. Add a tablespoon (or two) of frosting to the side of each plate, and let them frost their own twinkie using a plastic butter knife.
Again they shouldn’t pick up the twinkie, or remove the stick, and only the top and sides need to be frosted.
Once the twinkies are frosted it’s time to add some bandages to these yummy mummies!
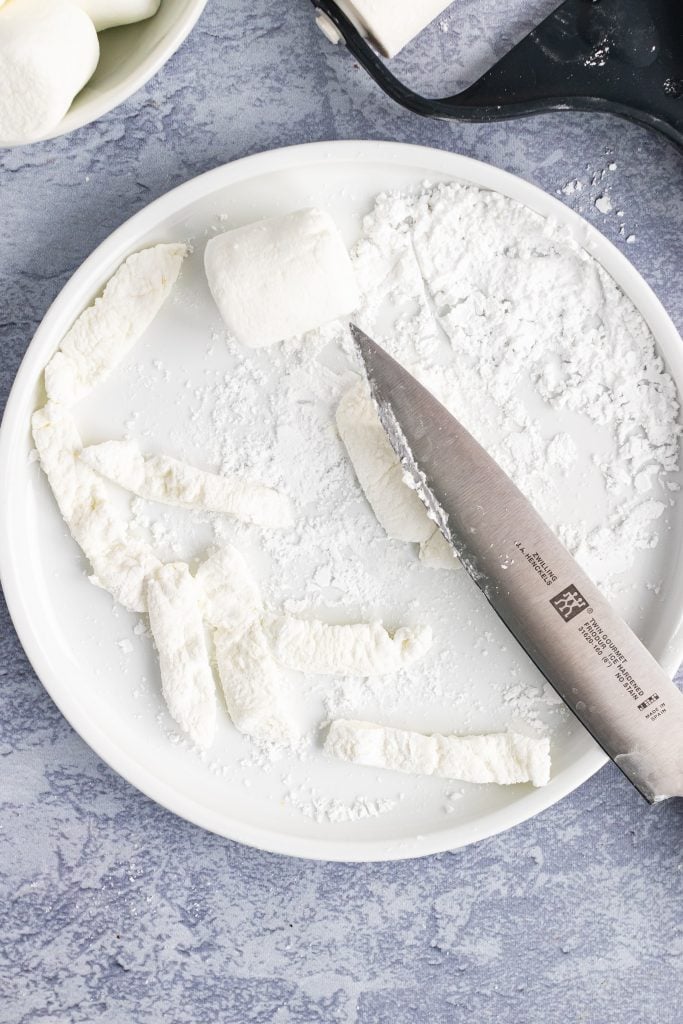
Sprinkle a rolling pin with powdered sugar. This isn’t 100% necessary, but I’ve found it’s a great way to prevent sticking when flattening the marshmallows.
Roll the marshmallows until flattened to your preferred thickness.
If doing this recipe as a classroom activity, I’d recommend doing this for your class and just giving them the prepared marshmallow strips/ ‘bandages’.
Using kitchen sheers, cut the flattened marshmallows into short strips.
Alternatively, you can cut the flattened marshmallows on a plate or cutting board with a sharp knife, and just add the powdered sugar to that surface.
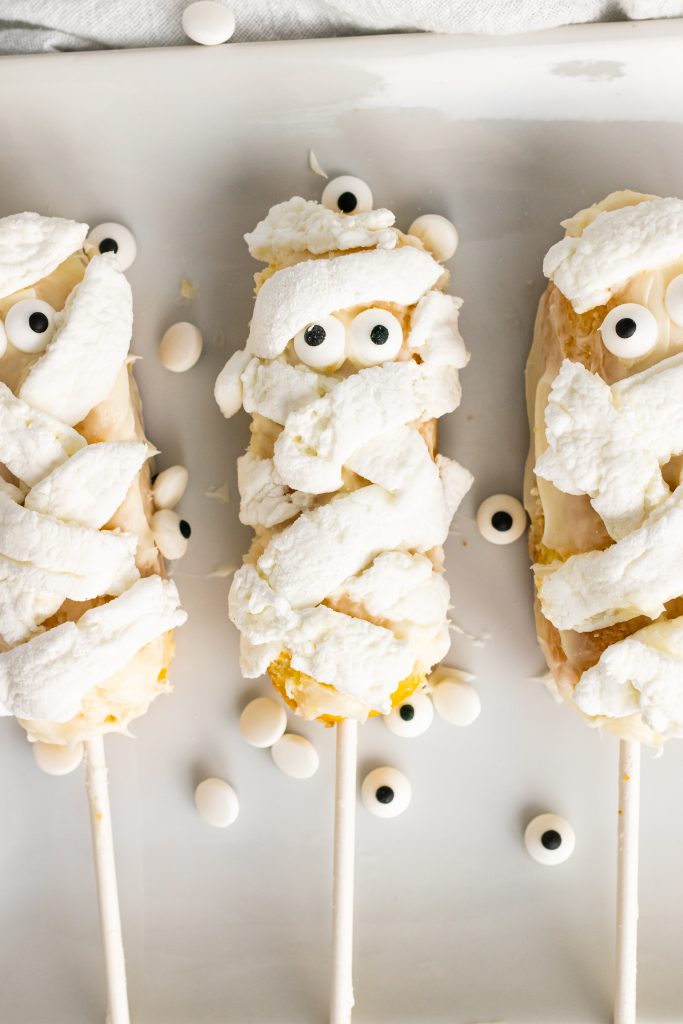
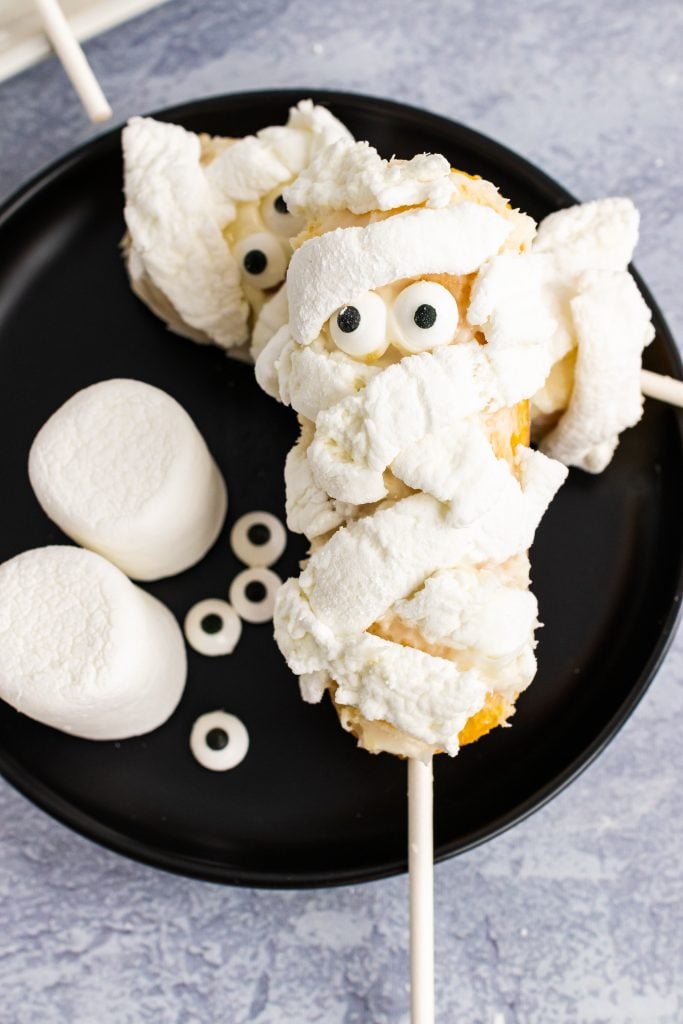
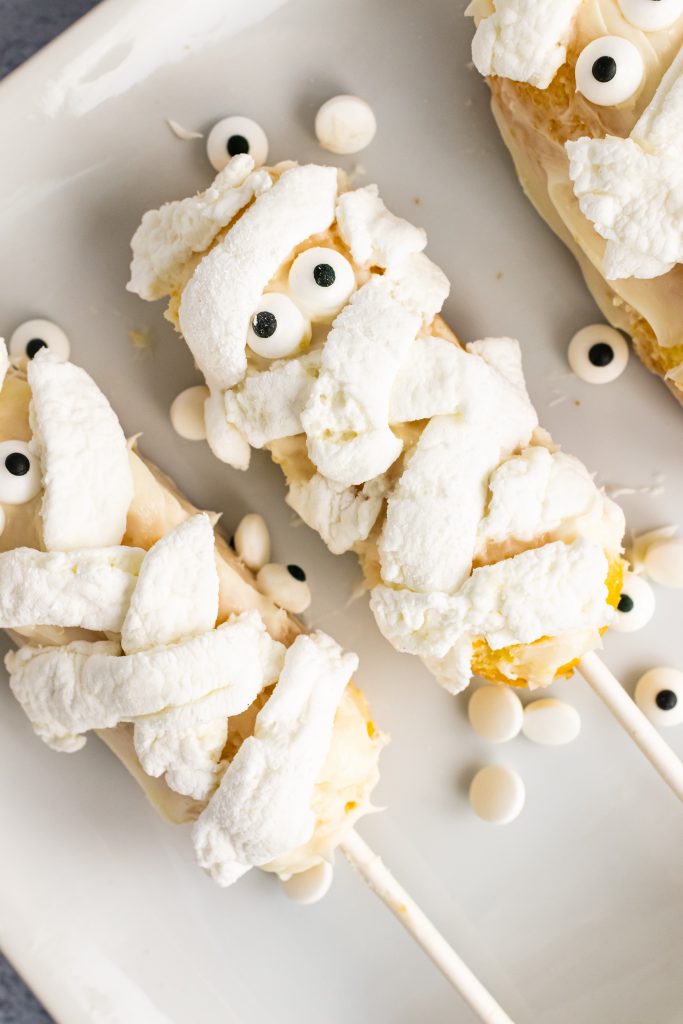
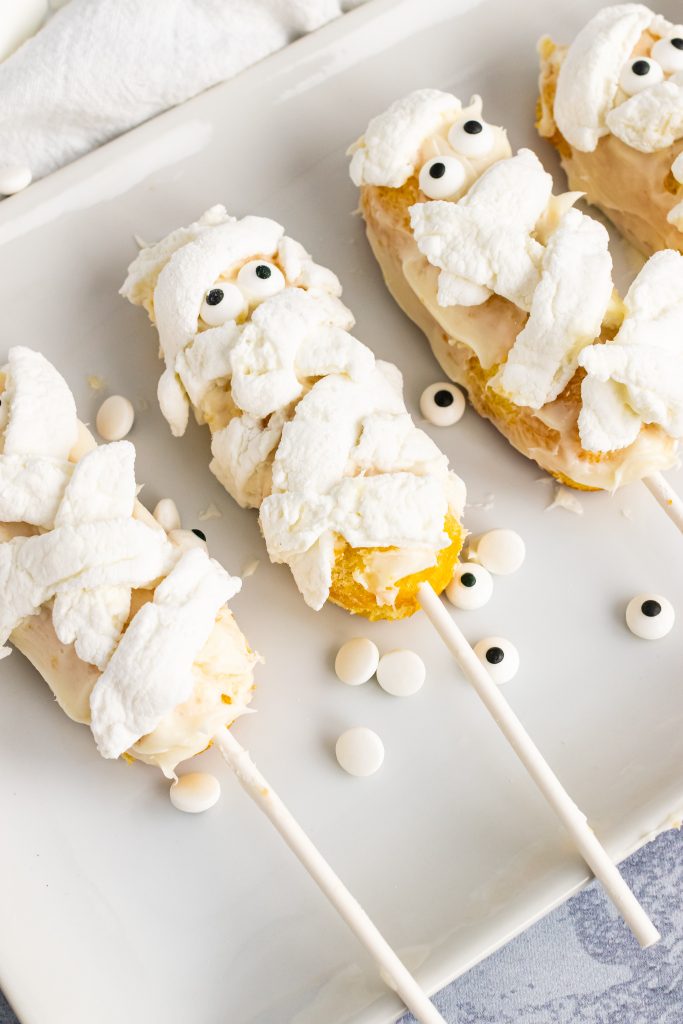
Place these marshmallow strips onto the frosted twinkies to look like bandages. Nestle two eyes somewhere around the ‘head’ region.
If you’re having trouble getting your marshmallow strips to stick, you can use extra frosting as glue.
Enjoy your finished mummy on a stick immediately, or wrap it in cellophane and tie with a ribbon to send home.
Other Halloween Treats To Serve
Fall is a time for all things fun & spooky, and we love embracing them all. These fun Mummy on a Stick cakes are a great snack or dessert, and make a perfect addition to a haunting spread on all Hallows Eve.
Looking for other spooky snacks to include? Try these:
- Witch Hat Cheese Ball
- Mummy Macarons
- Boo Meringue Cookies
- Pumpkin Cake Pops
- Mummy Gingerbread Cookies
If you’ve tried this MUMMY ON A STICK RECIPE, or any other recipe on my site, let me know in the comment section how it turned out, we love hearing from our readers! You can also follow along with me on PINTEREST, FACEBOOK, and INSTAGRAM to see more amazing recipes and whatever else we’ve got going on!
Mummy On A Stick Recipe
Ingredients
- Twinkies
- plain frosting
- marshmallows
- edible eyes
- cake pop or lollipop, sticks
Instructions
- Place the snack cakes in the freezer for 30 minutes or as long as needed so the snack cake is firm.
- Stick the wooden craft stick in the the snack cake at the bottom. So the snack cake will be vertical on the stick.
- Frost the Twinkie by covering the front and sides of the snack cake in icing. If you are doing this for a class activity, give each child a paper plate and plastic knife. Have them cover their own snack cake in frosting. No need to cover the back. Just a light coat of frosting is needed
- We used a rolling pin to flatten the marshmallows. If need be, use powdered sugar to prevent sticking. Using kitchen scissors cut the flattened marshmallow into strips (three strips per marshmallow). If kids will be making these, cut the strips for them. The marshmallow strips will be used as the “rags” of the mummy.
- Overlap the marshmallow strips on the frosted snack cake at different angles for a wrapped look. If need be, use the icing to “glue” the marshmallows that overlap each other onto the snack cakes. Place the eyes directly on with the icing. Cover the eyes slightly with the marshmallow strips.
This post may contain affiliate links. As an amazon associate, I earn from qualifying purchases. See my full Disclosure Policy for details. As always, all opinions are my own.


Cute!!
THese are adorable! Happy FF! I’m going to have to make these tonight!
These are just adorable!
What a perfect Halloween treat. These are so adorable. :D Thanks for bringing some at today’s FF. Happy weekend. :)
very very beautiful! thanks for sharing!
They are soooo cute! Thanks a lot for being at the party!