Garlic Herb Pull Apart Rolls
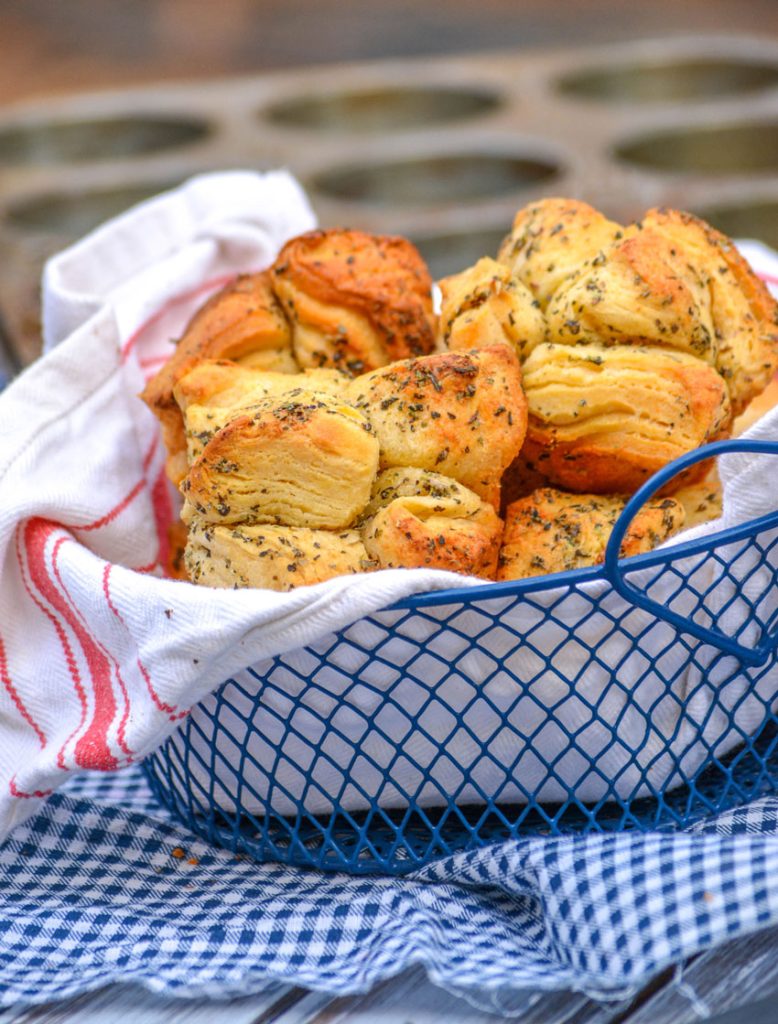
We’ve lovingly nicknamed these easy buttery garlic herb pull apart rolls the poor man’s popover. They’re quick, they’re easy, they won’t flop or fail- and they’re plain ol’ delicious to boot. Never stress about serving bread with dinner again with a batch of these ready to whip up rolls.

If there’s one thing every Southern matriarch will tell you, it’s that they have the best biscuit recipe. Seriously, everyone swears by their own. Each family’s tried & true rendition is the one to beat all others.
I can’t say if anyone’s is definitely the best of the best, but I’ve never met a biscuit I didn’t like. Have you? Well, have you?
![]()
Sure everyone has their little thing, their little spin on a tried and true recipe. A way of doing things different, different rise times, cooking temperatures, etc. But a good biscuit is a good biscuit.
In the South, a good biscuit goes with everything & just about anything. I’m not even kidding- breakfast, lunch, or dinner. Whatever course you’re on, the biscuits are hot, heavenly, and there for your enjoyment.
And being a busy wife, parent, person- you name it in this day & age- I don’t always have the time for my Grandma’s from scratch recipe. I love it, but it’s just not always practical.
That doesn’t mean I want to enjoy them any less though. Thankfully, there’s a short cut version readily available like these Garlic Herb Pull Apart Rolls.
They’re so so yummy. They’re easy, and can be thrown together in a pinch, and they go with just about anything you’re thinking of serving.
How Do You Make Buttery Garlic Herb Pull Apart Rolls?
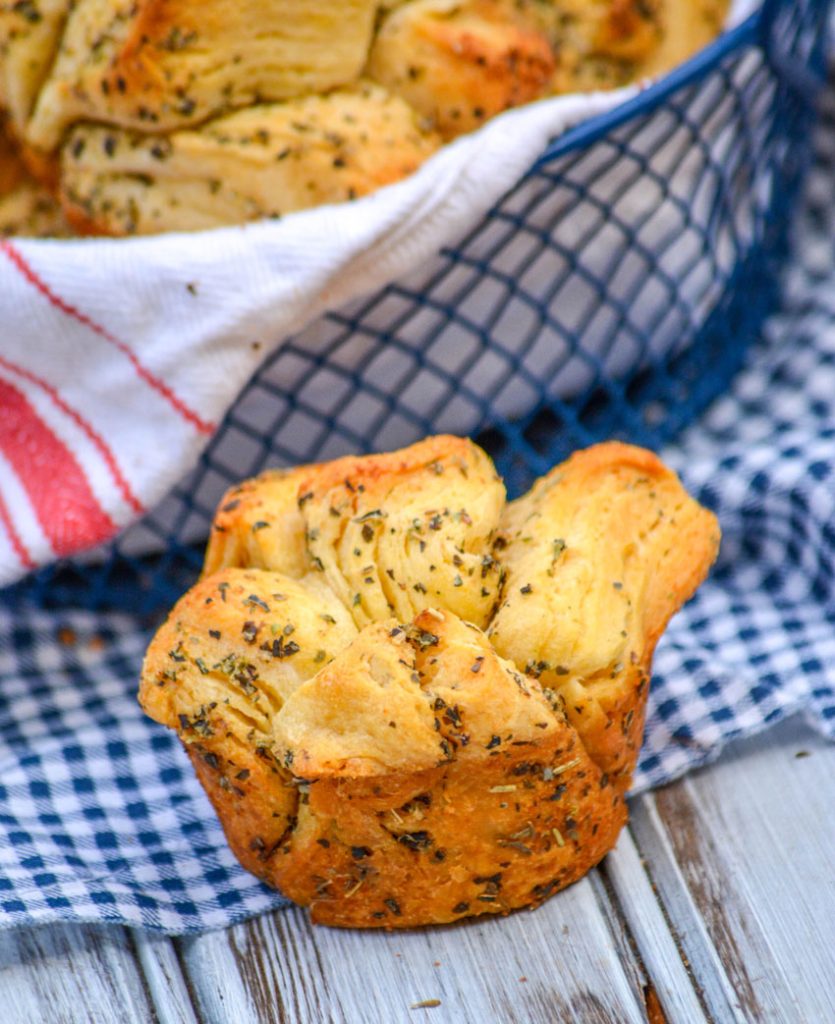
Pull apart can apply to a wide range of rolls. They’re basically any rolls that are baked together so that the finished product’s risen & cooked together, and easily pulled apart and enjoyed when done.
Copious amounts of butter are often involved. Highly encouraged. The result’s always a roll that will please any carb loving crowd, whether it’s an everyday dinner or a holiday meal they’re being shared at.
The ingredient list for this recipe is short and simple, but each ingredient is equally important.
The first ingredient, and the base, is refrigerated biscuit dough. Not a fan of the typical refrigerated biscuit that’s slapped on a baking sheet and cooked until done?
I’m with you, but using refrigerated dough in this recipe is just a short cut. Essentially we’ve swapped it for the more tedious, time consuming from scratch alternative. Then the dressing up begins, and that’s where magical biscuit magic begins to happen.
Begin by unrolling and separating the biscuits. Then cut each biscuit into 4 quarters. Place the cut biscuit pieces into a large mixing bowl, continuing until all the biscuits are cut up.
In a smaller bowl, whisk melted butter and the herbs together until the mixture’s smooth. Pour this mixture evenly out over the cut up biscuits, and gently toss them until all the pieces are evenly combined.
Use cooking spray to lightly grease six wells of a muffin or cupcake tin. Spread the dough out evenly among the six wells, plopping the pieces in there. It doesn’t have to be neat- there’s no right or wrong here. Just fill them up, and try to divide the dough out as evenly as possible.
Bake the garlic herb pull apart rolls at 350 degrees for about 16 minutes, or until the buttery rolls are golden brown on top and have cooked through. Remove them from the oven and let them rest for 5 full minutes before popping them out & serving.
Prevent sticking- How To Safely Remove Pull Apart Rolls From A Muffin Tin:
There’s nothing sadder than beautiful rolls that come out of the oven, and then when you try to remove them- they pull apart prematurely or stick and rip.
Not only is it sad, it can make any baker feel totally defeated. Luckily, there’s an easy trick to preventing this problem!
Make sure to let the pull apart rolls for the full five minutes, as instructed, after baking. This will help them set up, firm up, and essentially keep the pieces glued together.
Run a butter knife along the outer edge between the roll tops and the muffin tin, especially for any muffins that bloomed out of the tin and over. This will ‘release’ them from the pan.
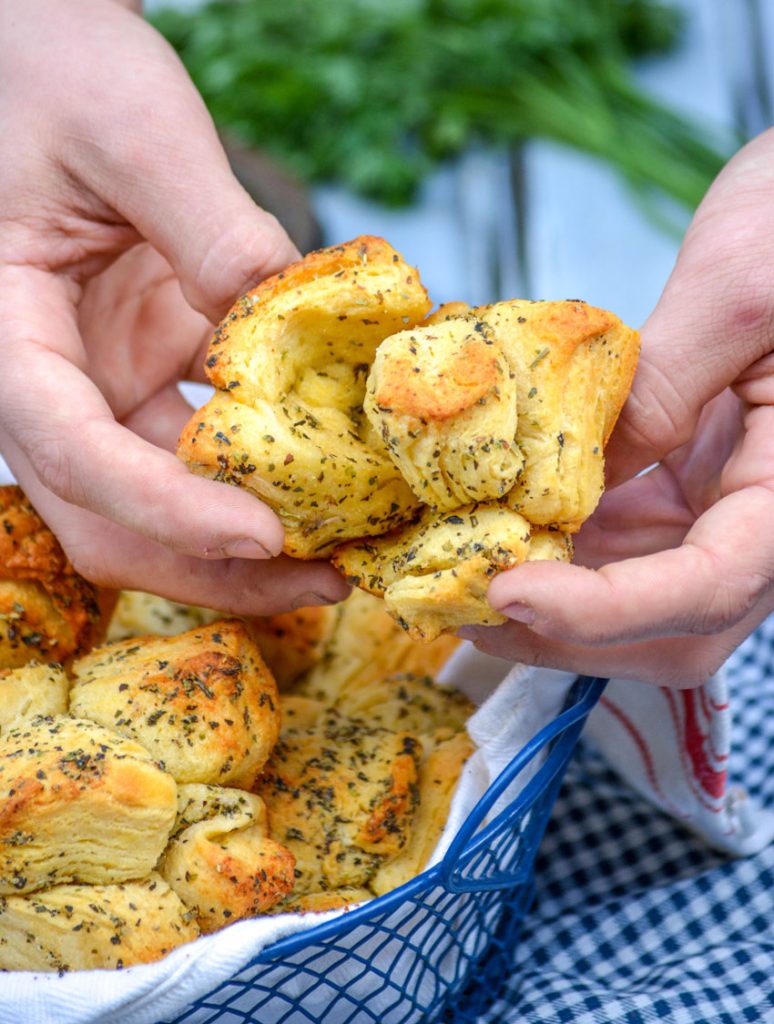
Grab a muffin by two opposite outer edges, gently twist and lift them out of the wells. You can plop them straight onto plates, or add them to a bread basket and sit them on the table with the rest of your dinner.
These garlic herb pull apart rolls are finger lickin good. They’re perfectly seasoned, butter rolls that are good all on their own. Serve them with an extra pat of butter? Well that’s just heavenly.
My favorite thing about these buttery pull apart rolls is not only how delicious they are, but how easy they are.
They’re a simple short cut recipe to get dinner rolls on the table in time for supper. So good though, that none of your guests, family, etc will ever guess just how easy they were for you to whip up.
A couple things before we go though….
TIPS & TRICKS For Making The Best Garlic Herb Pull Apart Rolls:
- As written the recipe yields six full sized rolls. It can easily be doubled to utilize a whole 12 count muffin tin and to serve a larger crowd. Need more than that? You can make 24 at a time, and bake both pans together for any larger gatherings.
- The ingredients call for store bought biscuit dough, meaning just regular Southern style biscuits. Do not get the butter kind. The chunks of butter in it will prevent even cooking, and even keep the rolls from cooking through without being overcooked.
- Want more texture & even more ‘puff’? Use the flaky style refrigerated biscuit dough instead.
- For a fancier feel, we like to brush the cooked, but somewhat cooled rolls with an additional bit of melted butter. It gives them a pretty sheen when served & really enhances the flavor.
Can Pull Apart Rolls Be Made Ahead of Time?
Absolutely, but it does require some steps for safe keeping.
If you want to make and assemble them ahead of time without baking- follow the instructions as written. Cover the tin with cling wrap, tightly sealing around the tin’s edges. Refrigerate the prepped dish.
When ready to bake, remove them and follow the baking instructions as written in the recipe card. I would only recommend making them ahead of time by a couple hours though.
Leftovers, What To Do With Them? How To Safely Store Homemade Rolls:
You know how you store your sandwich bread out on a counter or in a bread box? At least for short term storage? Same thing applies here.
Whatever leftover rolls you have can be safely stored as long as they’re completely cooled. That is a key factor. Otherwise the escaping heat will lead to a moisture build up, and that means mold.
You can store the completely cooled rolls in a zip locking storage bag, just be sure to squeeze out any excess air when sealing. Or you can wrap them tightly & securely in tin foil.
They will stay good on the counter top, at room temperature for 3-4 days. If you need longer storage, you can refrigerate them for u pto 5-7 days.
Other Easy Bread Recipes You Might Want To Give A Try:
If you’ve tried these GARLIC HERB PULL APART ROLLS, or any other recipe on my site, let me know in the comment section how it turned out, we love hearing from our readers! You can also follow along with me on PINTEREST, FACEBOOK, and INSTAGRAM to see more amazing recipes and whatever else we’ve got going on!
Garlic Herb Pull Apart Rolls
Ingredients
- 1 large roll refrigerated biscuit dough
- 1/4 cup butter melted
- 1/4 tsp salt
- 1 tsp dried Italian seasoning
- 1 tsp dried basil
- 1 tsp garlic powder
Instructions
- Open the biscuit dough, and separate the perforated biscuits. Cut each biscuit into even quarters. Transfer the biscuits pieces to a large mixing bowl.
- Add the melted butter and seasonings to a smaller mixing bowl. Whisk them together until evenly combined.
- Pour the seasoned butter evenly out over the biscuits, and toss them until they're all evenly coated.
- Lightly grease a muffin tin with non stick cooking spray. Divide the buttered biscuit pieces evenly among six muffin wells.
- Bake them at 350 degrees for 16 minutes, or until golden brown and the rolls are cooked through.
- Remove them from the oven, and let them rest for 5 minutes.
- Run a butter knife gently along the edges to 'release' the rolls. Lightly twist them and lift out.
- Serve the still warm muffins immediately.
Notes


Can I add cheese also 😋
Absolutely!