Peppermint Sugar Cookie Bark
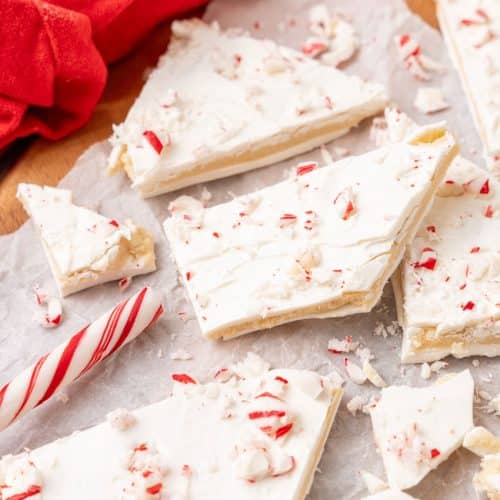
Peppermint sugar cookie bark features a delicious sugar cookie dough center sandwiched between two delectable layers of white chocolate and sprinkled with crushed candy cane bits. This treat pairs all the flavors of the holidays and pairs perfectly with a big ol’ mug full of hot chocolate.
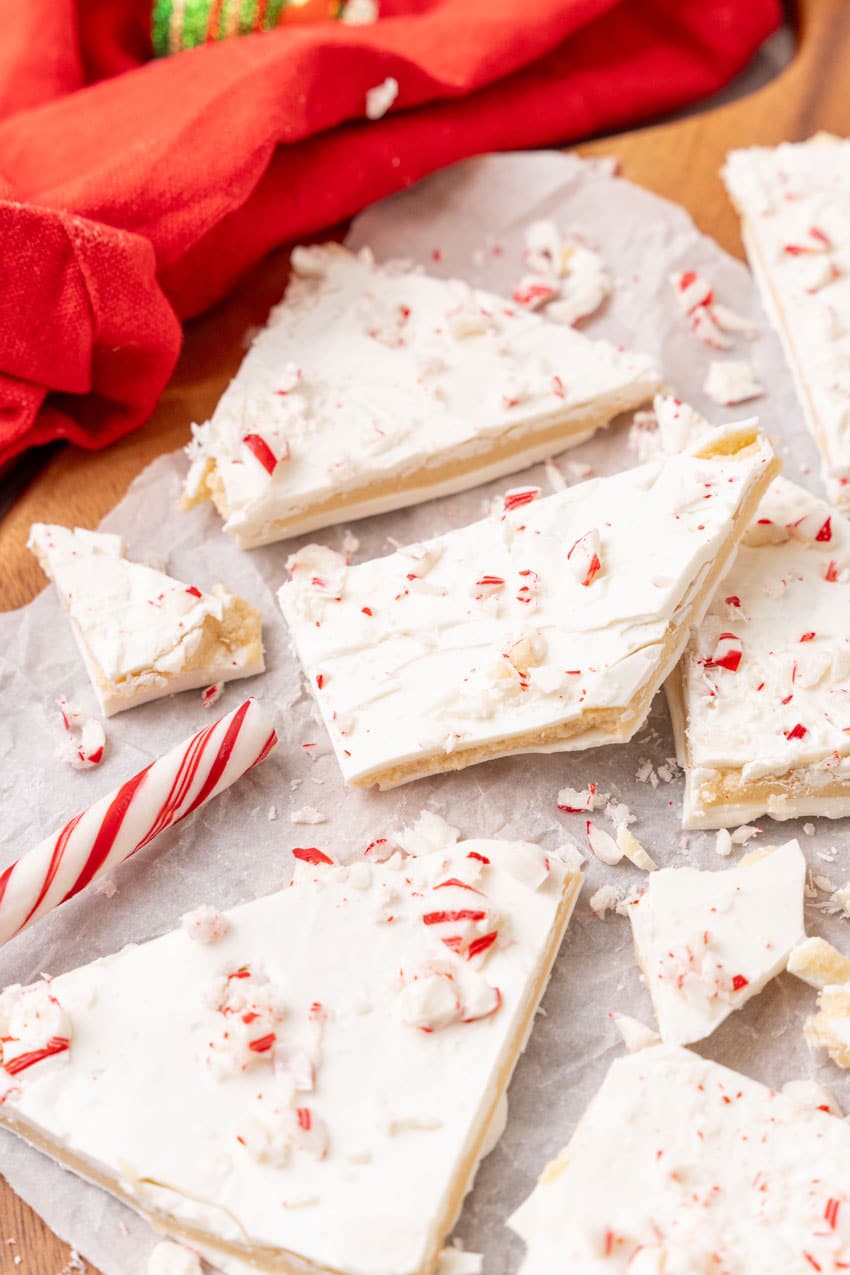
This post may contain affiliate links. As an amazon associate, I earn from qualifying purchases. See my full Disclosure Policy for details.
Peppermint and sugar cookie dough are two of the best flavors of the holiday season.
Why not put them together into one treat and hold it together with layers of white chocolate and crushed candy canes?
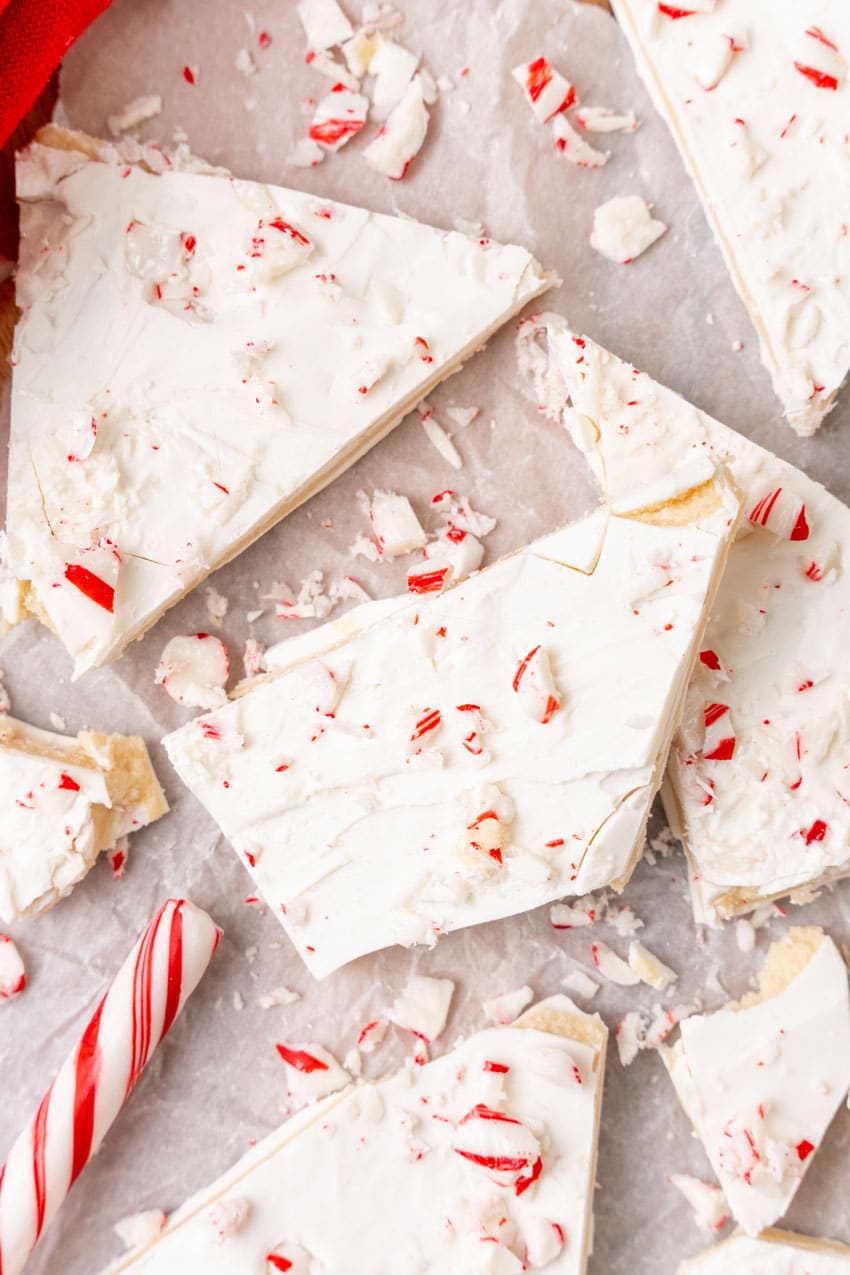
I think that sounds like a fabulously festive treat that deserves a spot on any holiday dessert table.
It’s so good, in fact, that you could definitely make this sugar cookie bark as an edible treat for almost anyone on your list!
Ingredients
To make this you’ll need:
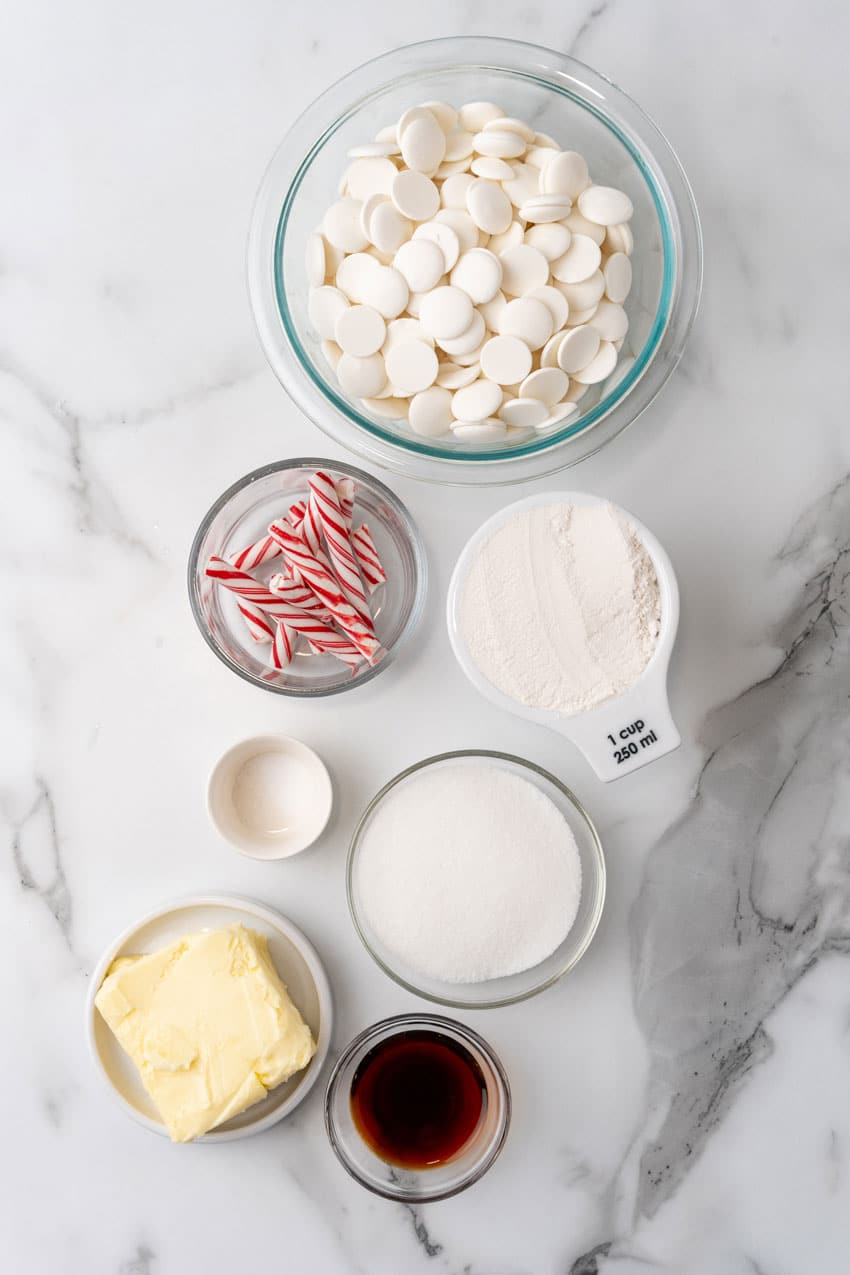
- Butter– Unsalted butter, softened to room temperature.
- Sugar– Granulated
- Vanilla extract– The real stuff is best
- Salt– To balance the sweet
- Flour– All purpose
- White chocolate– Either white candy melts or white baking chocolate
- Candy canes– Crushed. You can use either regular sized or mini candy canes. Or you can buy precrushed peppermint candy HERE.
How to Make
Making peppermint sugar cookie bark starts with making a sugar cookie dough.
To do this, cream the butter and sugar together in the bowl of your stand mixer.
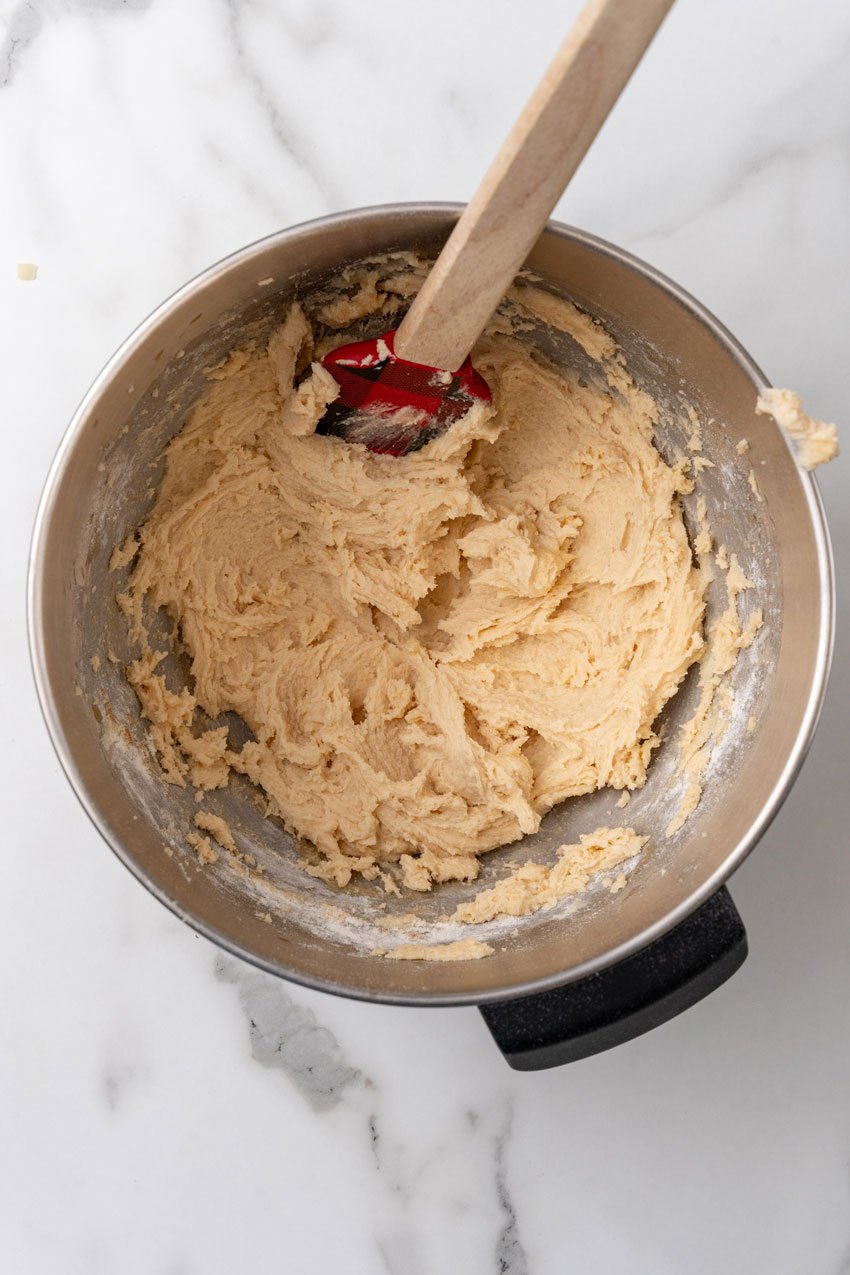
Then mix in the vanilla and salt until incorporated.
Once that’s incorporated, mix in the flour, a little at a time, until it is fully incorporated and the dough is thick but evenly combined.
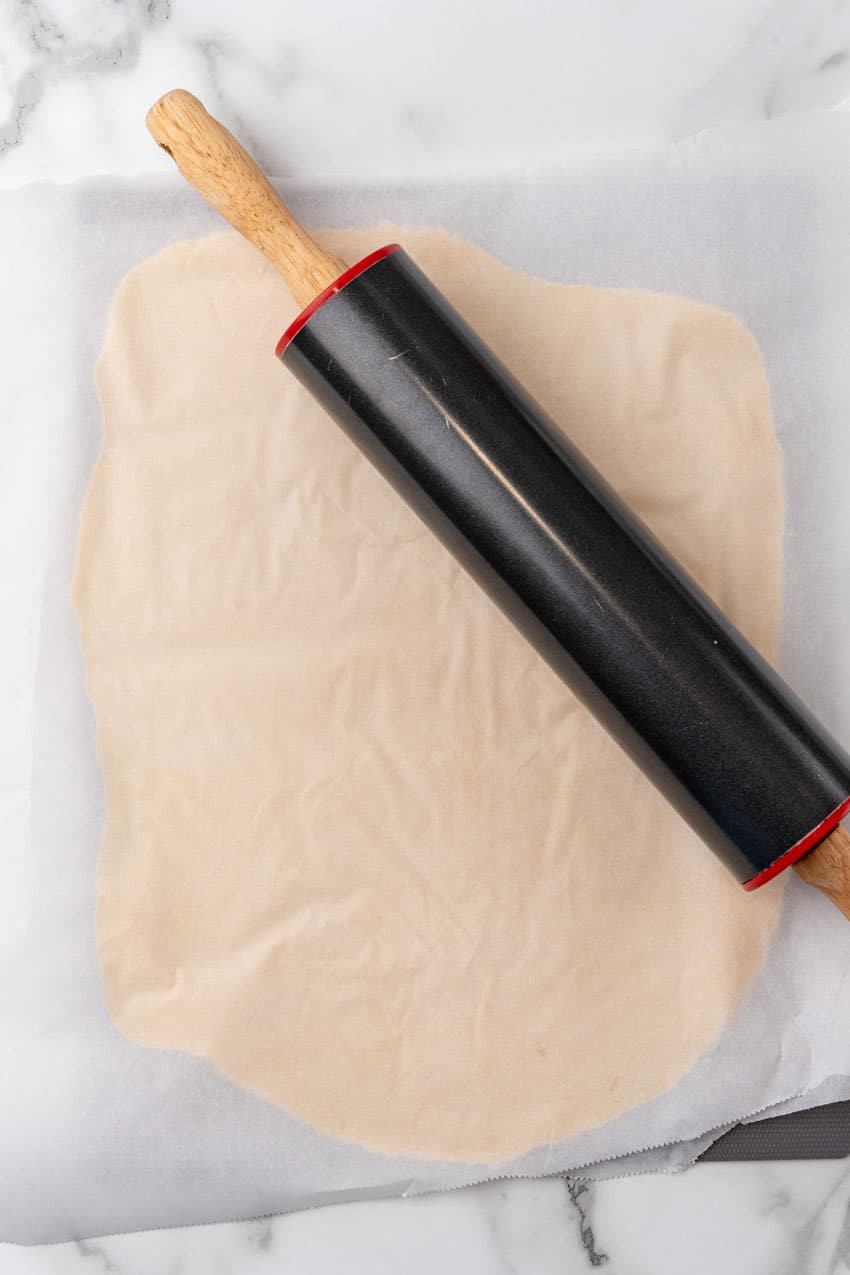
Then, cover a cutting board with a large piece of wax paper.
Put the dough in the center of the wax paper, press it down flat, and cover it with another piece of wax paper.
Then roll the dough into a roughly 8″x10″ rectangle between the two pieces of wax paper.
Chill the rolled dough for at least 10 minutes.
While the dough is chilling, crush the candy canes by putting them in a ziplocking back and crushing them with a rolling pin.
Then line another cookie sheet with more wax paper.
Set the lined sheet aside.
Melt the white chocolate according to the package directions, being careful not to burn the chocolate.
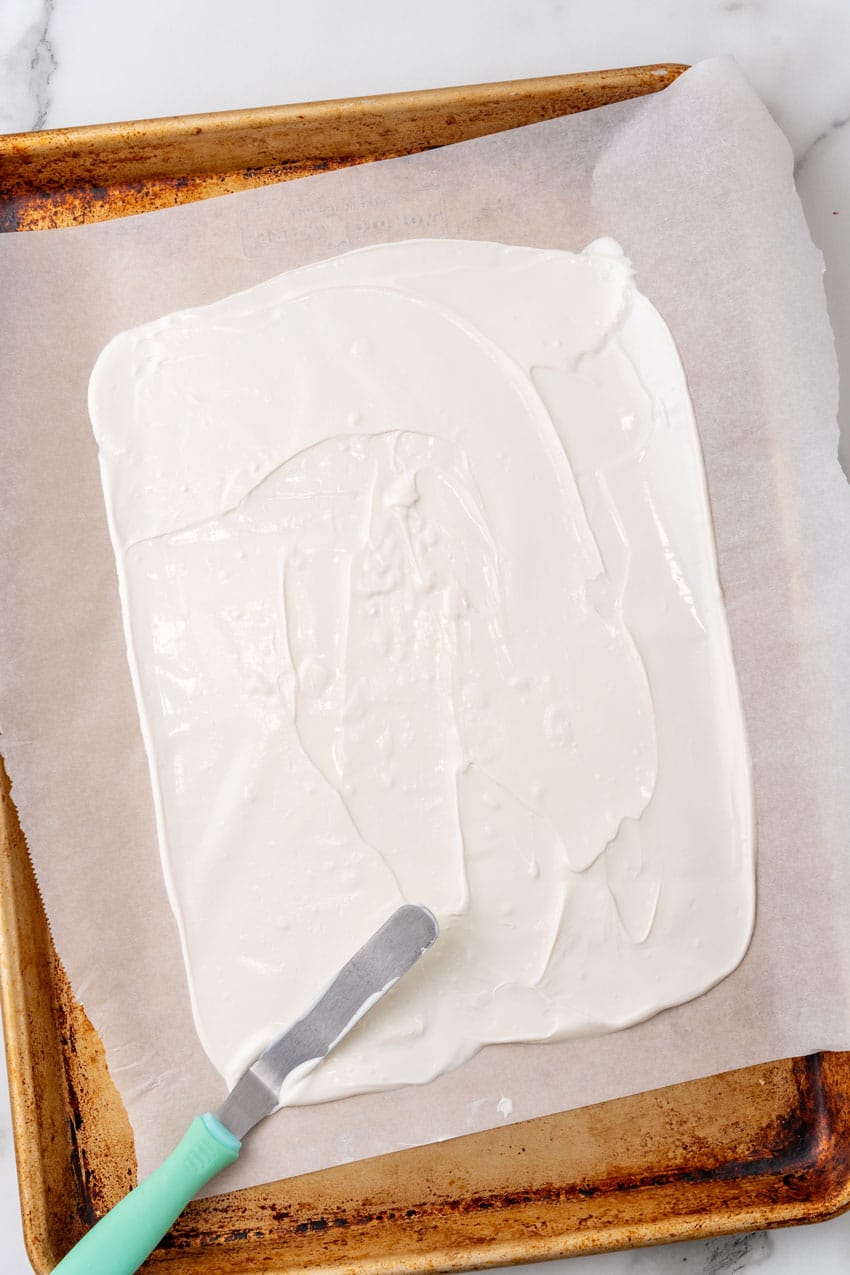
Pour about half of the melted chocolate out onto the wax paper and use a spatula to spread it into a rectangle a little bit bigger than the dough.
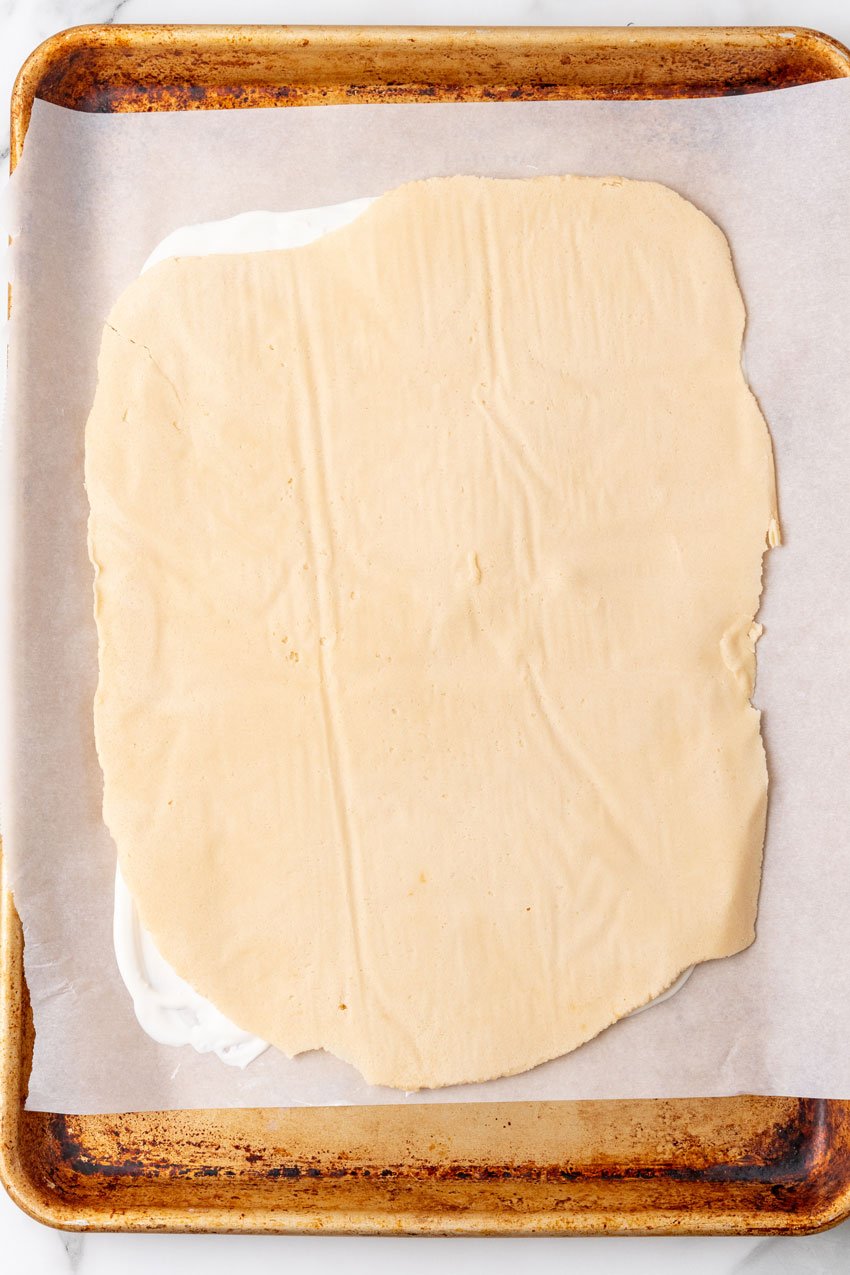
Then remove one piece of wax paper from the dough and place the uncovered dough side down onto the spread chocolate.
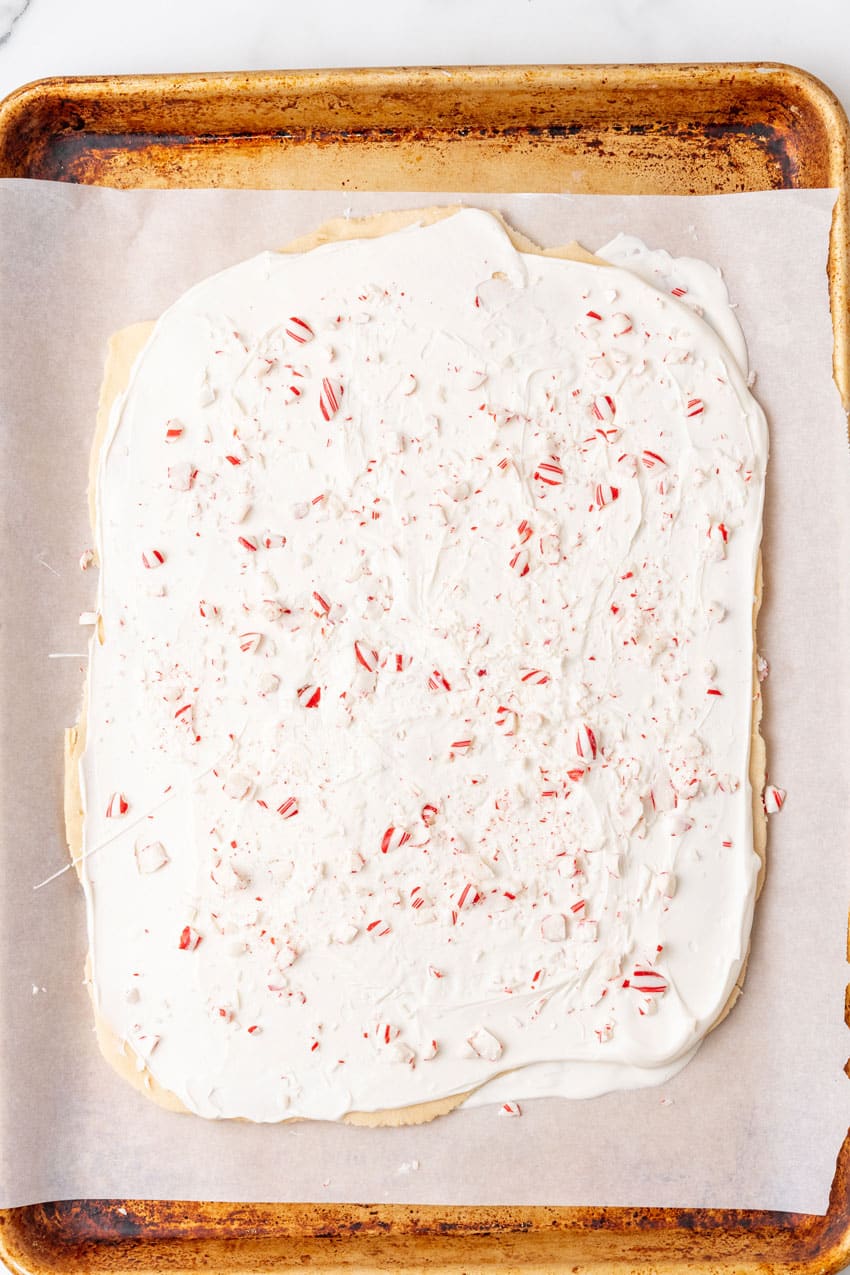
Remove the top piece of wax paper from the dough and pour the remaining melted chocolate over top of the dough, spreading the chocolate out so it covers dough.
Make sure that the chocolate covers the edges and meets the bottom layer of chocolate so it seals the dough inside.
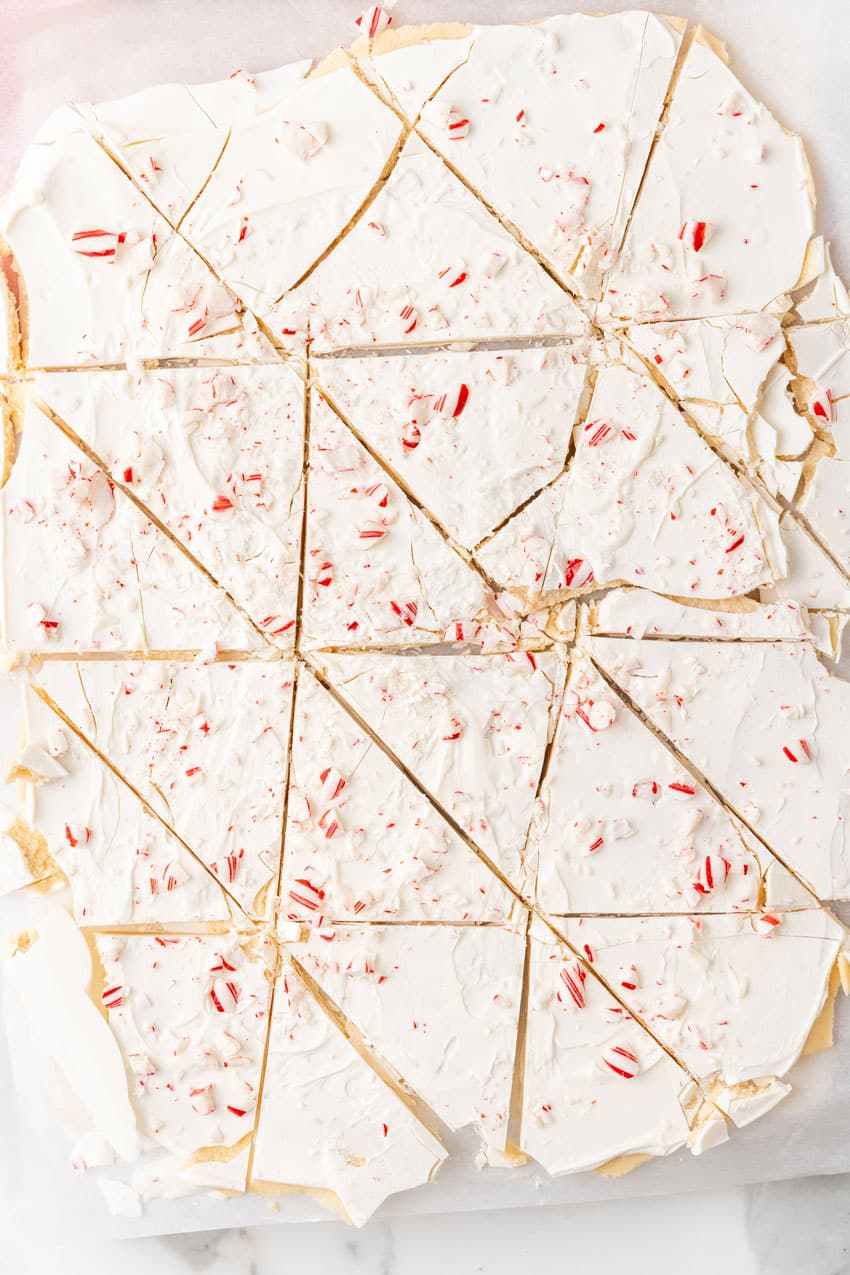
Sprinkle the top with the crushed candy canes.
Put the candy in the fridge to set, for at least 30 minutes.
After 30 minutes or more, you gently cut it into wedge shaped pieces.
Enjoy!
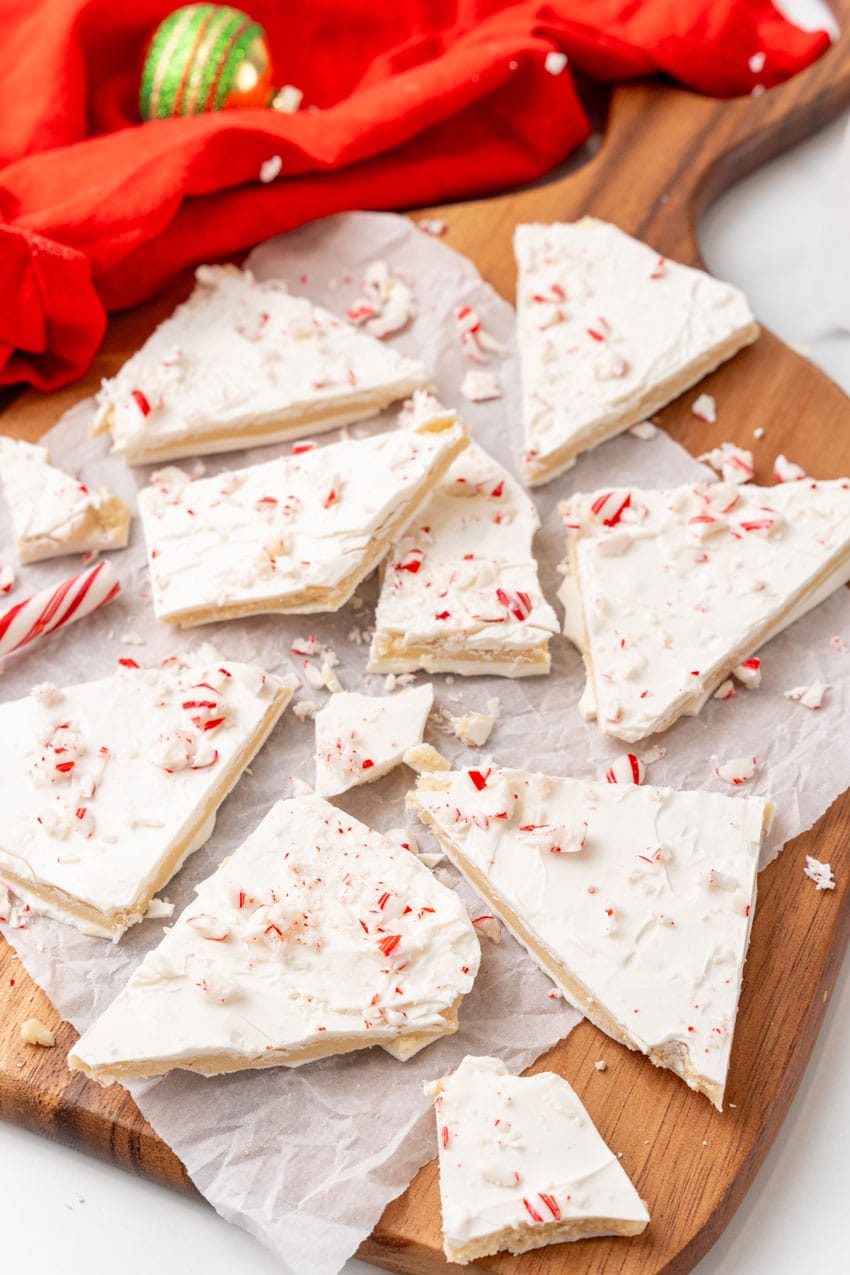
Storing
This sugar cookie bark has a shorter shelf life than some other candy barks.
Store in the refrigerator for up to 5 days in an airtight container.
Prior to serving, let the bark sit on the counter to come to room temperature.

How To Melt White Chocolate
Melting chocolate can be a little tricky.
If you are using baking chocolate, chop it up first. Then put the chopped chocolate or the candy melts if you are using those into a microwave safe bowl.
Microwave the chocolate for 30 seconds then take it out of the microwave and stir.
After you stir the chocolate, put it back in the microwave for another 15 seconds. Stir again.
Repeat this just until the chocolate is melted and smooth.
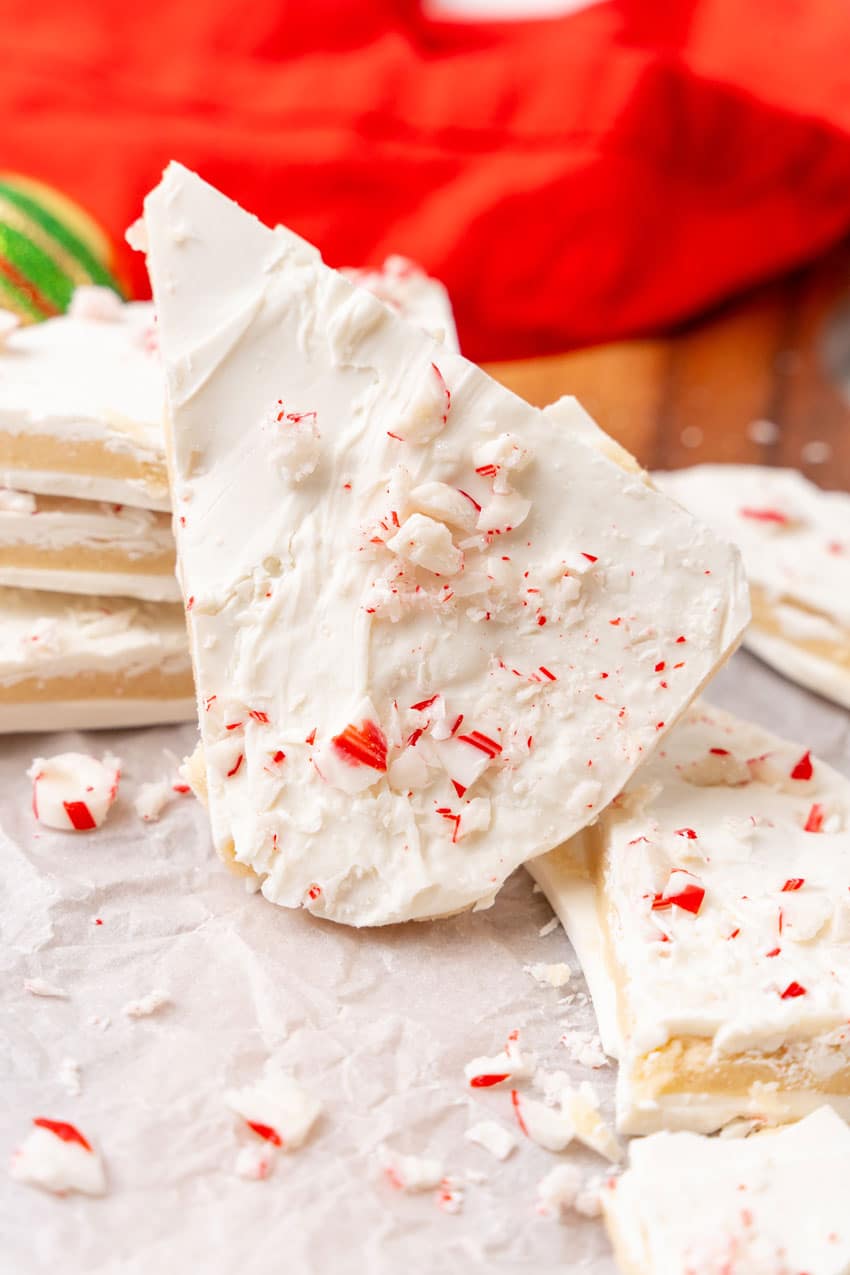
Can I Store Cookie Dough Bark?
Yes! Completely cooled and cut pieces of this homemade cookies dough bark can be stored in an airtight container and frozen for up to a month.
Tips and Tricks
- Your cookie dough will be on the thick side. That’s ok!
- The cookie dough will be soft set so don’t break the bark up. If you break the bark up, the chocolate will likely separate from the bark so it’s best to gently cut the bark into wedges.
- While the recipe calls for white chocolate, you could absolutely use semi sweet, milk, or even dark chocolate instead.
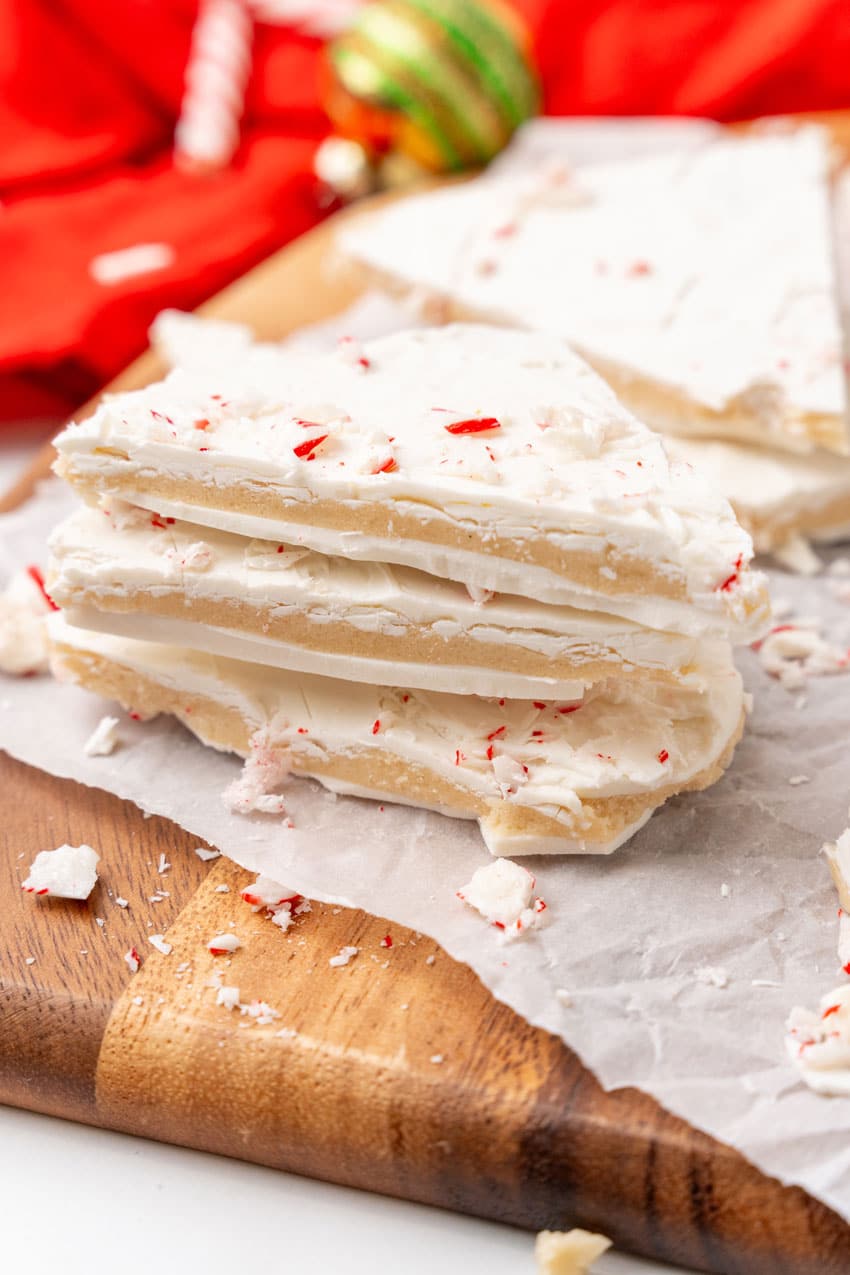
Other Chocolate Bark Recipes
Peppermint sugar cookie bark is a festive treat for this holiday season!
Make it and enjoy!
Looking for other chocolate bark recipes?
Try these:
If you’ve tried this PEPPERMINT SUGAR COOKIE BARK, or any other recipe on my site, let me know in the comment section how it turned out, we love hearing from our readers! You can also follow along with me on PINTEREST, FACEBOOK, and INSTAGRAM to see more amazing recipes and whatever else we’ve got going on!
Peppermint Sugar Cookie Bark
Ingredients
- 1/2 cup unsalted butter softened
- 1/2 cup granulated sugar
- 2 tsp vanilla extract
- pinch of salt
- 1 cup all purpose flour
- 16 ounces white candy melts or baking chocolate
- 4 regular size candy canes or 12-14 mini candy canes
Instructions
- In the bowl of a stand mixer, cream the butter and sugar together.1/2 cup unsalted butter, 1/2 cup granulated sugar
- Mix in the vanilla and salt until incorporated. Slowly add in the flour, a little at a time, mixing until fully incorporated. Your dough will be pretty thick (that’s OK!), but should be smooth and all the ingredients evenly combined.2 tsp vanilla extract, pinch of salt, 1 cup all purpose flour
- Cover a cutting board with a large piece of wax paper. Place the dough in the center, press it down flat, and cover it with another piece of wax paper. Roll the dough into a rectangle (about 8’x10′) between the two pieces of wax paper. I used an acrylic glass to roll mine out, but use a rolling pin if you want to be all fancy and pretty about it. Chill the rolled dough for at least 10 minutes.
- Place your candy canes in a quart-sized ziploc bag. You can either roll them with a rolling pin to crush, or you could go with a few well-aimed whacks of a mallet. The sons love any excuse to whack something with the meat mallet. Tiny hole will appear in the bag though, so perform this operation with care, or at least on a cutting board to minimize mess.4 regular size candy canes
- Line a cookie sheet with more wax paper. Melt your white chocolate according to the package directions. Pour about half of the melted chocolate out onto the wax paper and use a spatula to spread it into a rectangle a little bit bigger than the dough.16 ounces white candy melts or baking chocolate
- Remove one piece of wax paper from the dough, place that side down onto the spread chocolate, and then remove the top piece of wax paper. Pour the remaining melted chocolate over top of the dough and use a spatula to spread it to cover the dough, making sure to meet the edges of the bottom layer to seal the dough inside. Sprinkle the top with the crushed candy canes.
- Chill until set, about least 30 minutes, or if you’re more patient than we were, leave it on the counter top to set itself. Because the cookie dough is so moist and won’t set firm, breaking this bark apart will most likely result in the chocolate separating from the dough. We can’t have that, so it’s best if you gently cut it into wedge shaped pieces. Store in the refrigerator for up to 5 days, but serve them at room temperature.
Notes
- Your cookie dough will be on the thick side. That's ok!
- The cookie dough will be soft set so don't break the bark up. If you break the bark up, the chocolate will likely separate from the bark so it's best to gently cut the bark into wedges.
- While the recipe calls for white chocolate, you could absolutely use semi sweet, milk, or even dark chocolate instead.
Nutrition
recipe adapted from Crazy For Crust
This post may contain affiliate links. As an amazon associate, I earn from qualifying purchases. See my full Disclosure Policy for details. As always, all opinions are my own.



I think I would eat my arm off too! I love the thought of serving this with hot chocolate too!
Wow. This looks delish.
Brilliant idea!
this looks extremely extremely naughty x
a very crafty corner indeed!
-https://noodles4thoughts.wordpress.com/
Thanks so much for sharing this awesome recipe with our special edition of Full Plate Thursday. Hope you are enjoying your holidays and look forward to seeing you soon!
Miz Helen