Despicable Me ‘Minion’ Pumpkin Tutorial
The sons have always enjoyed the Despicable Me movies, and the Minions’ antics have kept them in stitches throughout all three films. The boys even made me download the game ‘Minion Rush’ onto my tablet so they can play it whenever the mood strikes. (Just don’t tell, since the older ones might get a tad embarrassed to have their secret outed, you know since they’re supposed to be to old for cartoons and all) They have a legit talking Dave and the teenagers still can’t help but pick up and play with the fart gun (remember our families four tenets? No judging please).
So when my little bit asked me to help him make a Minion ‘punkin’ for Halloween, I couldn’t say no. Never even crossed my mind. But after I’d automatically said yes, I had that ‘oh shit’ moment all Moms occasionally have at the thought of a commitment they’ve made where they’ve bitten off more than they know they can chew. I can fake it til I make it most of the time but, even on my best day, my pumpkin carving skills aren’t anywhere near up the the standard of precision required for any of the stencils and templates I googled.
But even on my worst day, I can paint. So we kicked all thought of carving to the curb, and painted ourselves a pumpkin shaped Minion. And he was adorable. But nowhere near as adorable as the youngest son’s face when he first saw our finished pumpkin.
DIY Minion Pumpkin

Pumpkin (real or fake)
Canning jar lids
Long nails
Wooden skewer, optional
Hot glue gun and glue stick
Yellow spray paint
Blue spray paint
black and brown paint, or Sharpie markers
Black pipe cleaners
Directions
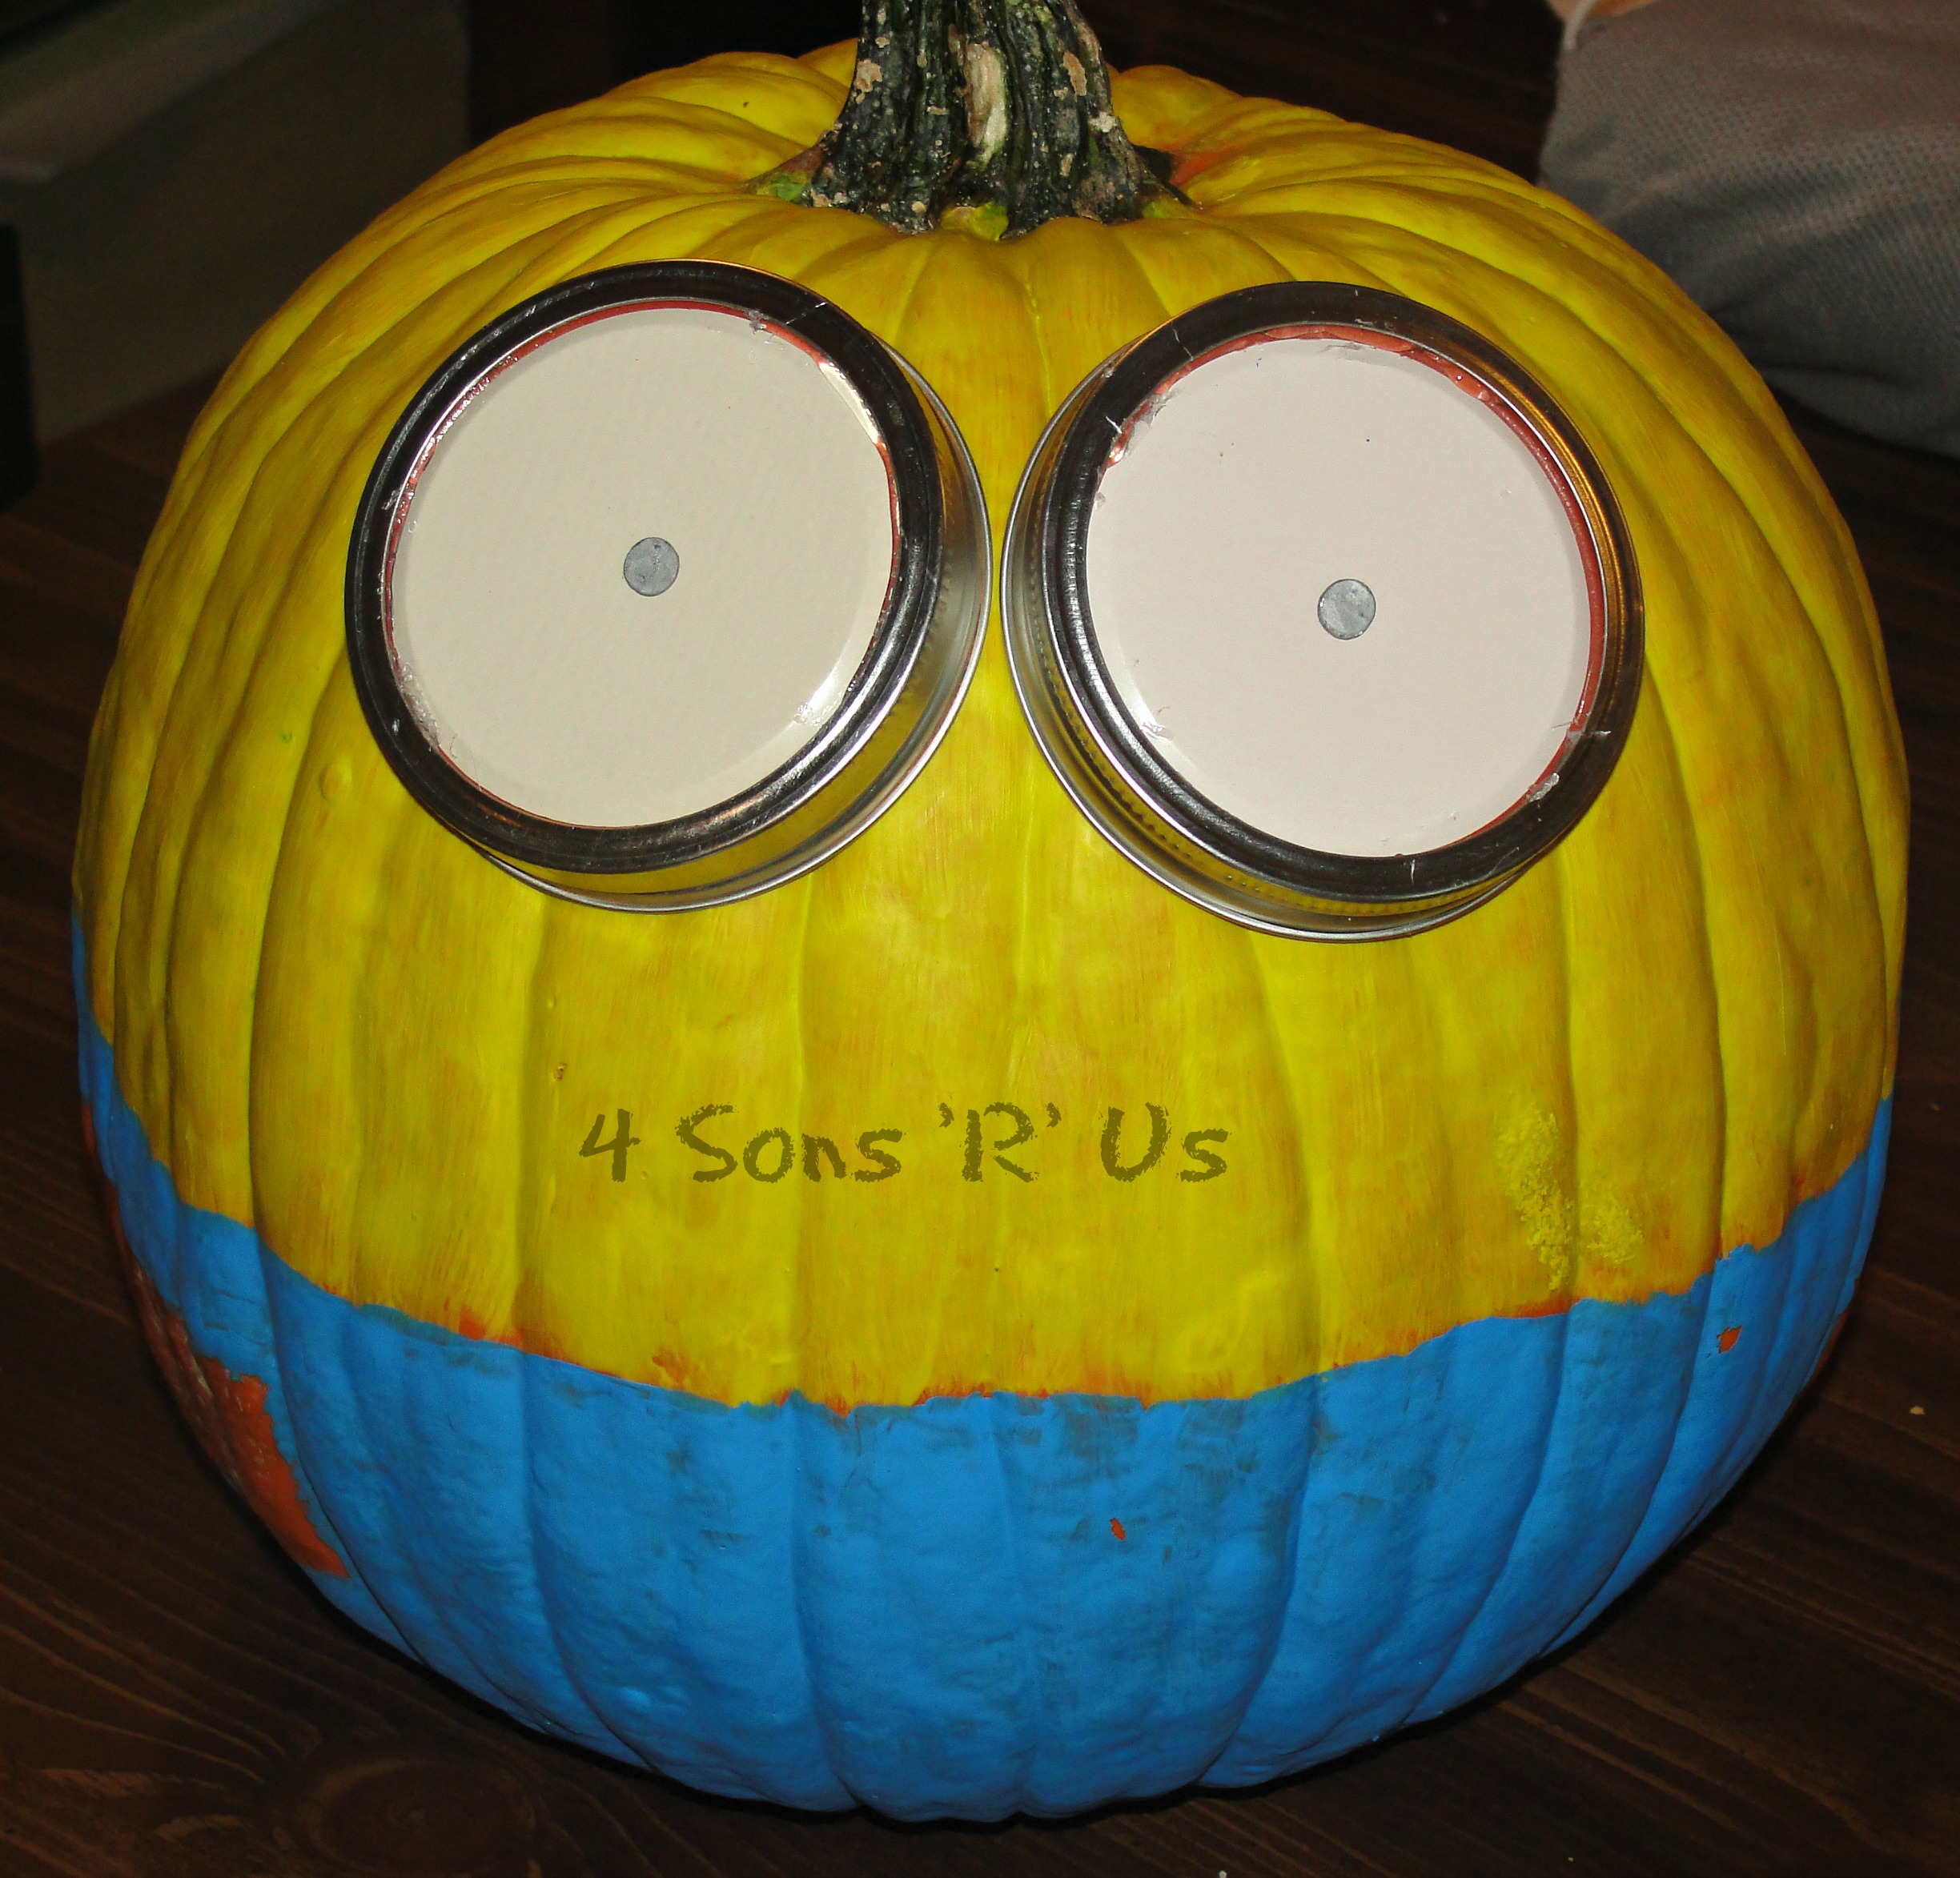
- Paint the top half of the pumpkin with yellow paint and let dry. It’s ok if it takes more than one coat to get the desired effect. On the pumpkin pictured we used acrylic paint and did multiple coats.
2. Paint the bottom of the pumpkin with blue paint and then allow it to dry completely. Once dry, add a second coat if desired. 
3. Take a canning jar lid and pierce a hole in the center with the tip of the nail. Tap gently with a hammer if need be, to pierce.
5. Flip the lid so that the white part is showing and insert the nail through the hole in the center, and apply a bit of hot glue to secure the head of the nail to the lid.
6. Apply a ring of hot glue all around the inside of the silver ring and press the flipped lid firmly to it, hold for a second to seal and then set aside to completely dry.
7. Use a skewer, or an extra nail, to pierce a hole where you would like the center of the canning lid ‘eye’ to be, keeping in mind that the eyes form the center of the face.
8. Gently push the nailed lid into the hole, being careful not to push any of the attached bits apart.- 9. Paint the black straps of the goggles on both sides of the eyes.
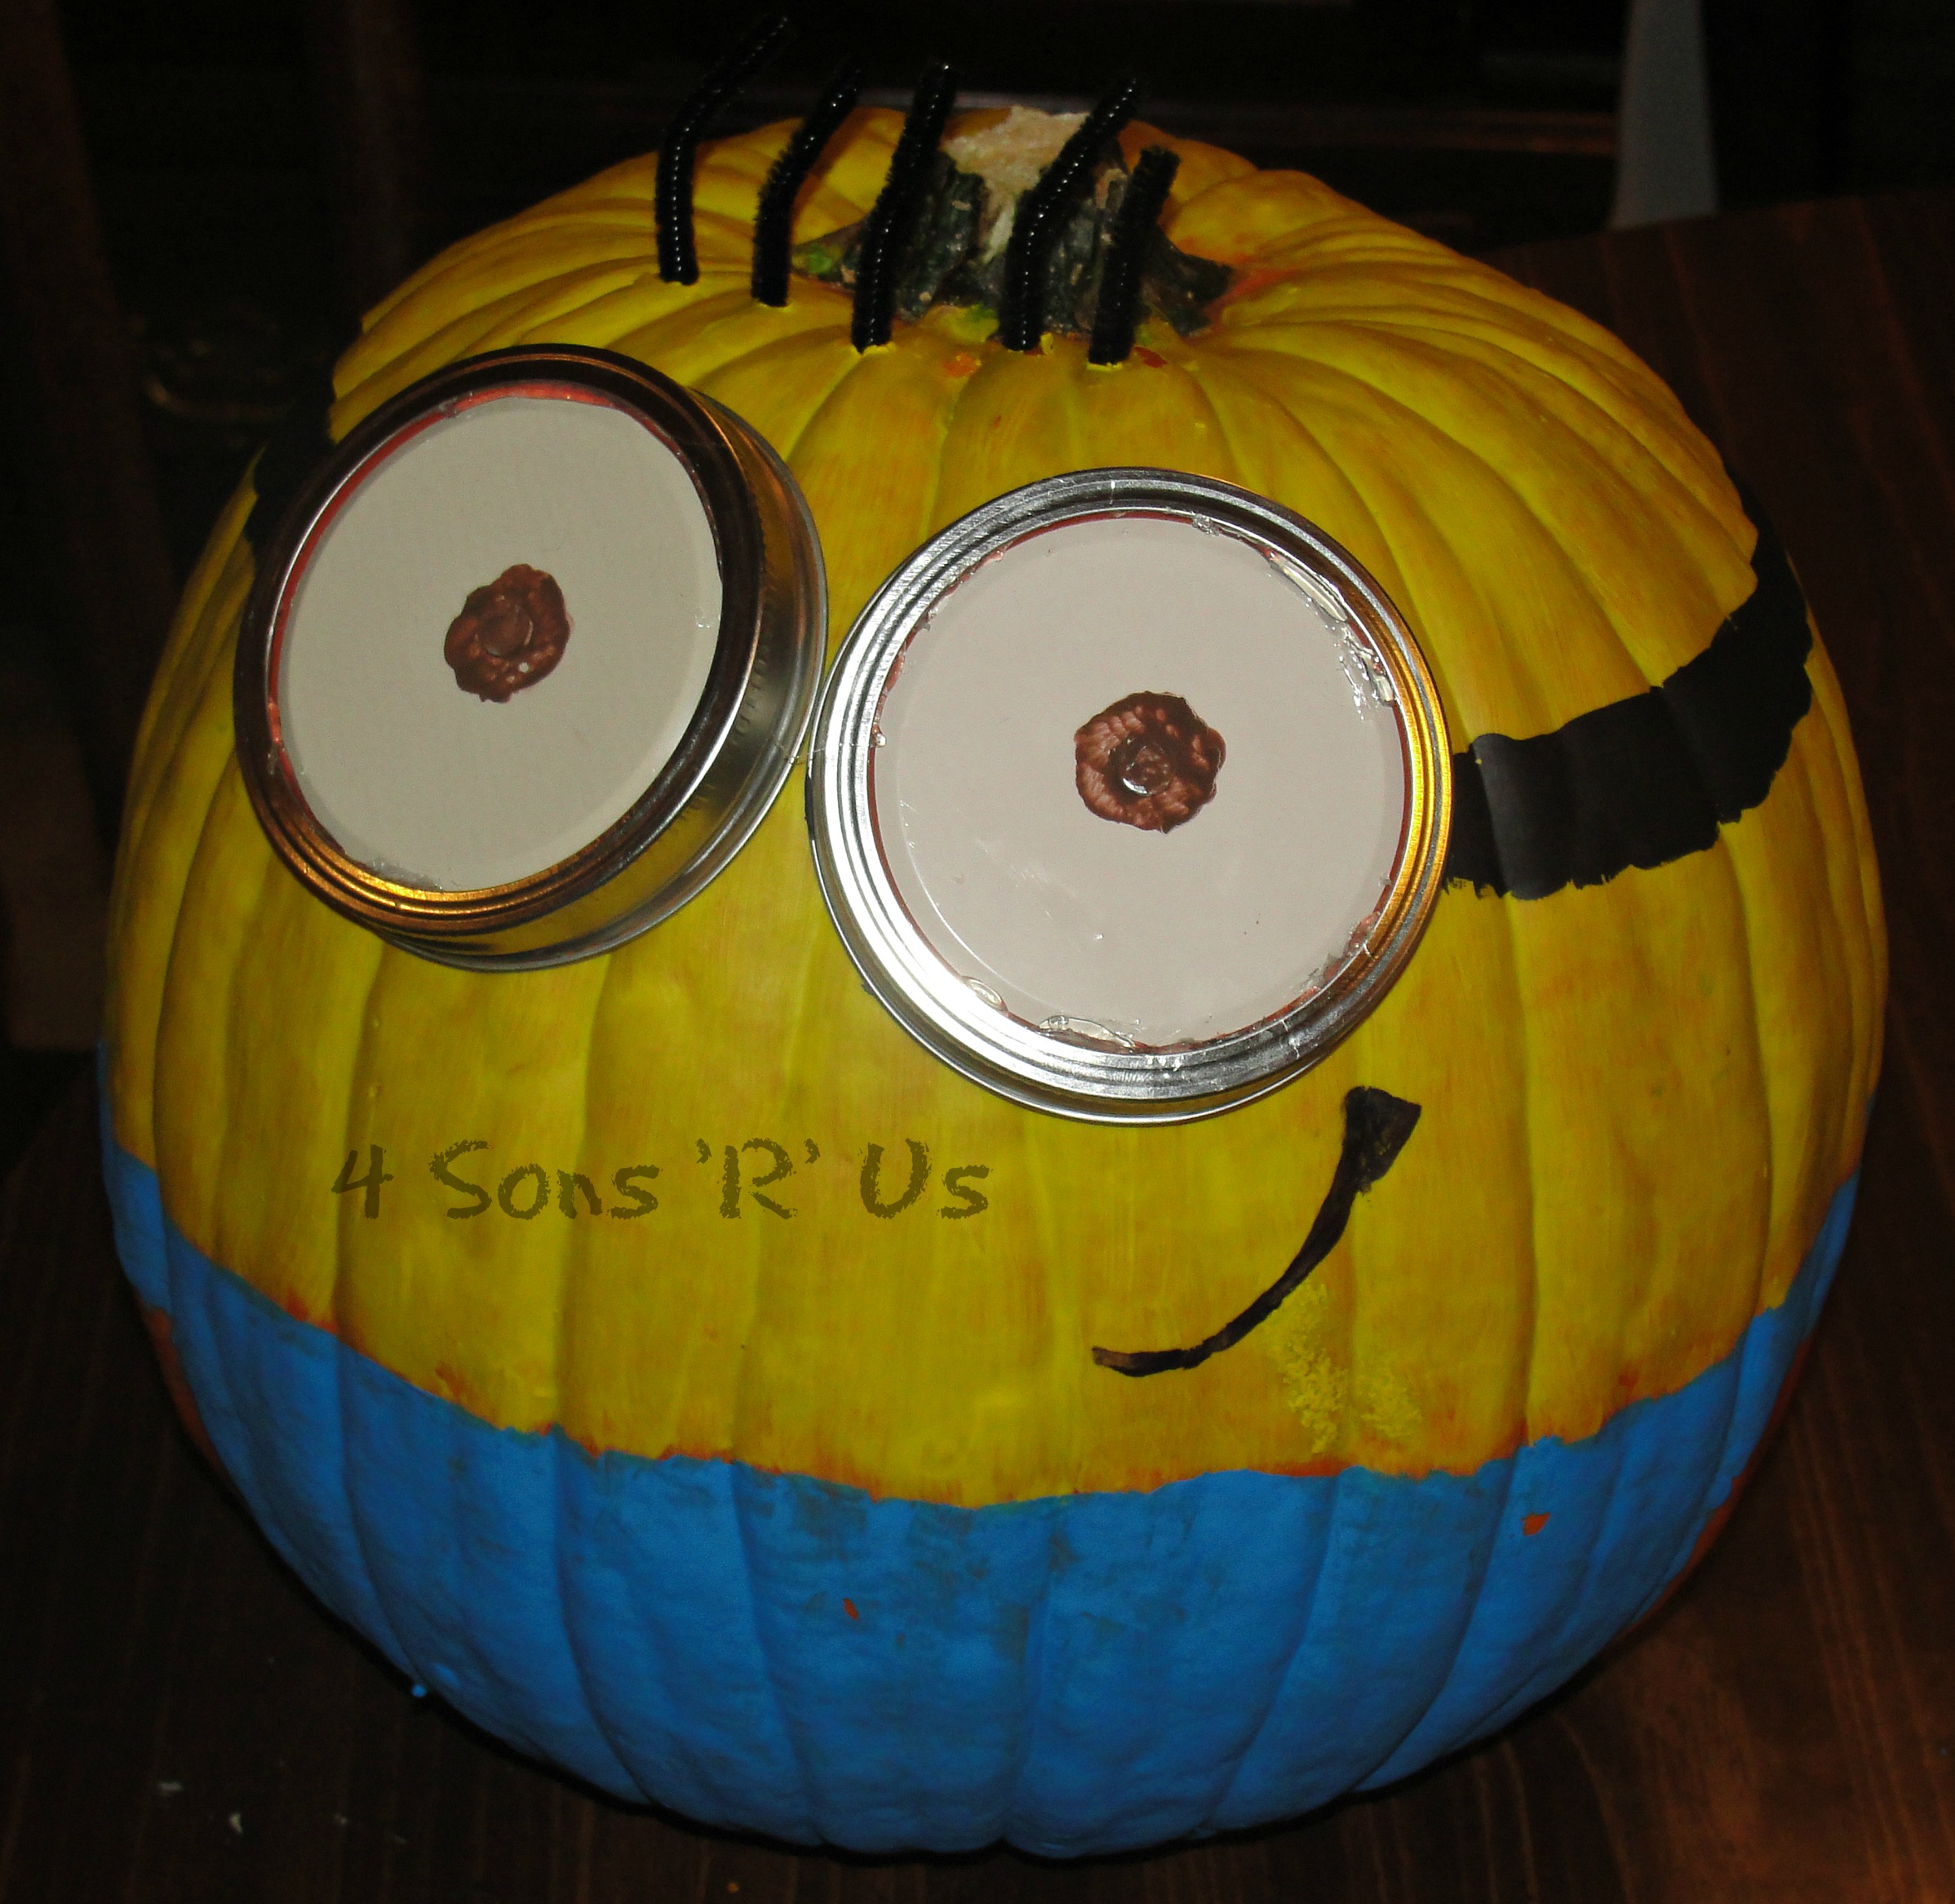
10. With paint or Sharpies, color in the details of the eyes (the screw will be camouflaged by the paint). 
11. For the hair, use the skewer, or extra nail, to pierce holes at the top of the head and insert the pipe cleaners into the holes.
12. Finish your pumpkin off by drawing on a mouth.


Thant is so cute. My daughter would love it. Thanks for sharing with us again at #Throwback Thursday.
Thanks, Quinn!