How To Make Homemade Sidewalk Chalk
Learn how to homemade sidewalk chalk in this fun, easy activity that kids will love. With just a few simple supplies, you can create colorful chalk perfect for outdoor play.
This post may contain affiliate links. As an amazon associate, I earn from qualifying purchases. See my full Disclosure Policy for details.
Spring is right around the corner and that means outdoor time again.
If your kids are anything like mine were when they were little, by March they are positively chomping at the bit to head outside to play.
Opening the door to let them run free the first warm day was always akin to watching puppies tumble out of an encloser in search of freedom.
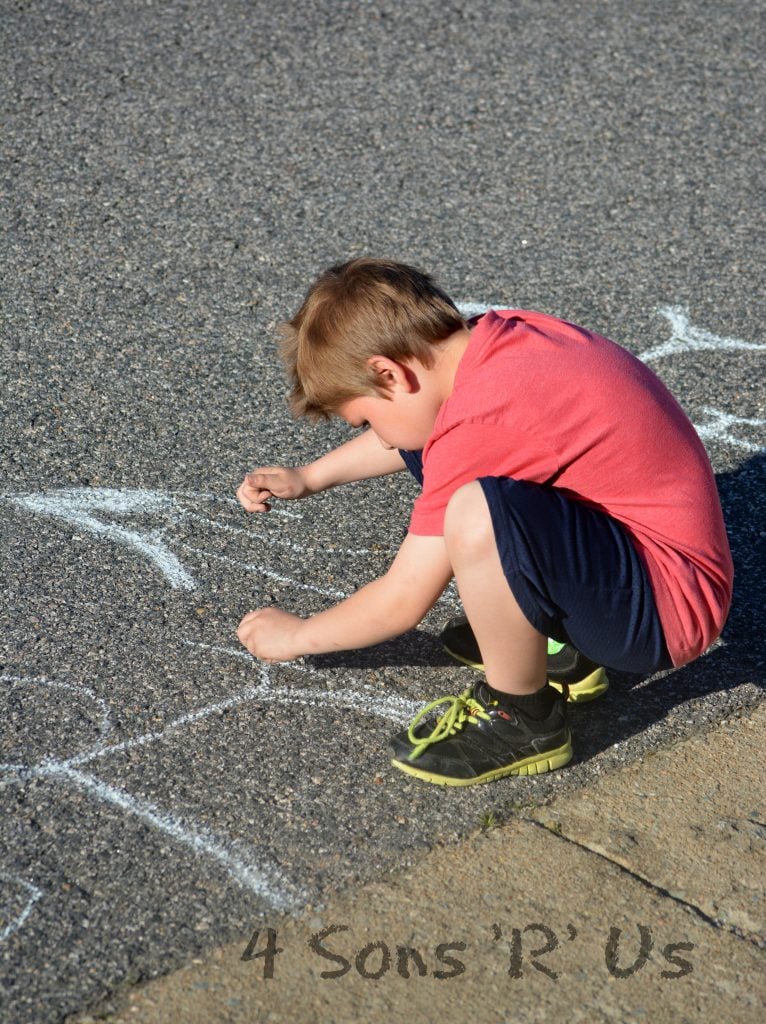
One of their favorite activities was always creating colorful art all over the driveway and sidewalk with sidewalk chalk.
Making homemade sidewalk chalk is such a fun way to get ready for those golden afternoons outside.
With just a handful of basic supplies you have can have the kids help do this simple project and have a surprisingly fun afternoon.
Kids love mixing the colors and helping pour the chalk into molds to set.
Once it dries, they’ll have bright, homemade chalk ready for drawing all over the driveway.
Supplies
To make this you’ll need:
- Plaster of paris– You can find this in the craft store or online here.
- Water
- Tempura paint– You can find this in almost any big box store or online here.
You’ll also need some supplies that you can use for other projects as well:
- Plastic cups– Disposable ones
- Plastic spoons
- Silicone molds– Find them online here.
- Paper plate
How to Make
Making the homemade sidewalk chalk is easy- even if you are making it the kids.
Just add water to a cup, then pour in the paint.
Stir in the plaster of paris until the mixture is evenly combined.
Pour the mixture into the silicone molds until the mixture is just even with the rim.
Wipe any extra or spilled mixture up with paper towels so you get clean edges.
Set the filled silicone mold on a flat surface and let it sit undisturbed for 24 hours to dry.
At this point the chalk will be soft set so you can carefully remove the pieces from the molds and put them onto a paper plate to finish drying for another 24 hours.
Use and enjoy!

Storing
Once the chalk has set, store it in a large tupperware container or even a sand bucket inside.
Don’t store it somewhere where it will get wet.
Tips and Tricks
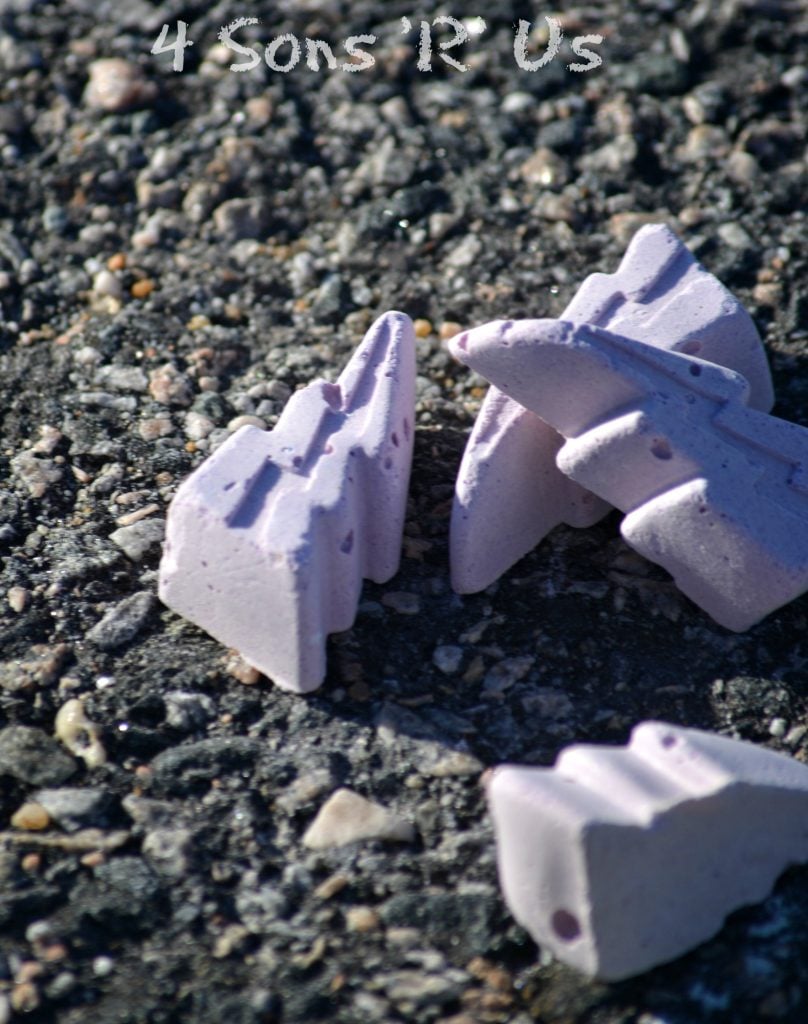
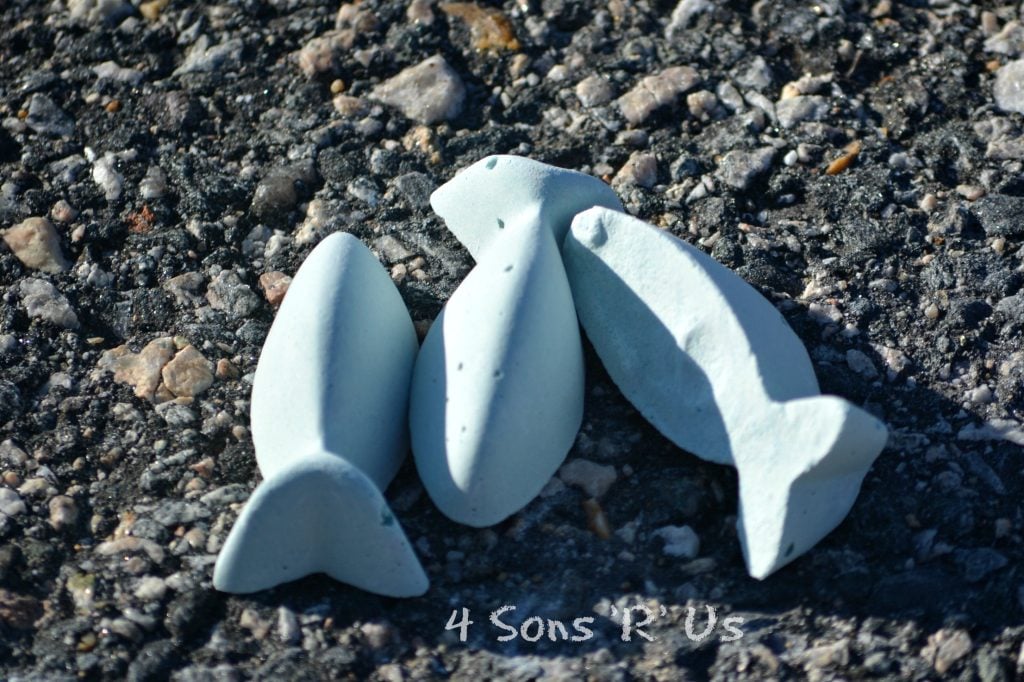
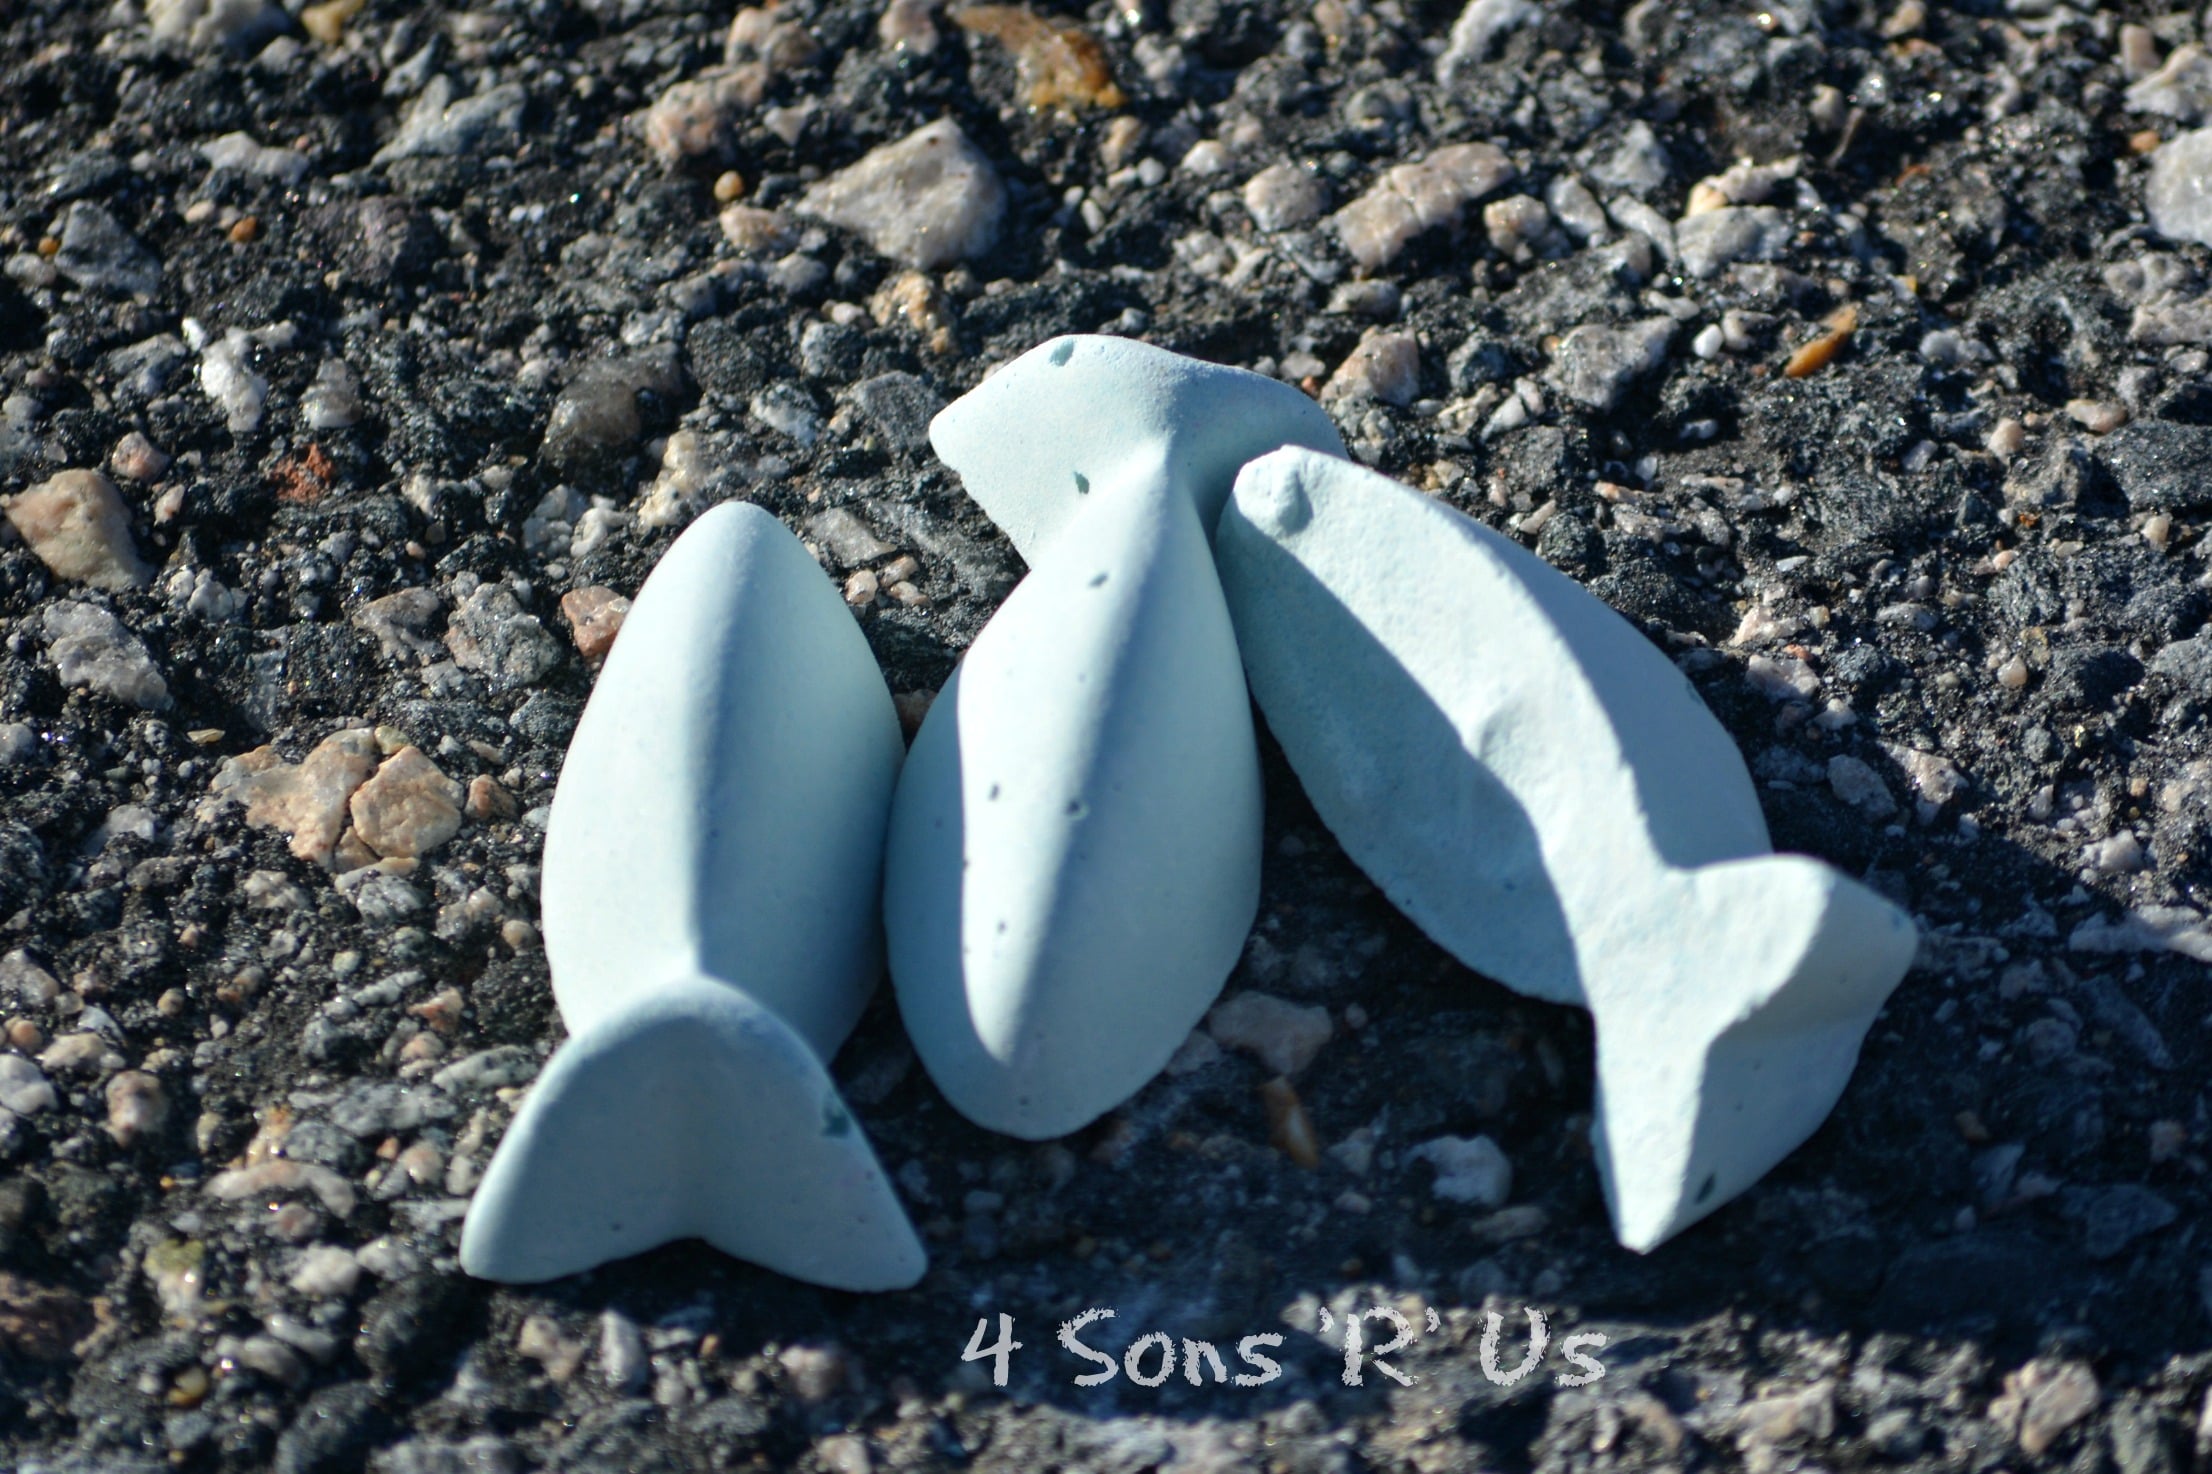
- Part of the fun of doing this is you can use different shaped molds! You don’t have to stick to a simple chalk shape but could use molds shaped like flowers, dinosaurs, eggs, gems, and more.
- This recipe makes one color of chalk. If you want to make more than one color, you will need to use more than one cup and double or triple the recipe, repeating the steps with different colors.
- If you don’t want to make a large batch but want more than one color, simply mix the water and plaster of paris mixture together in one cup and pour half into a second. Then use an 1/8 cup of paint in each.
Other Fun Projects to Do with Kids
Learn how to make homemade sidewalk chalk and spend a fun afternoon doing this project with them!
Looking for other fun project to do with the kids?
Try these:
If you’ve tried this HOMEMADE SIDEWALK CHALK, or any other recipe on my site, let me know in the comment section how it turned out, we love hearing from our readers! You can also follow along with me on PINTEREST, FACEBOOK, and INSTAGRAM to see more amazing recipes and whatever else we’ve got going on!
How To Make Homemade Sidewalk Chalk
Equipment
- 1 disposable plastic cup
- 1 plastic spoon
- silicone mold
- paper plate
Instructions
- Add the water to the cup, then pour in the paint.3/4 cup water, 1/4 cup tempura paint
- Add the plaster of paris to the cup, then stir well until the mixture's evenly combined.1 cup plaster of paris
- Pour the mixture into silicone molds, just even with the rim. Wipe any excess or spilled mixture up with paper towels for clean edges.
- Set the mold(s) on a flat surface and let sit, undisturbed, for 24 hours to dry.
- The chalk will still be soft, but carefully remove them from the silicone molds. Transfer them to a paper plate.
- Let the chalk sit, undisturbed, for another 24 hours to finish drying.
- Use and enjoy!
Notes
- Part of the fun of doing this is you can use different shaped molds! You don't have to stick to a simple chalk shape but could use molds shaped like flowers, dinosaurs, eggs, gems, and more.
- This recipe makes one color of chalk. If you want to make more than one color, you will need to use more than one cup and double or triple the recipe, repeating the steps with different colors.
- If you don't want to make a large batch but want more than one color, simply mix the water and plaster of paris mixture together in one cup and pour half into a second. Then use an 1/8 cup of paint in each.
If you’ve tried this HOMEMADE SIDEWALK CHALK, or any other tutorial on my site, let me know in the comment section how it turned out, we love hearing from our readers! You can also follow along with me on PINTEREST, FACEBOOK, and INSTAGRAM to see more amazing recipes and whatever else we’ve got going on!
This post may contain affiliate links. As an amazon associate, I earn from qualifying purchases. See my full Disclosure Policy for details. As always, all opinions are my own.


